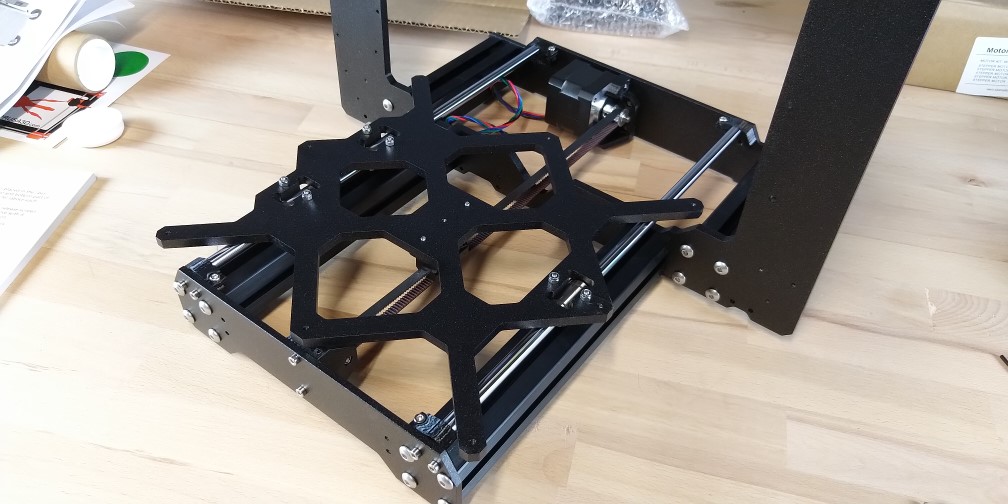
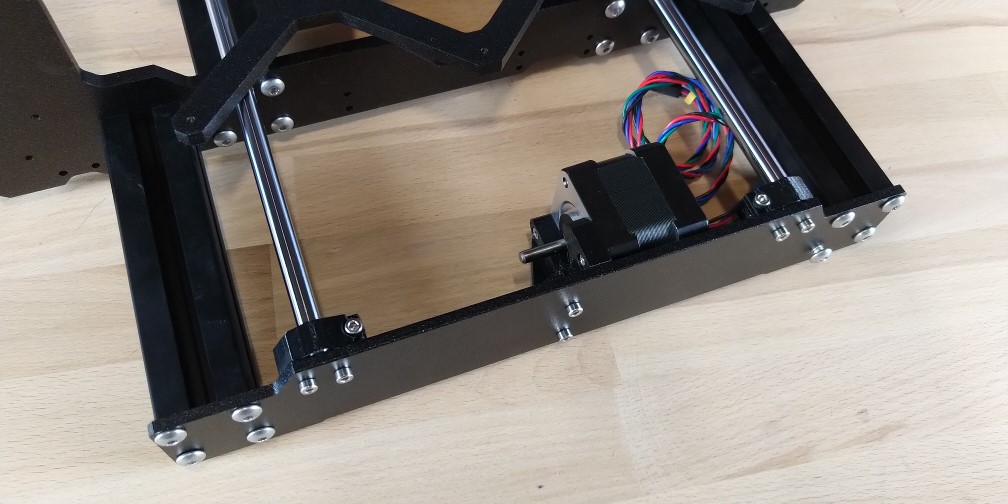
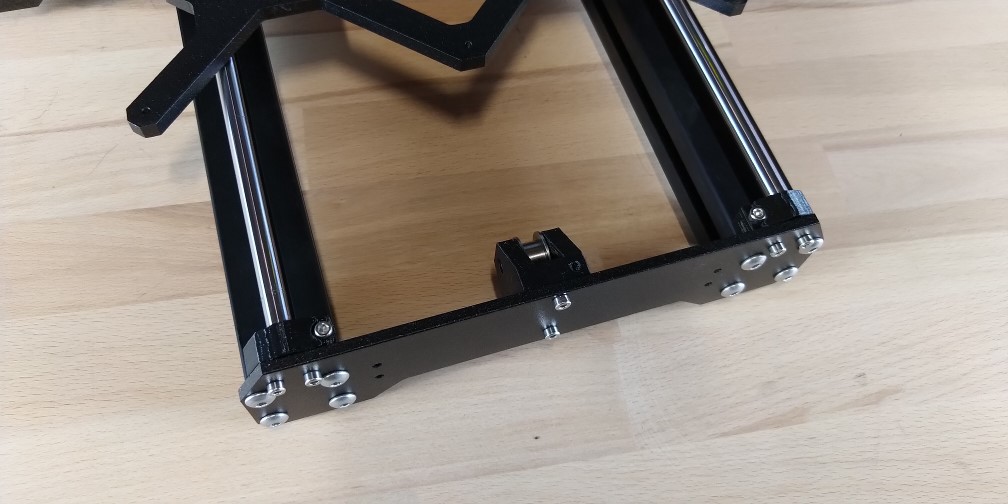
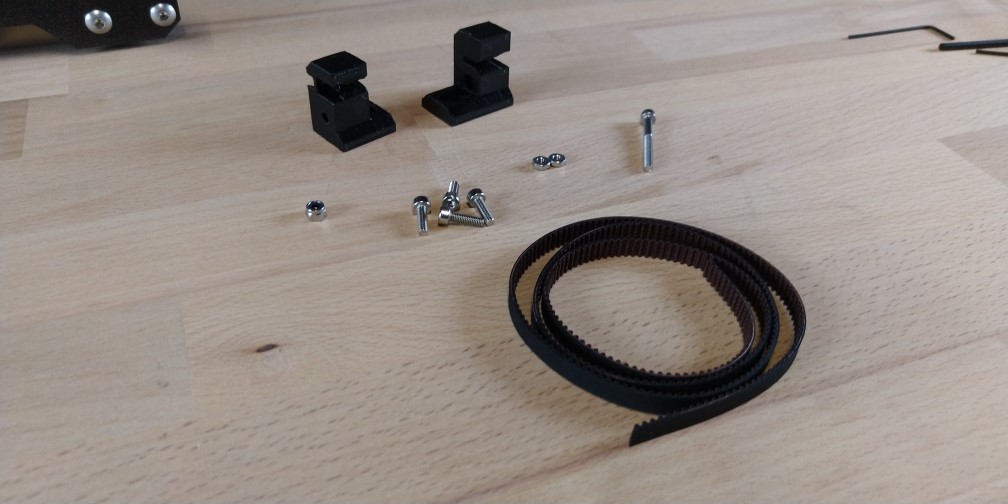
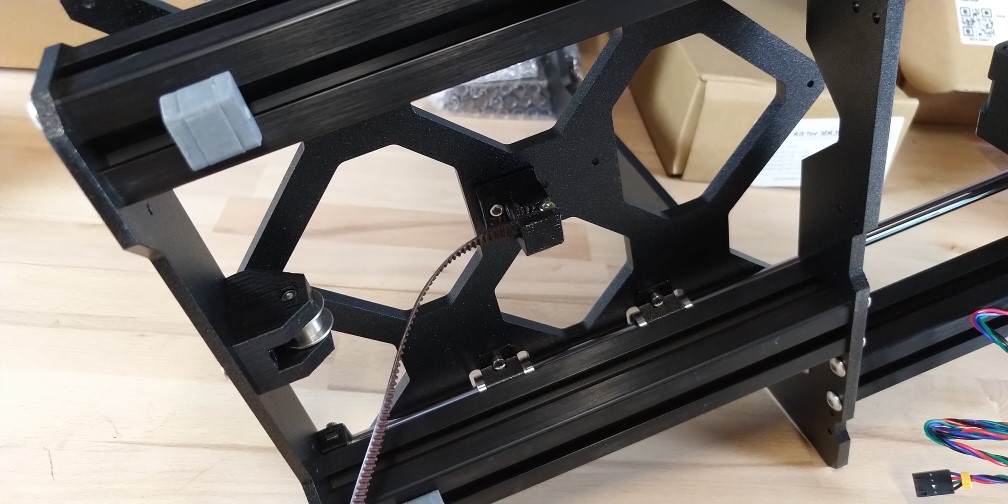
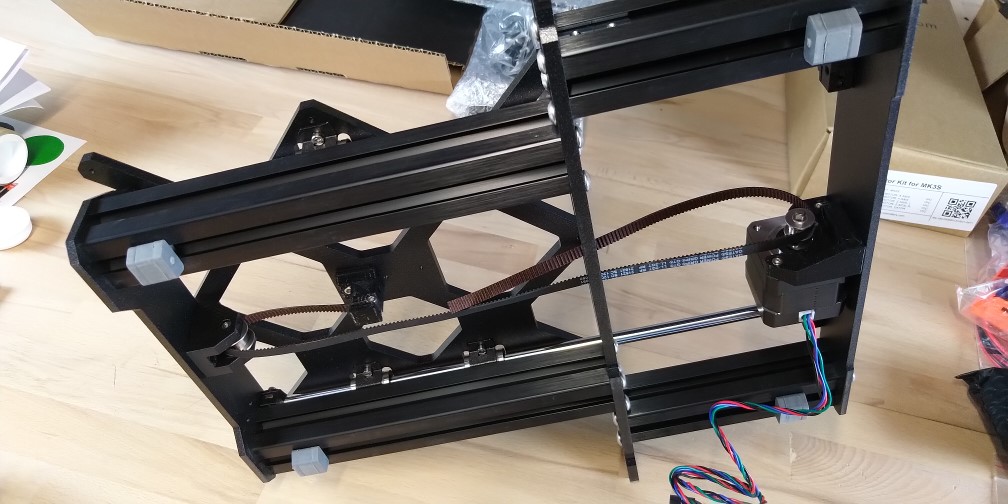
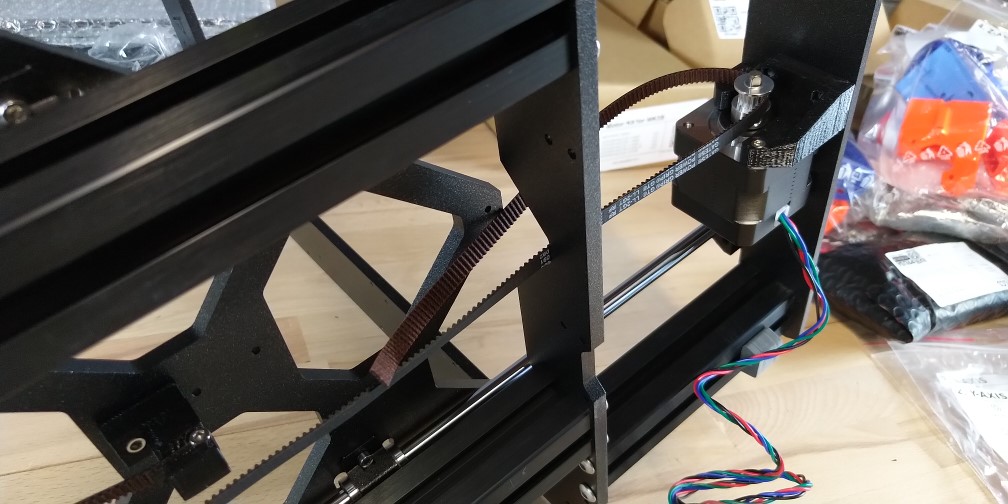
Moving on from the first post where we assembled the 3D printer’s main frame, it’s now time to build and install the Y-axis carriage.
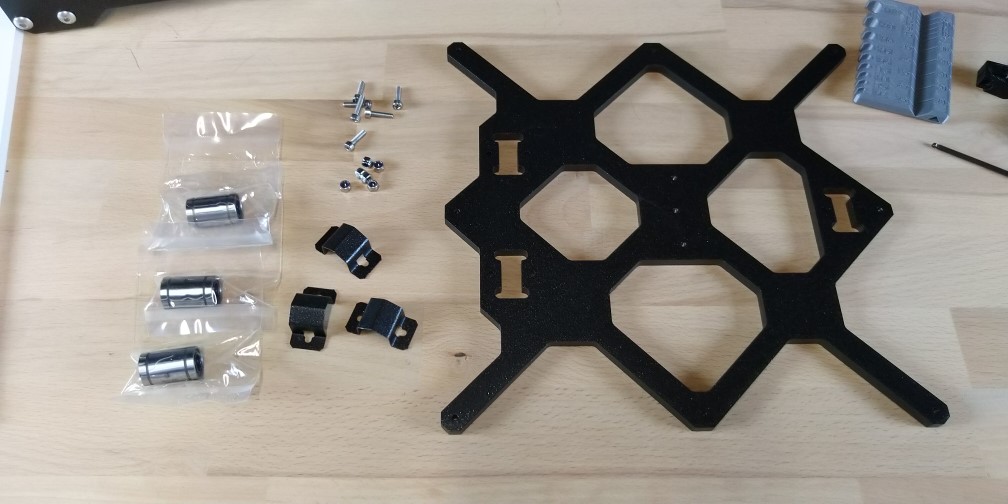
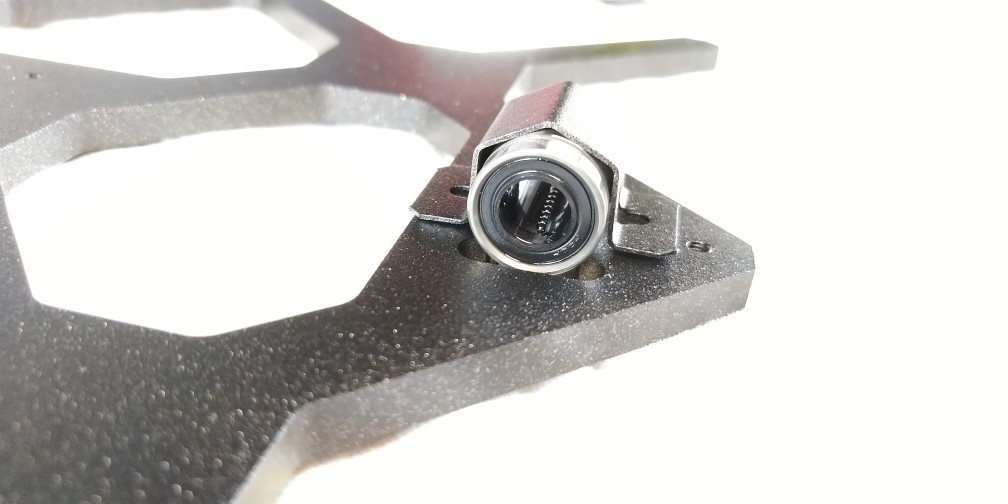
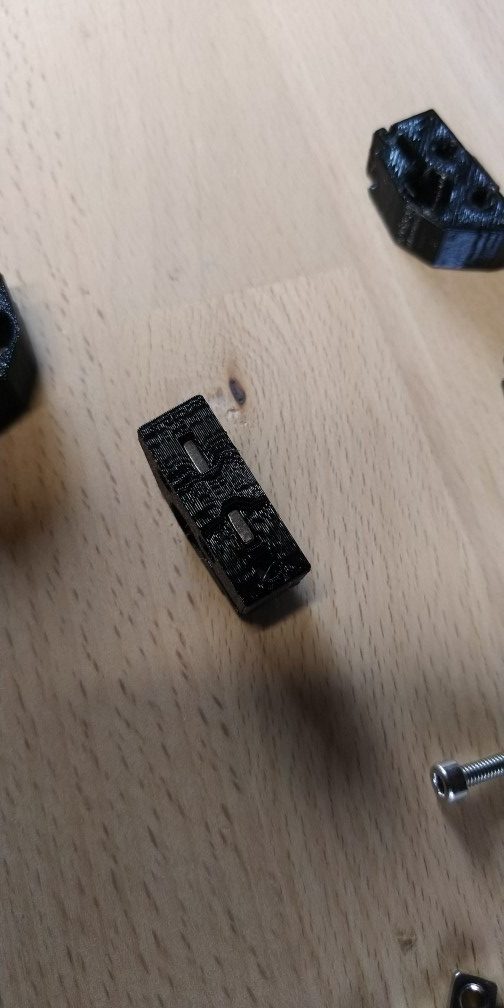
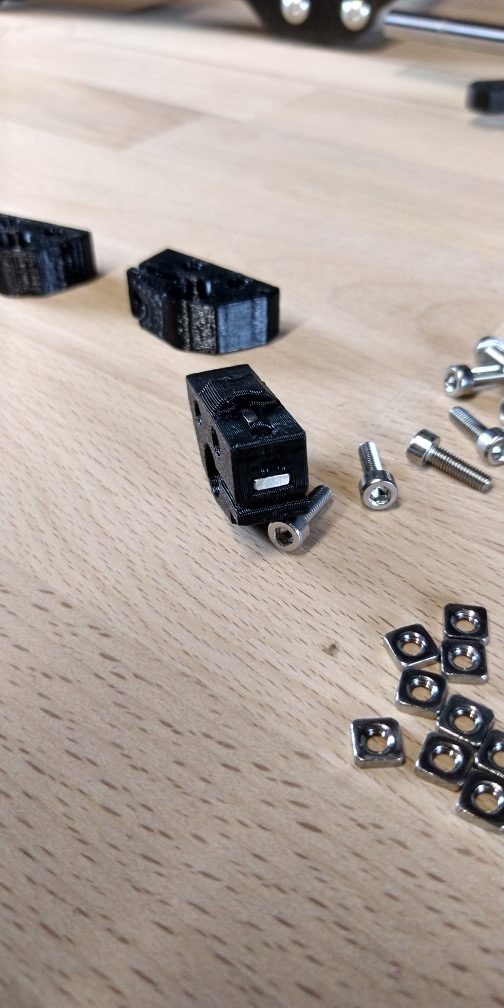
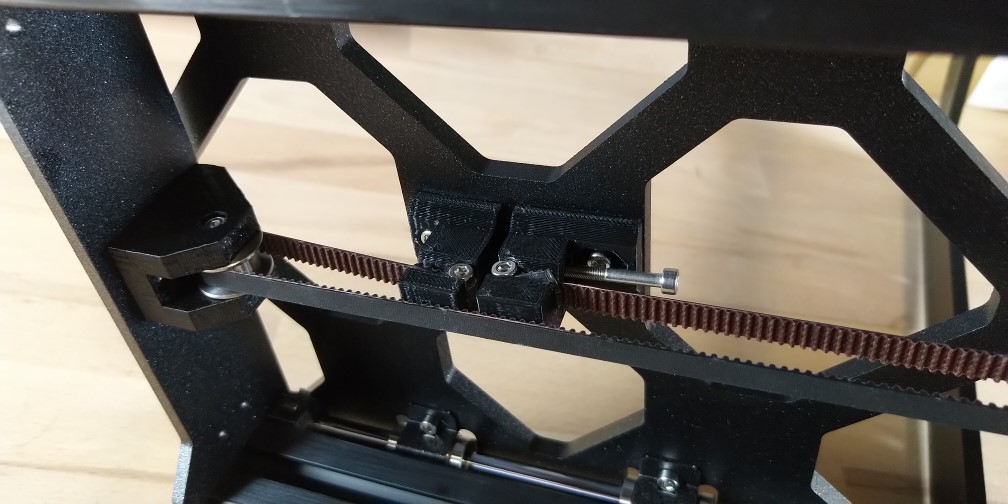
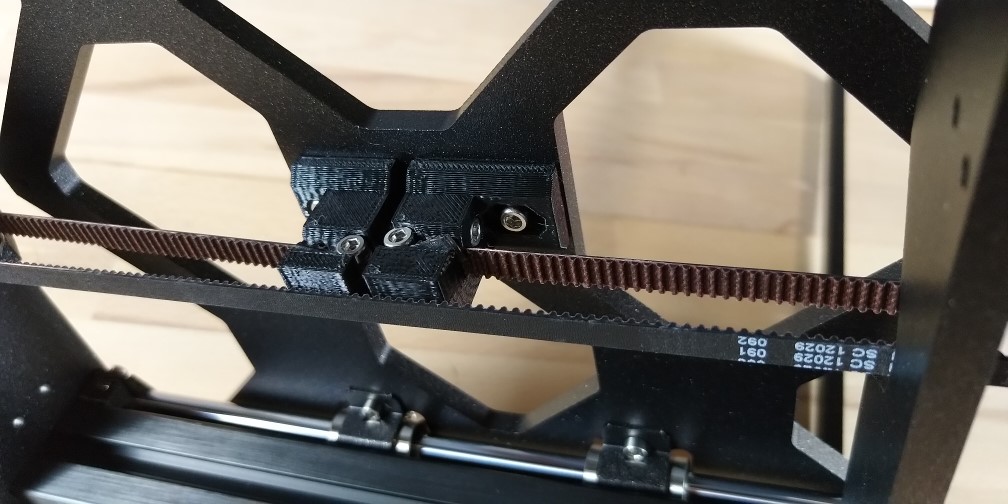
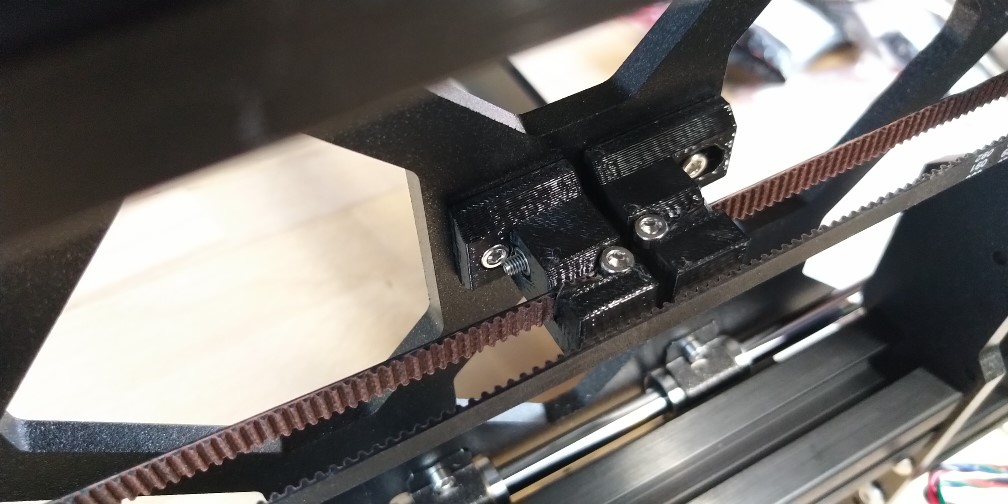
Incidentally, this is where I’ve noticed a difference between this MK3S+ and the earlier MK3S which is the brackets that hold the linear bearings to the underside of the carriage. The MK3S employs zip ties to hold them together!
If you’d like to check out part one of our build guide, click the button below.