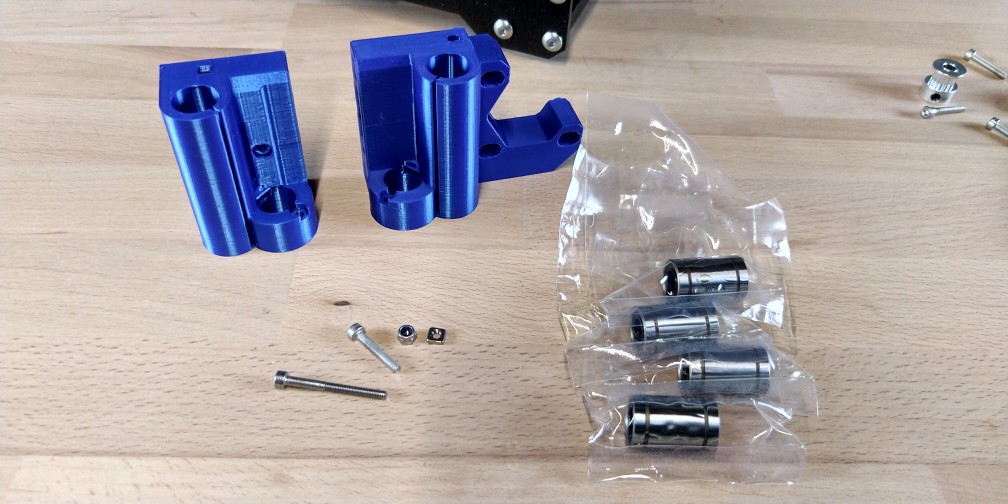
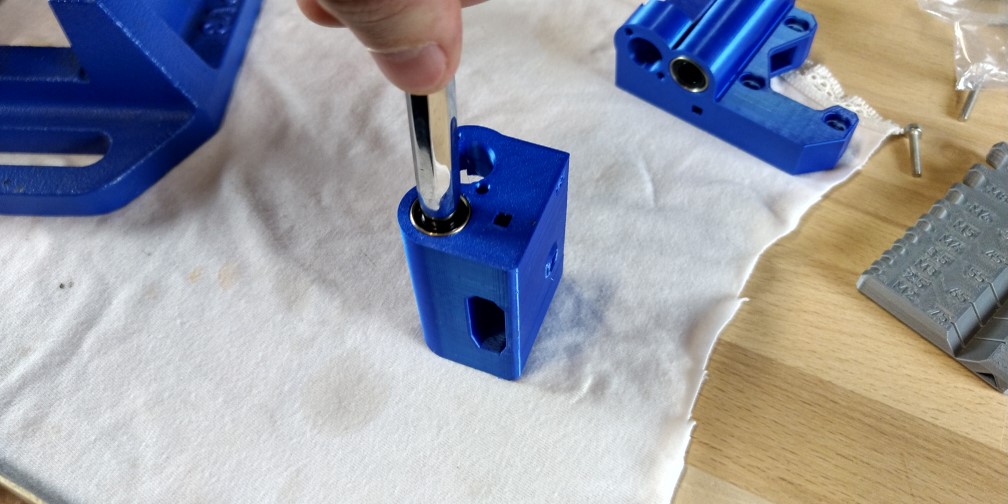
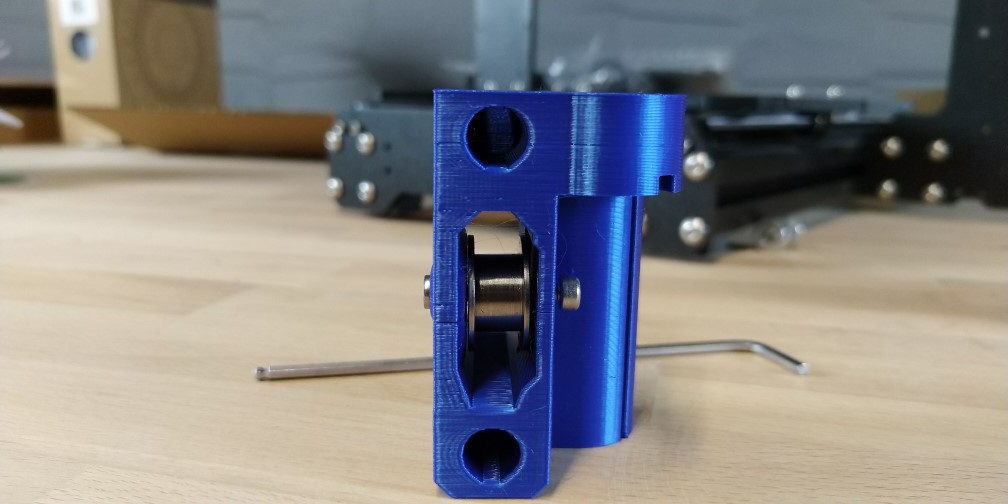
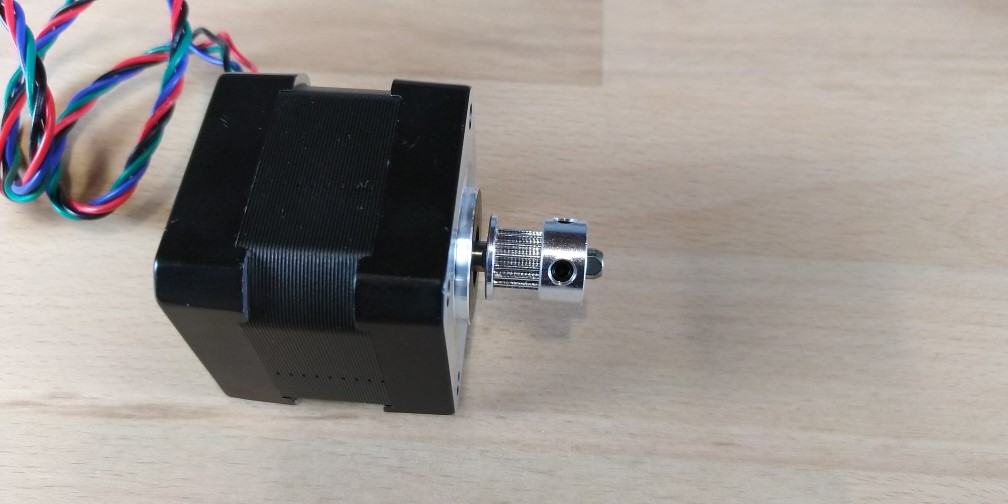
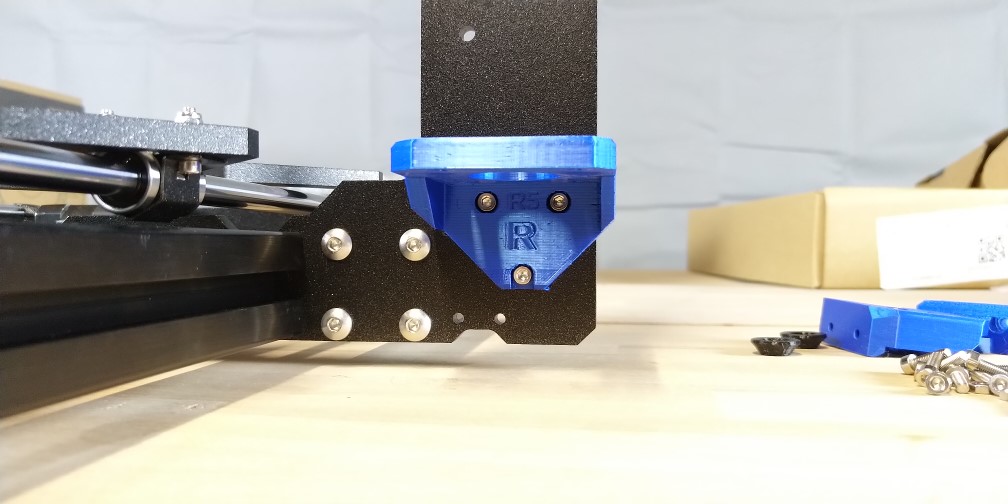
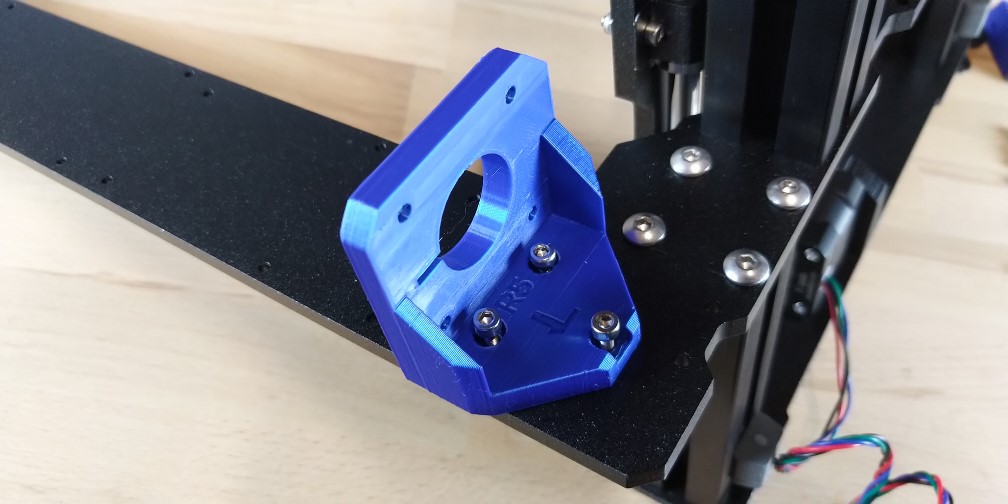
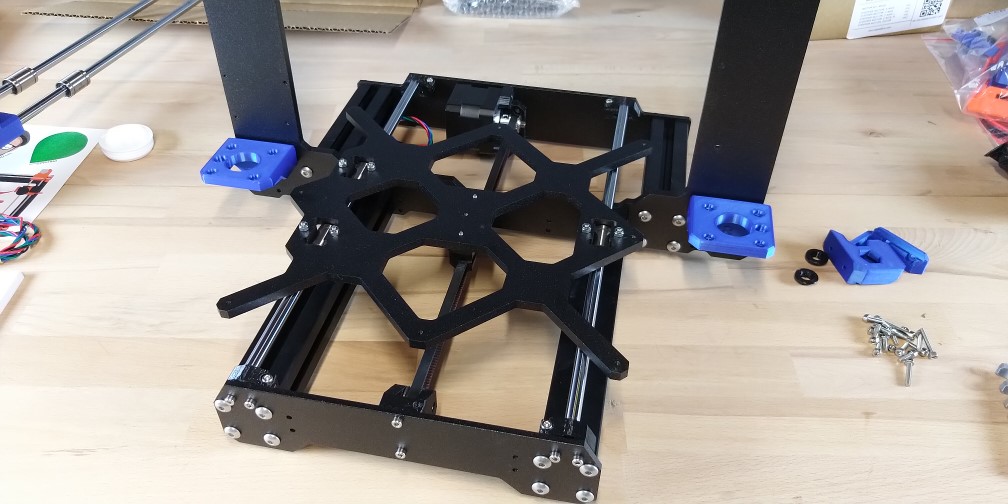
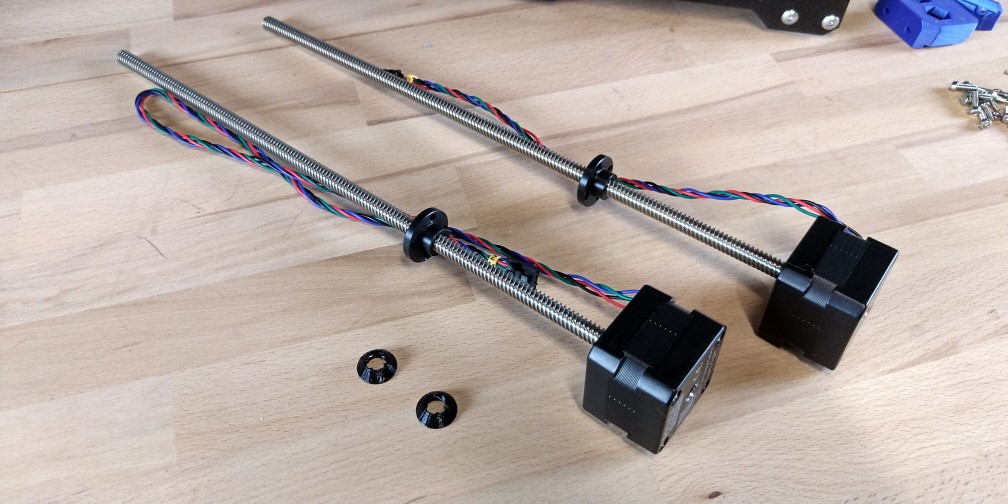
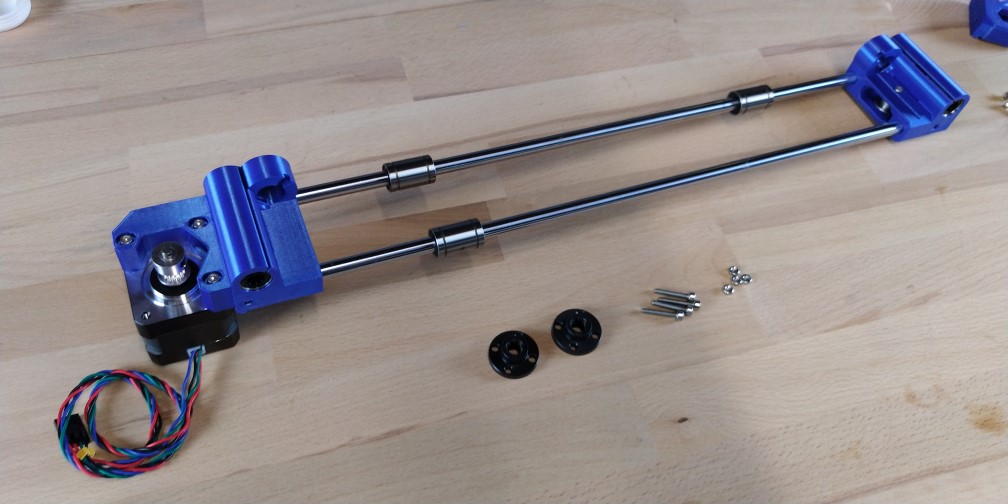
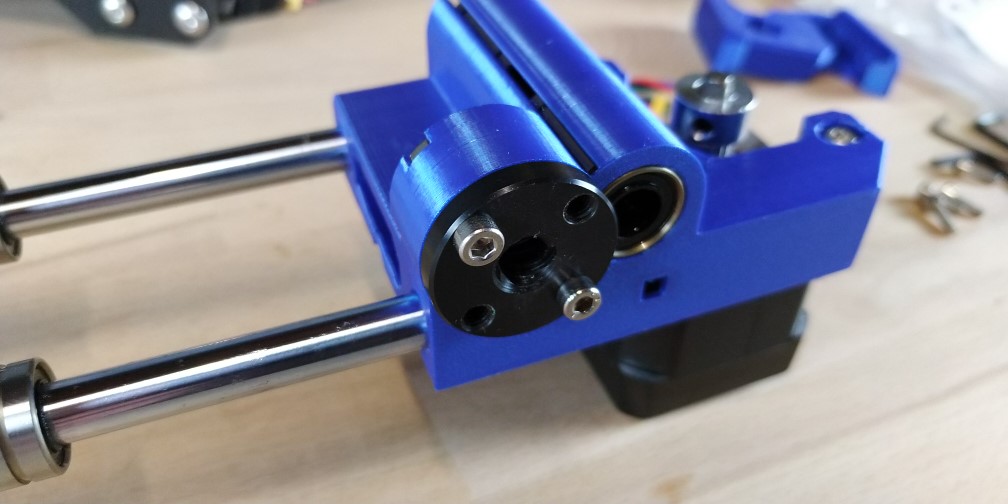
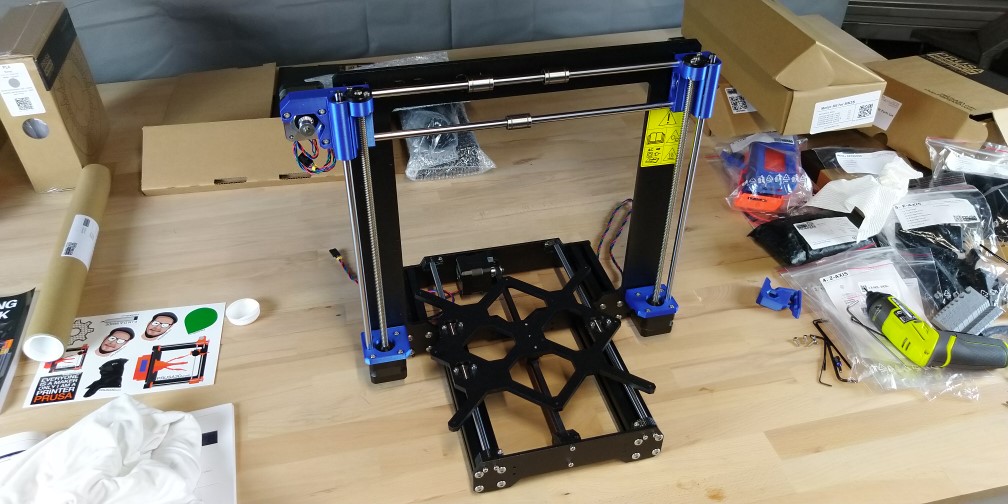
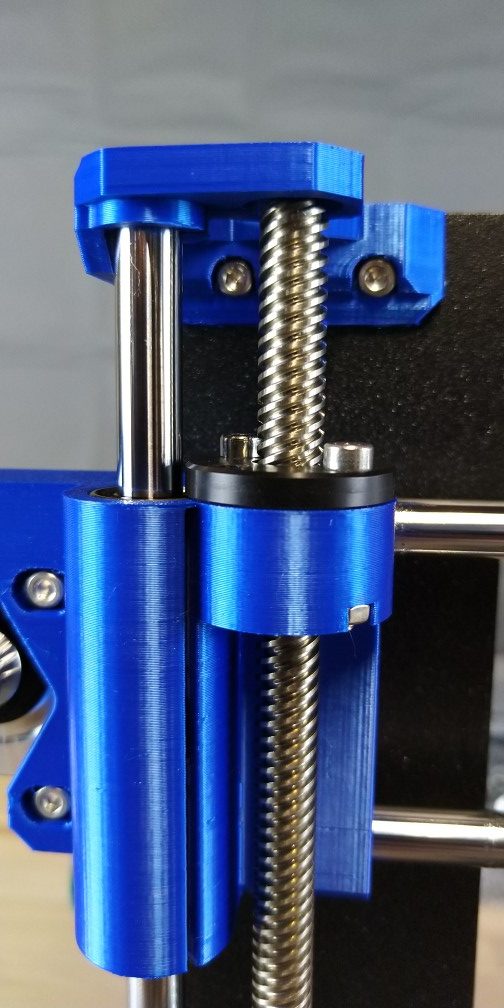
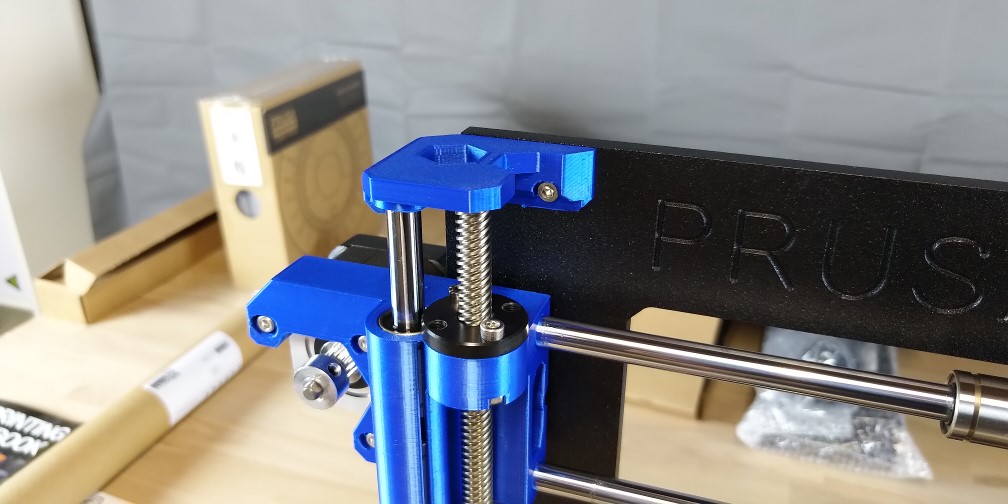
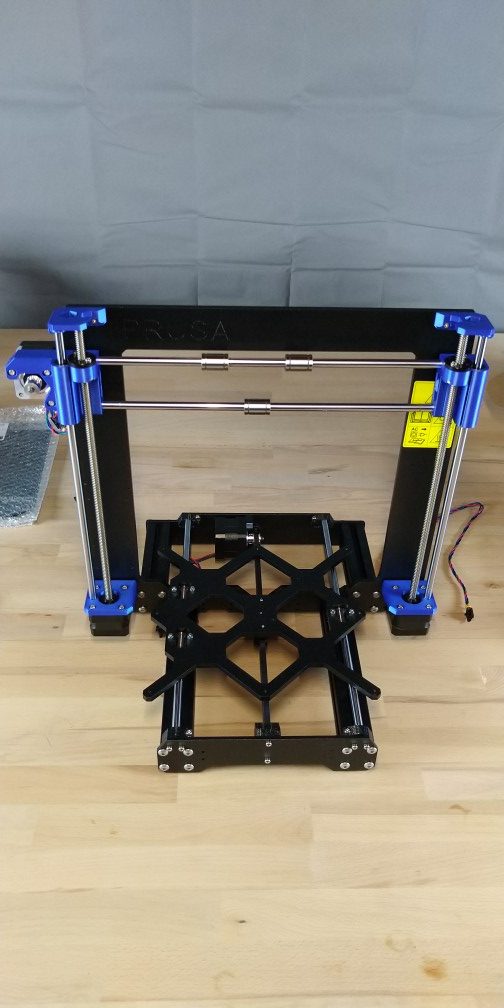
Welcome to part 3 of the Prusa build guide! Because this is the fourth Prusa i3 in the Lannix3D workshop, we have reproduced some of the parts with a nice blue filament to distinguish this printer from the others. Prusas come from the factory with 3D printed parts, some of which are coloured orange which is their signature colour.
Prusa has made the CAD files for these parts available for download from their website which makes it easy for customers to customize their machines.
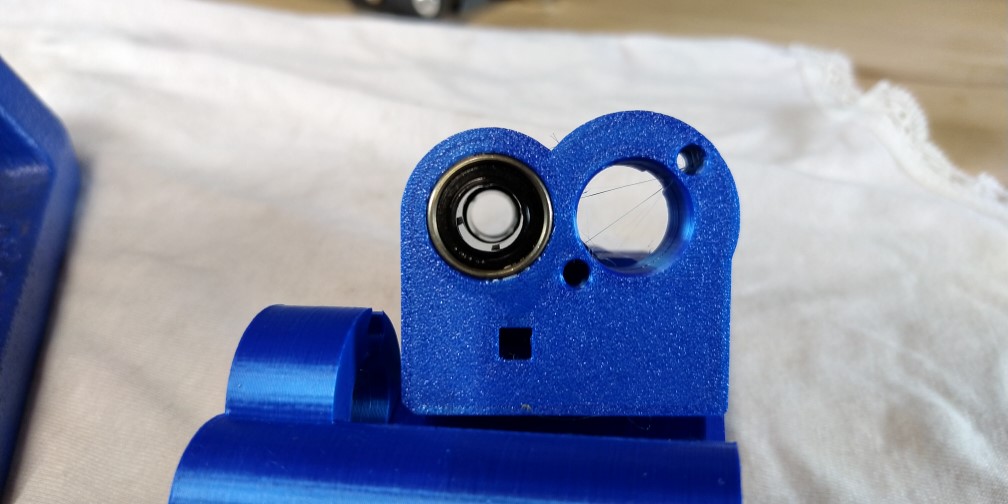
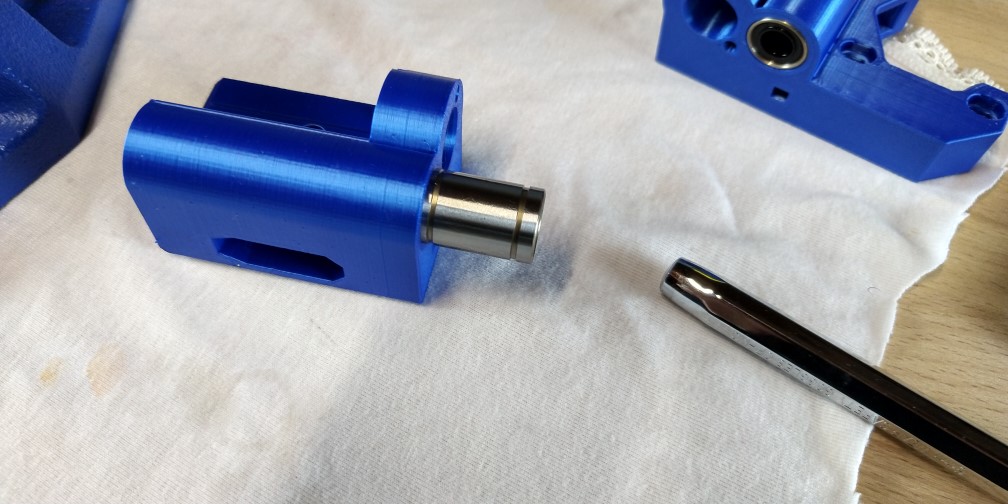
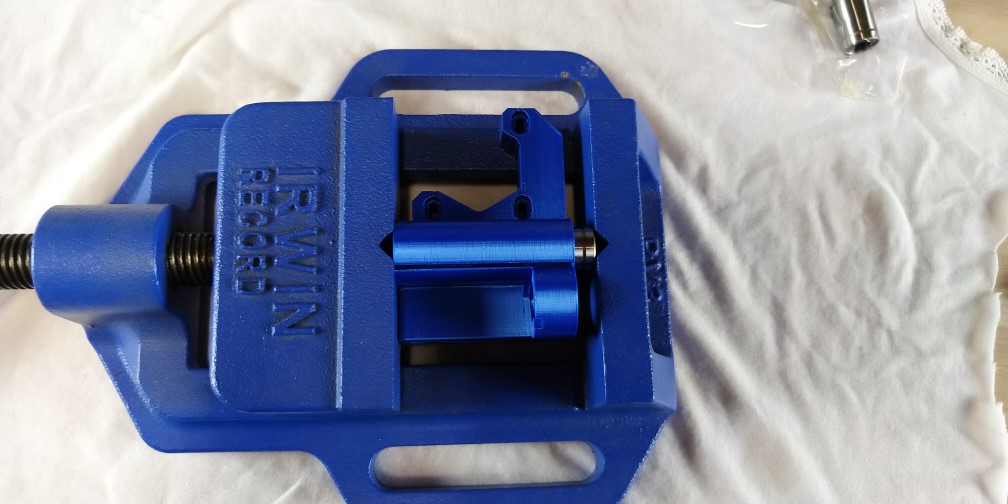
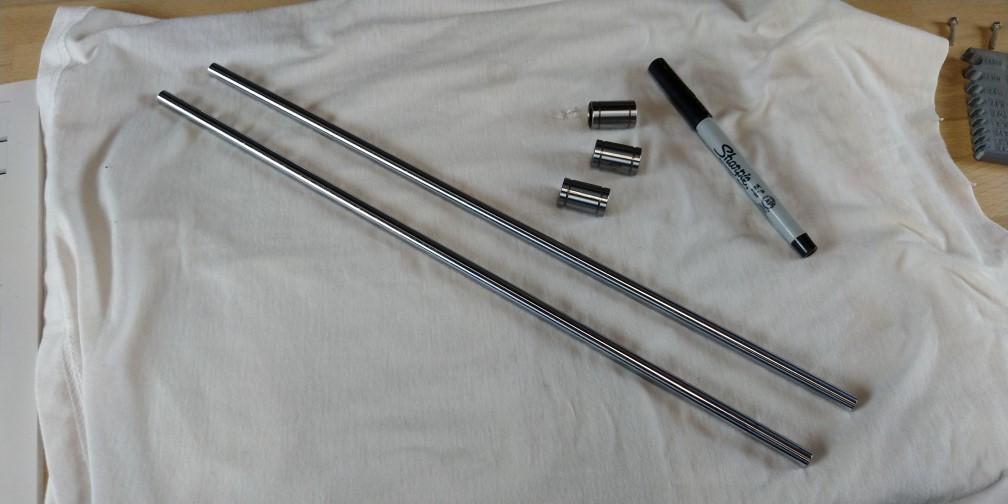
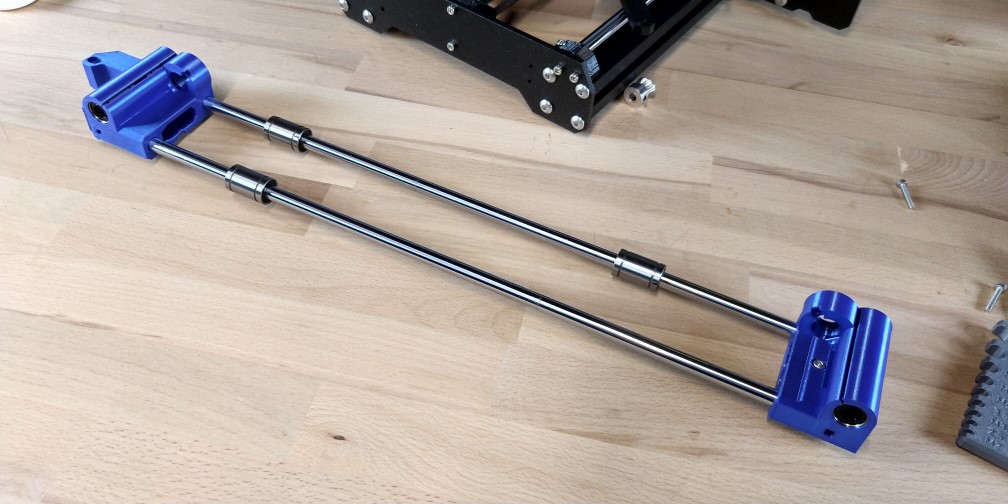
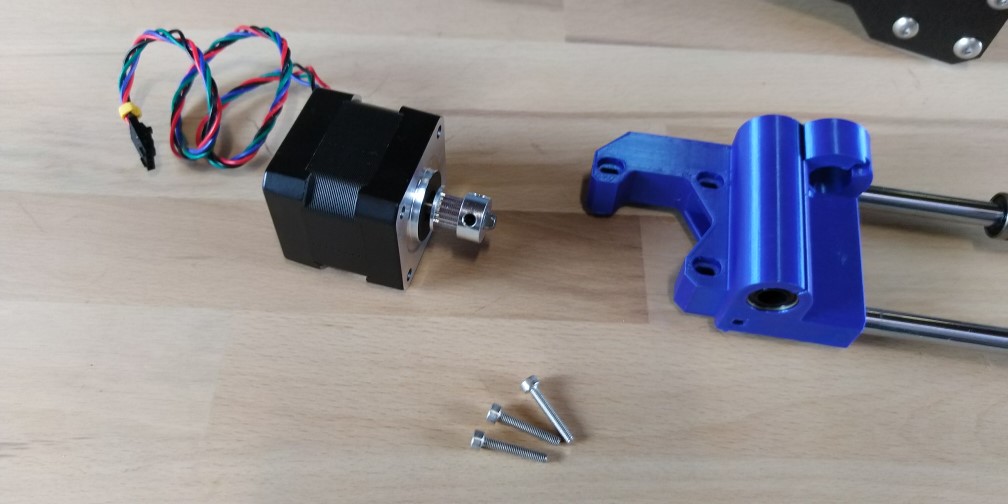
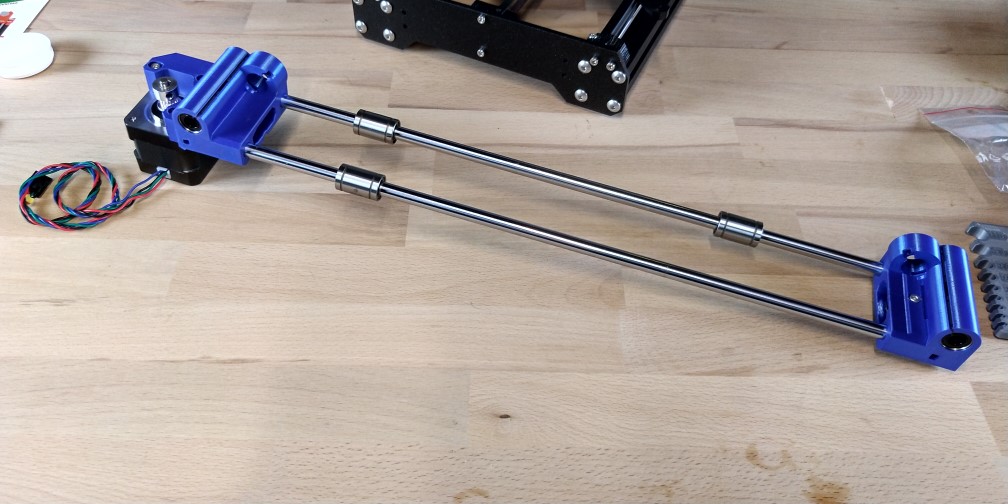
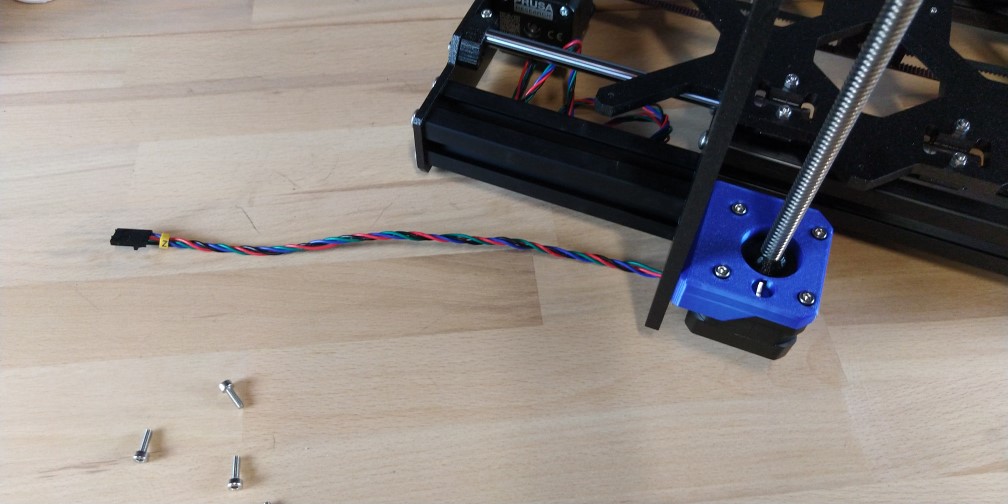
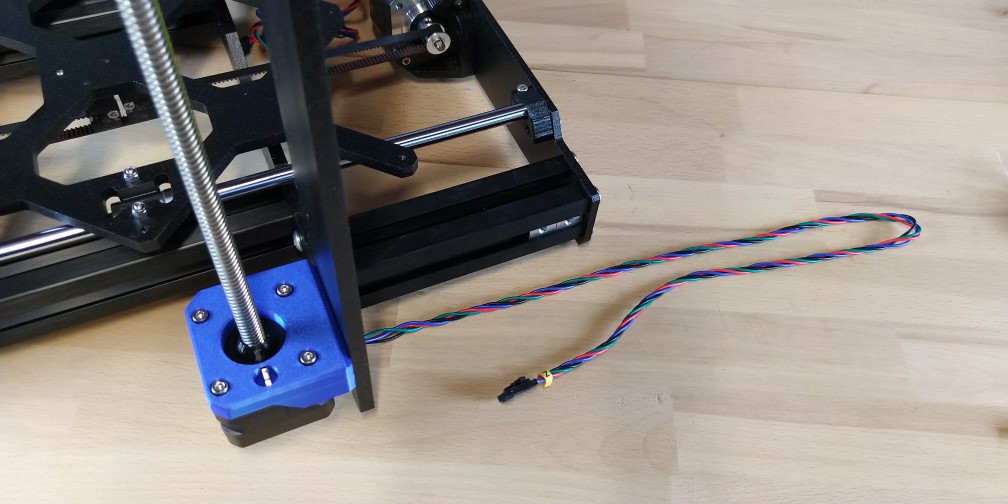
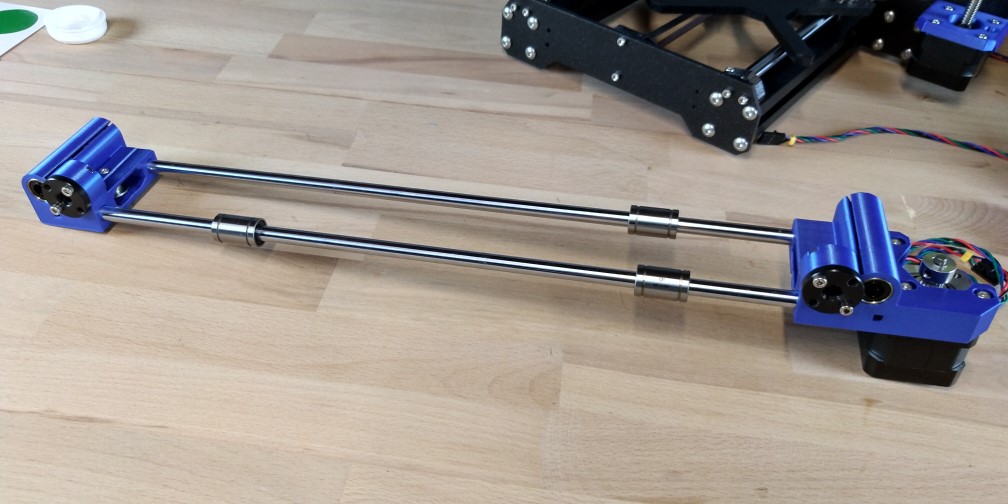
The X-axis assembly stage sees the first of these coloured parts utilized.