I’ve come across some really great looking 3D printing time-lapse videos on YouTube and wondered how the were made and can I reproduce similar results. My partner Jade had a digital SLR camera that wasn’t being used too often so after some begging I was granted permission to use it in my experiments.
The method that made the most sense to me involved these seven steps:
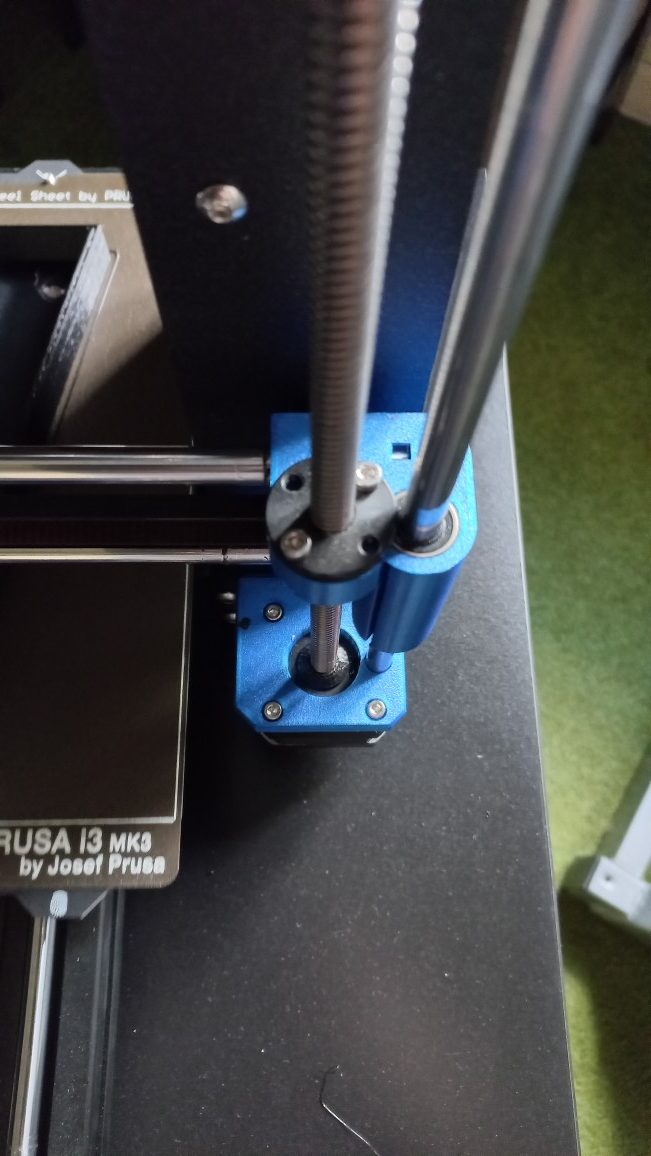
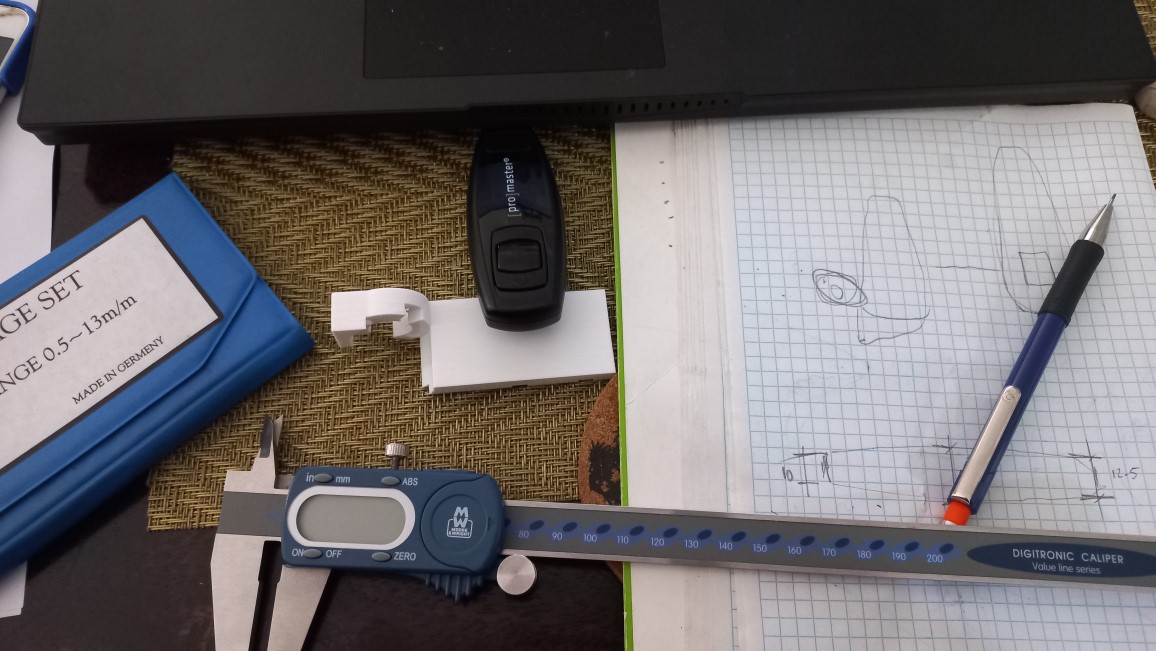
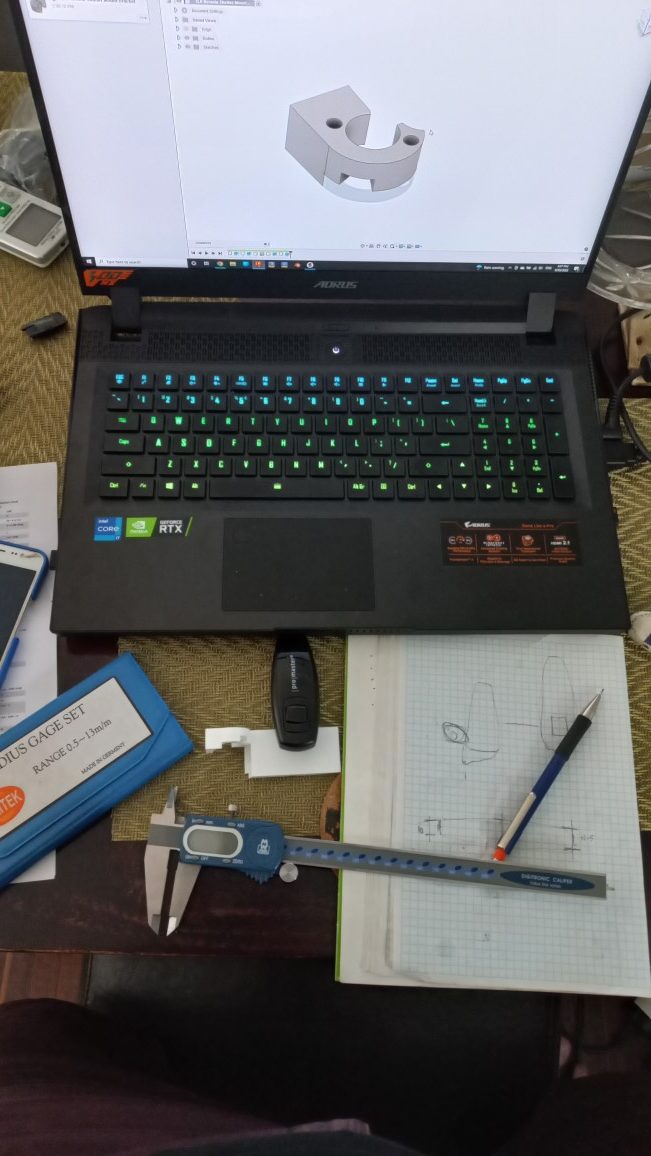
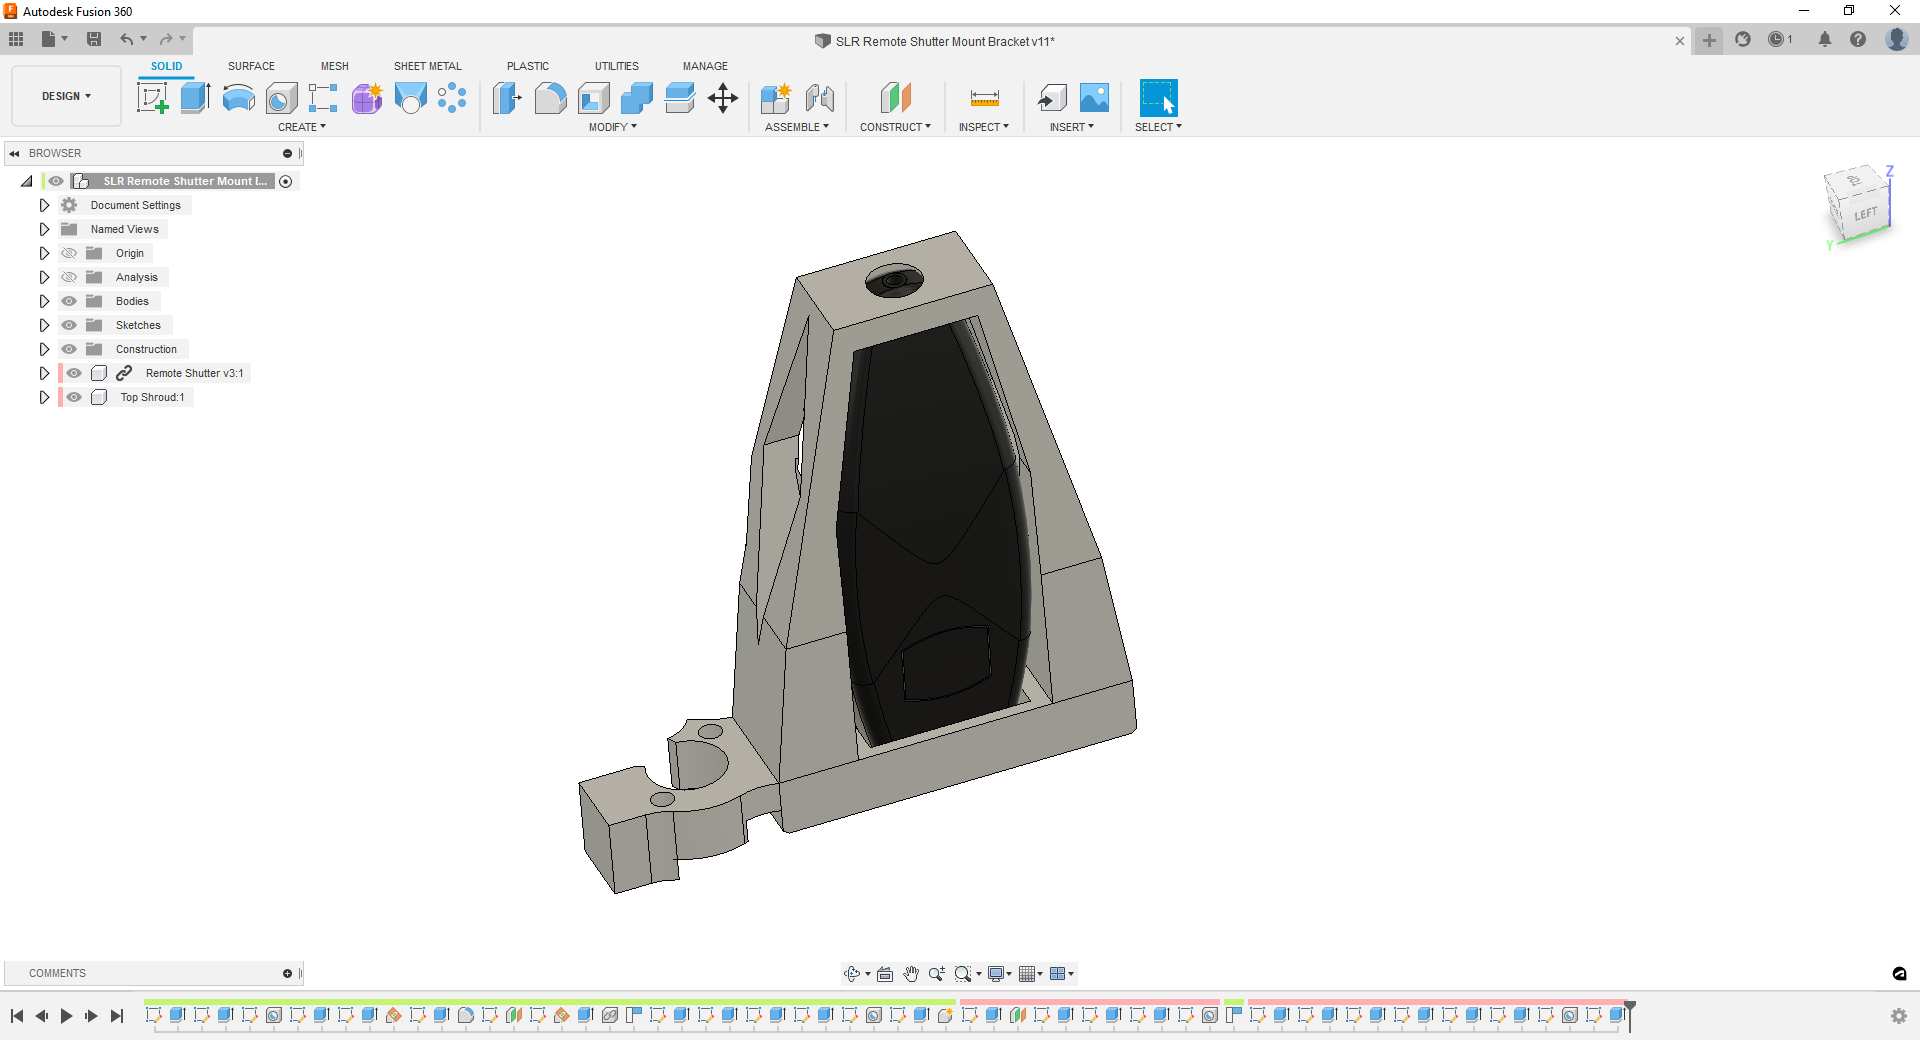
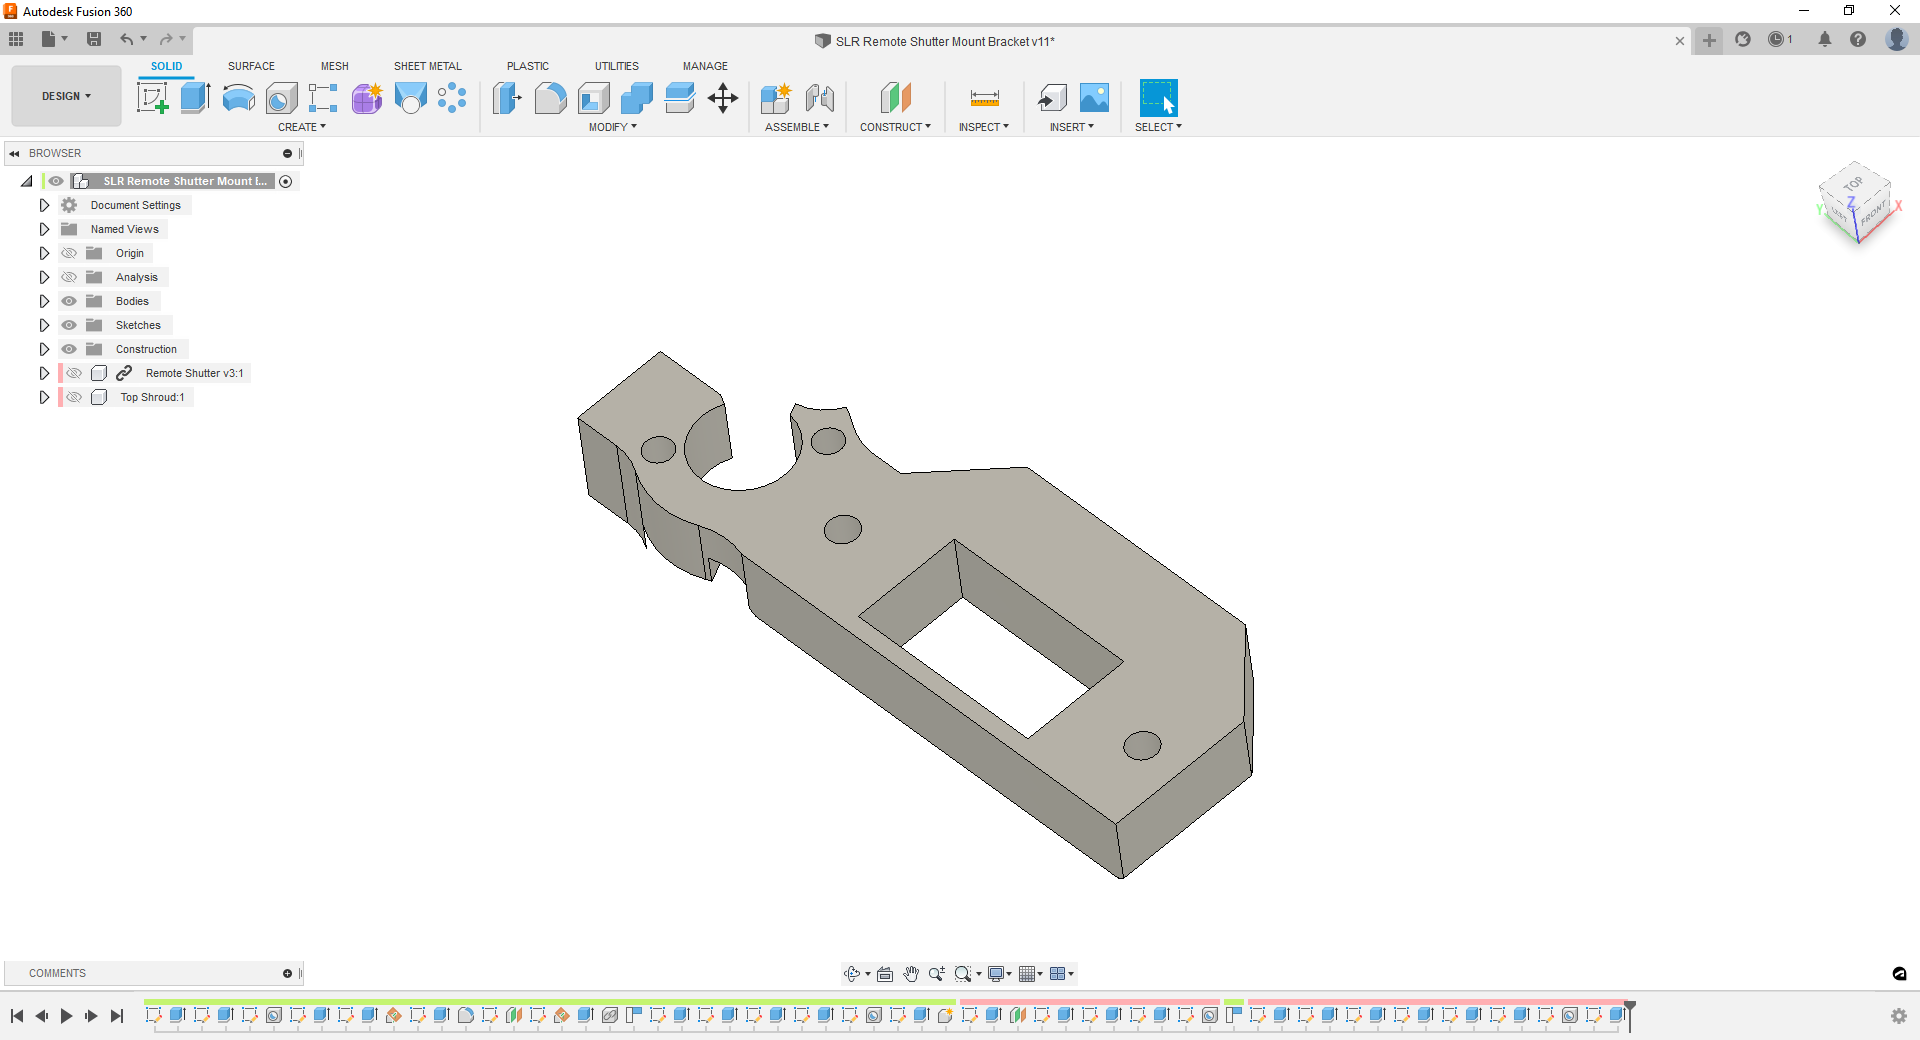
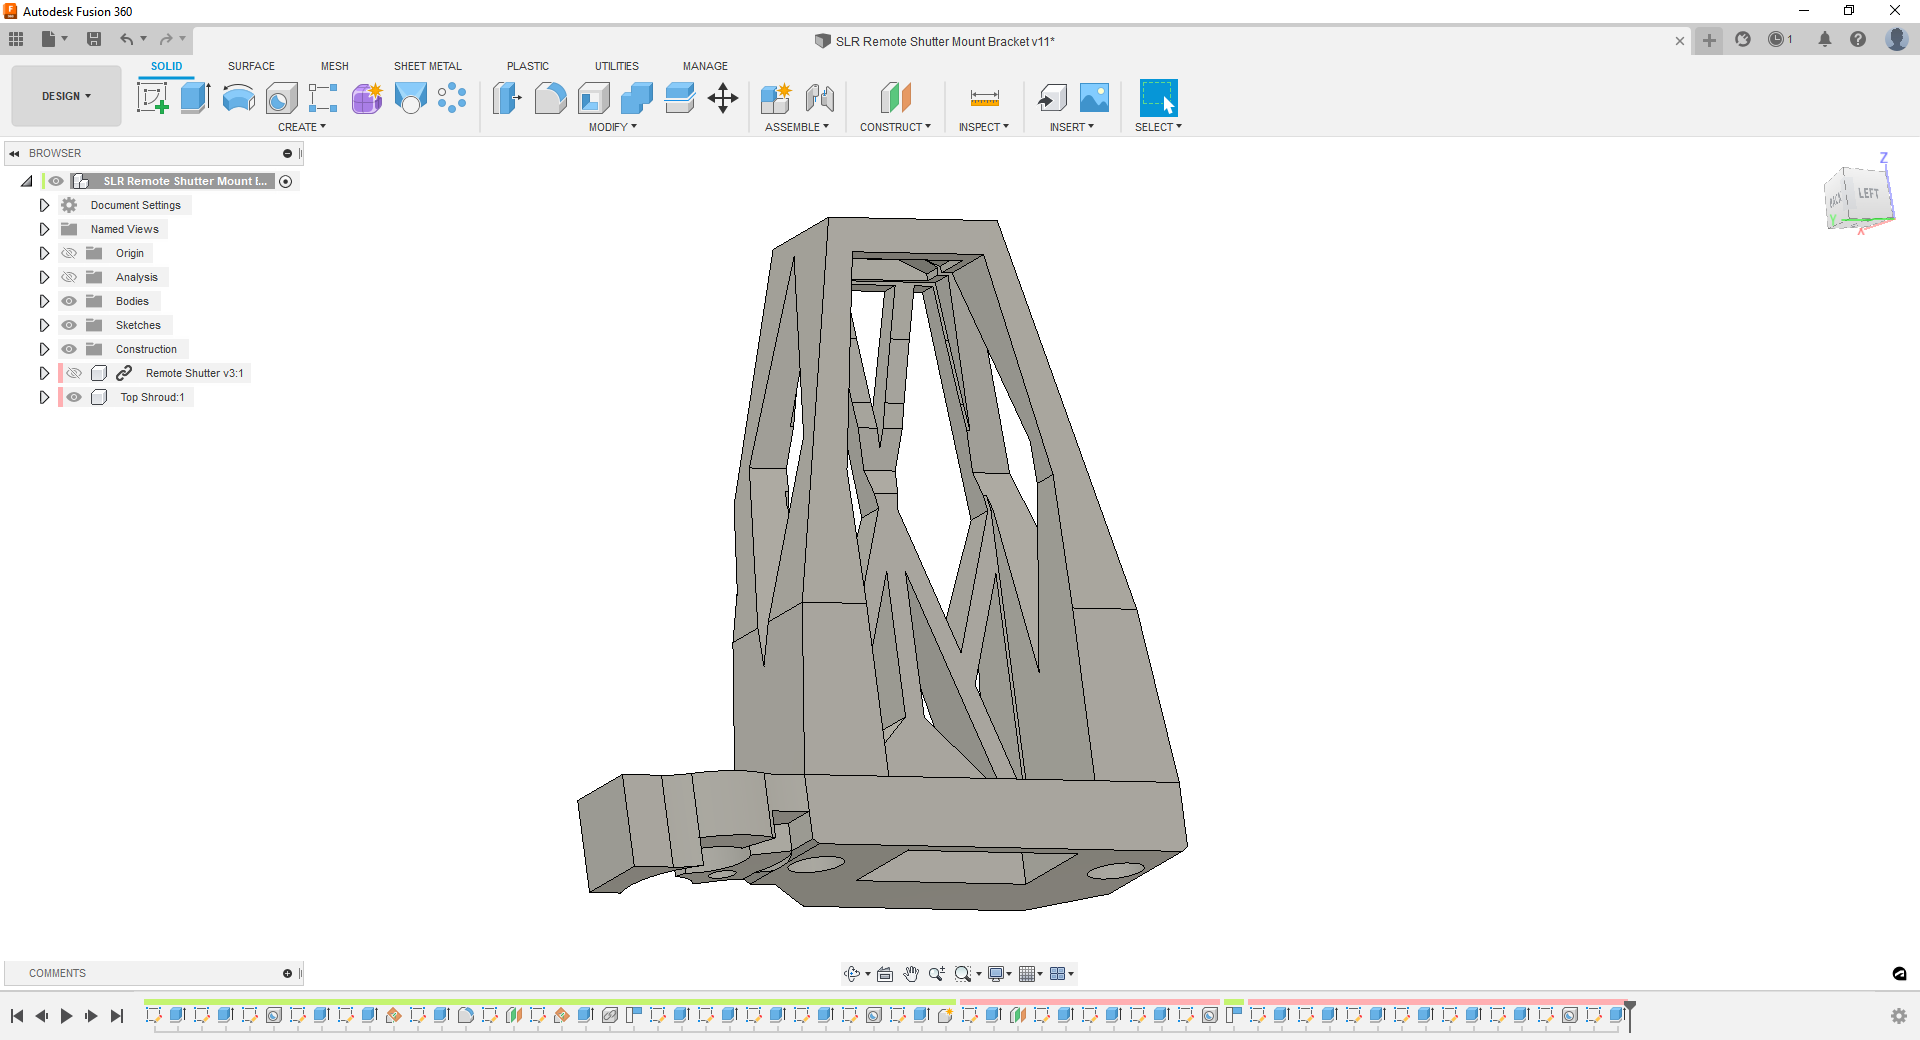
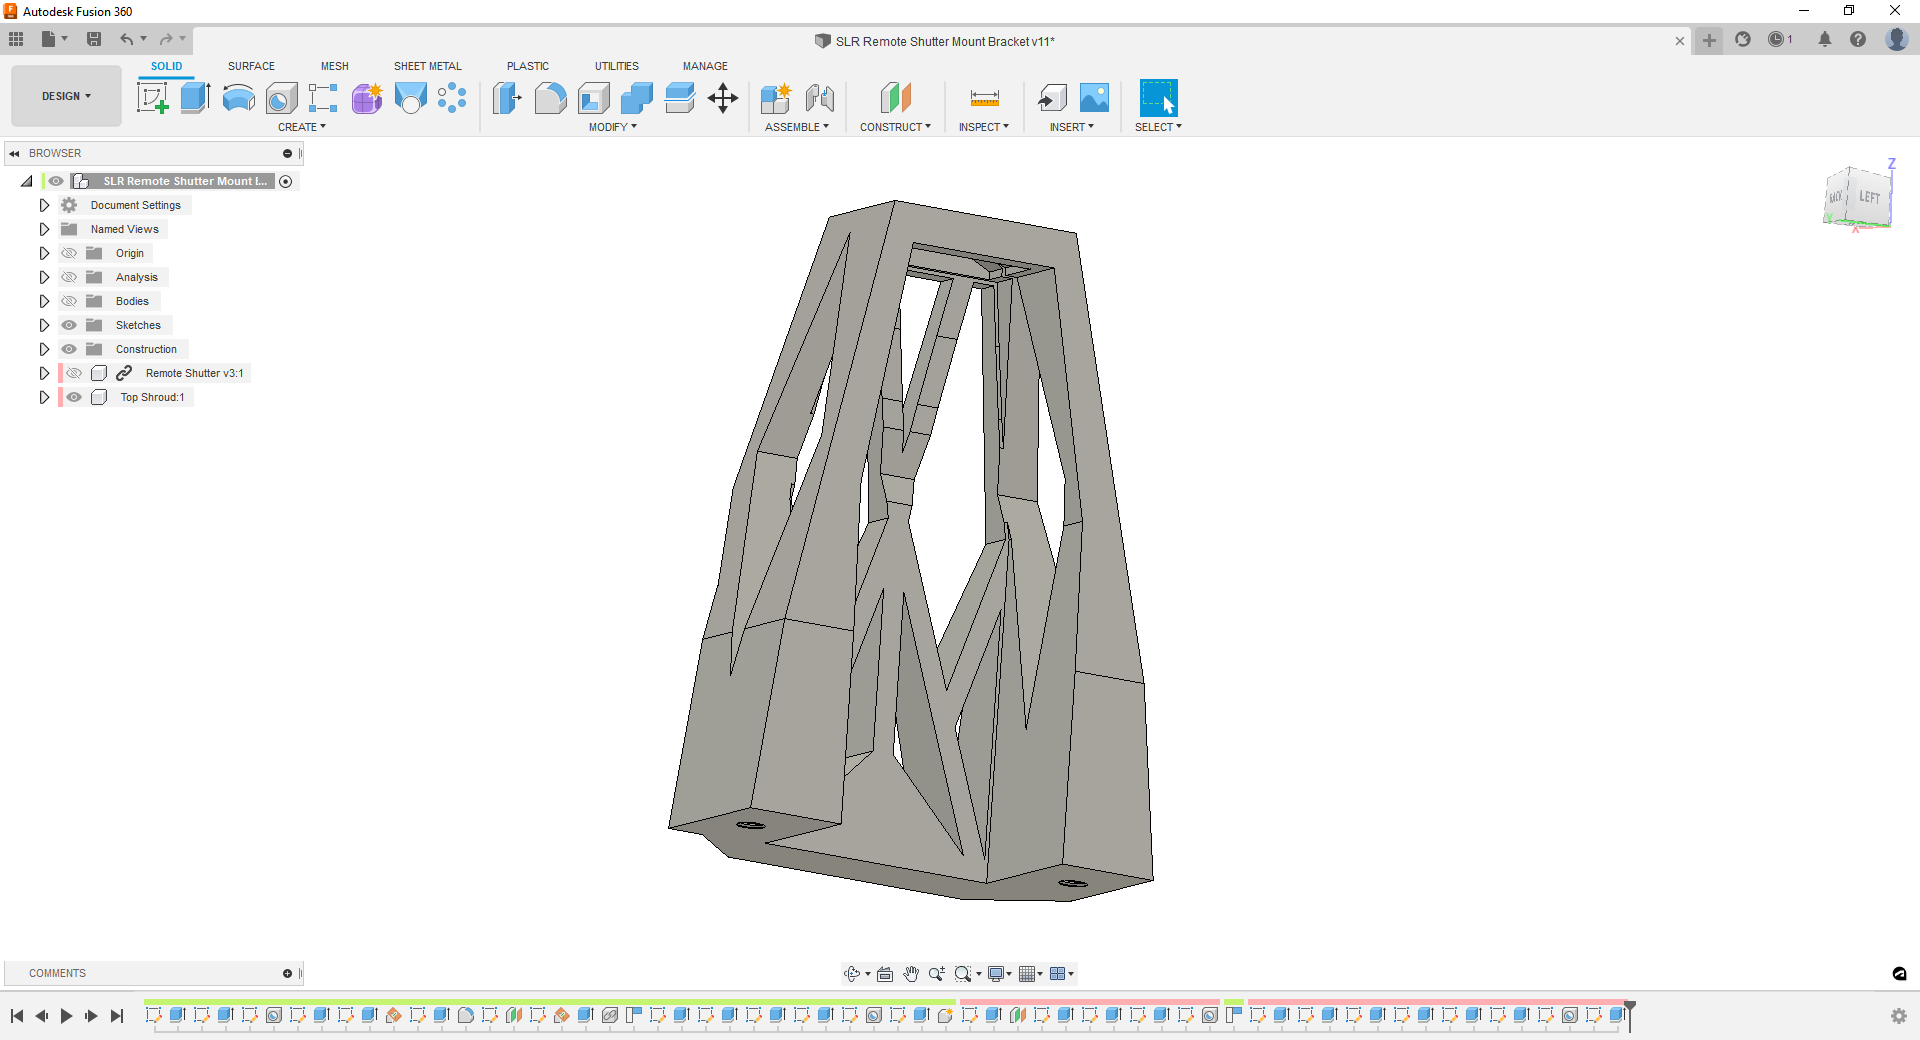
- Design and 3D print a bracket for a remote camera shutter that attaches to the printer’s X-axis carrier.
- Design and 3D print some sort of extension arm for the extruder body that lines up with the remote shutter and can press the button to take a photo.
- Edit the printer’s G-code so that after every layer, it moves the extruder to the far right of its travel so that the afore mentioned extension arm strikes the remote shutter.
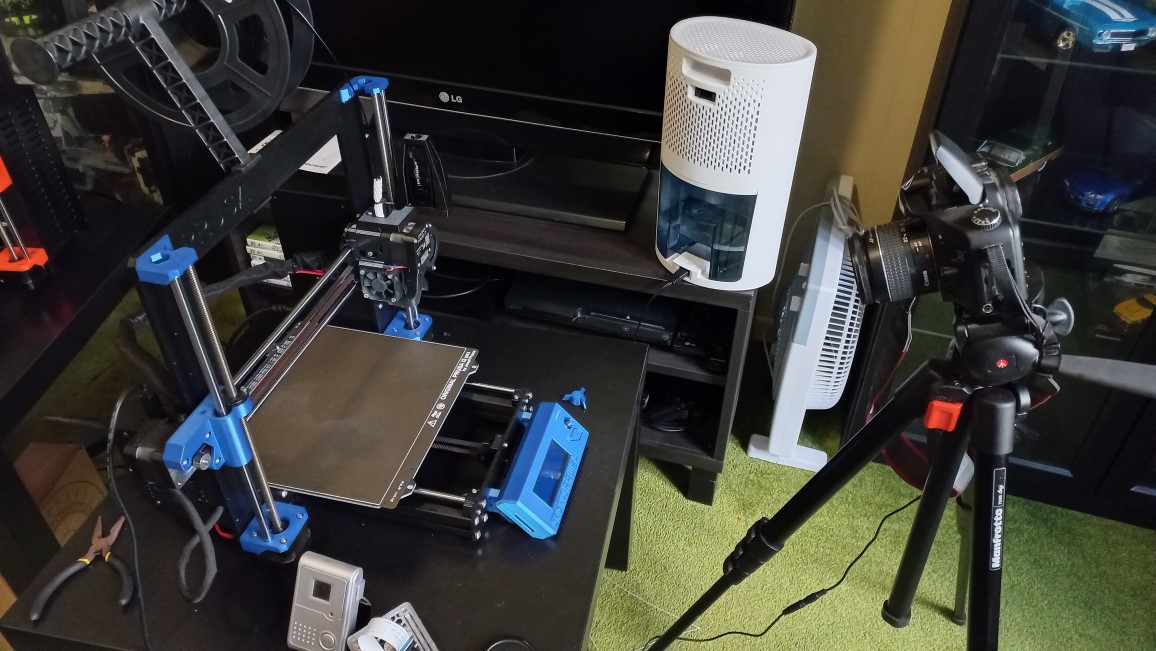
- Setup the printer in an environment with controlled lighting so that the images are unaffected by any lighting condition changes.
- Setup the DSLR in manual mode so that all camera settings remain the same for all pictures.
- Compile the resultant photos into video editing software to output a pretty video for YouTube.
- Profit!
The most difficult part has been setting up the photo area away from outside influences and working out the optimum settings for the camera. Also the camera runs its battery flat quite quickly so acquiring a power pack for it is in the very near future.
Subscribe to our monthly newsletter to see some sweet timelapses as soon as they come off the press. Otherwise click the YouTube icon to the right to see what’s on our channel.
Talk to ya next week, friend!.
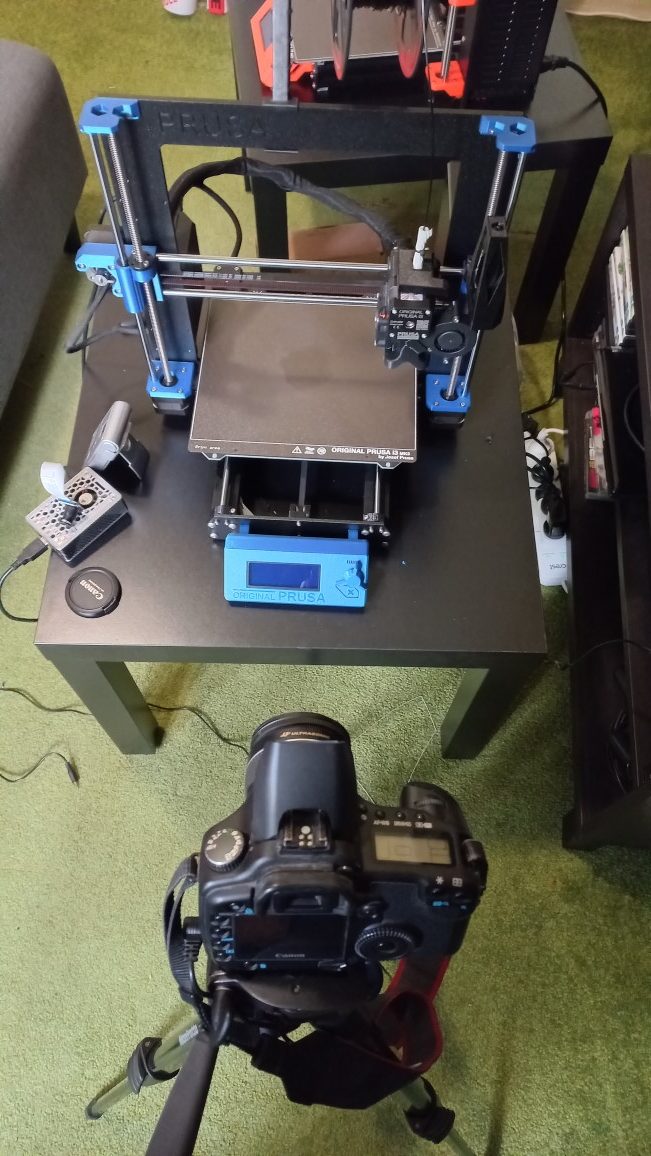
3D printer time-lapse setup (not final arrangement!)