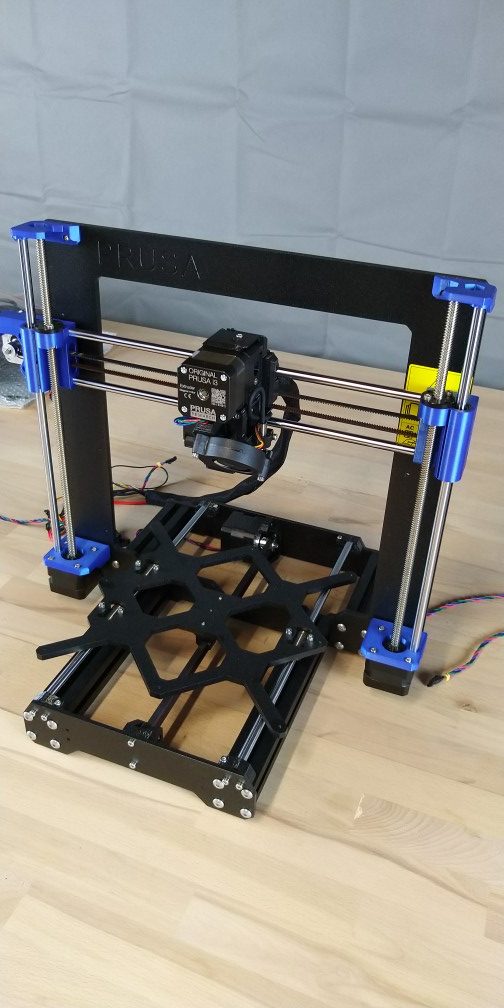
Welcome to part 4 of the Prusa build guide! This is a big one!
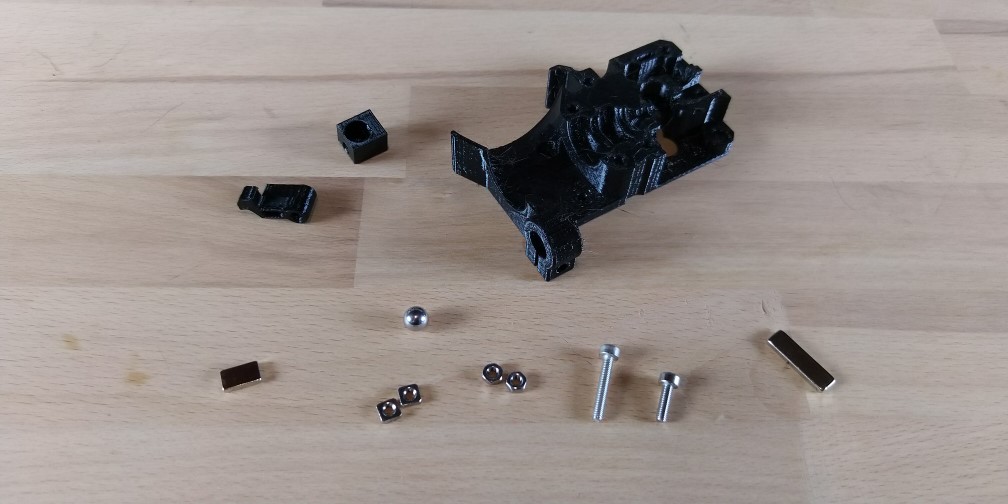
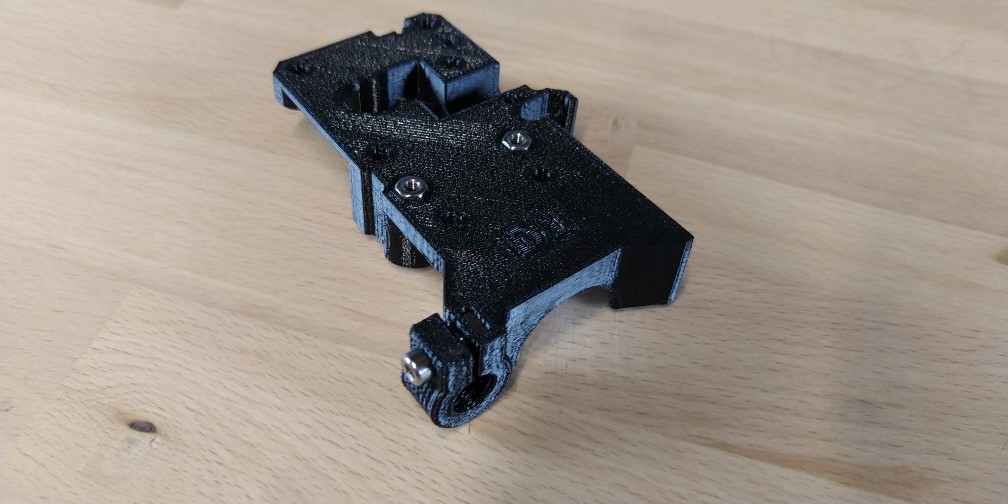
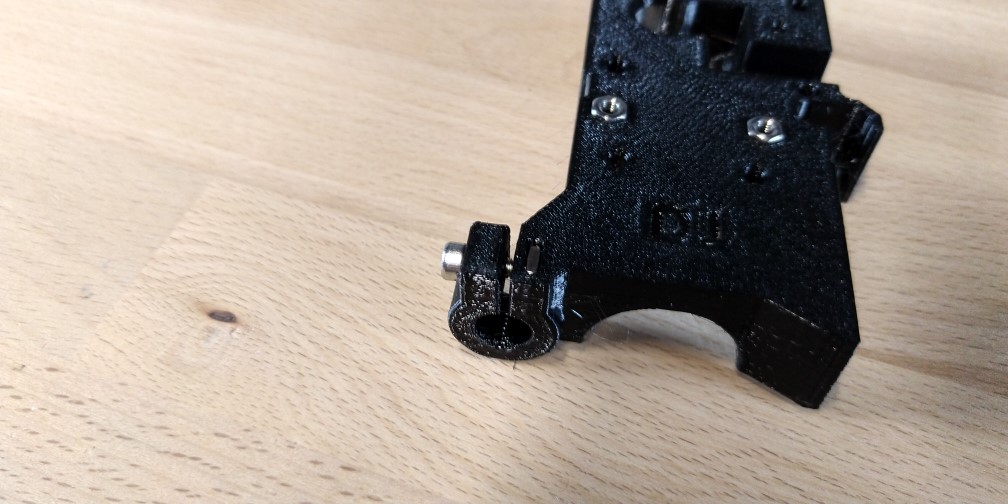
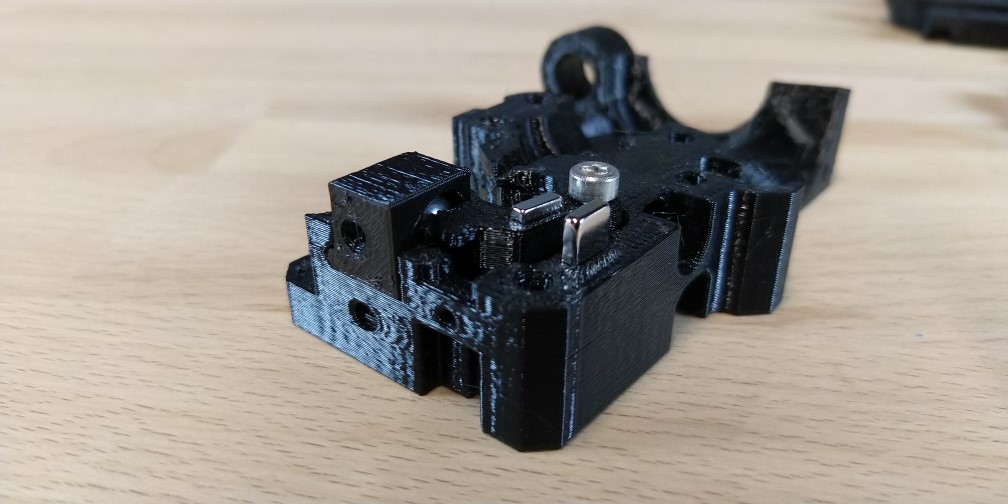
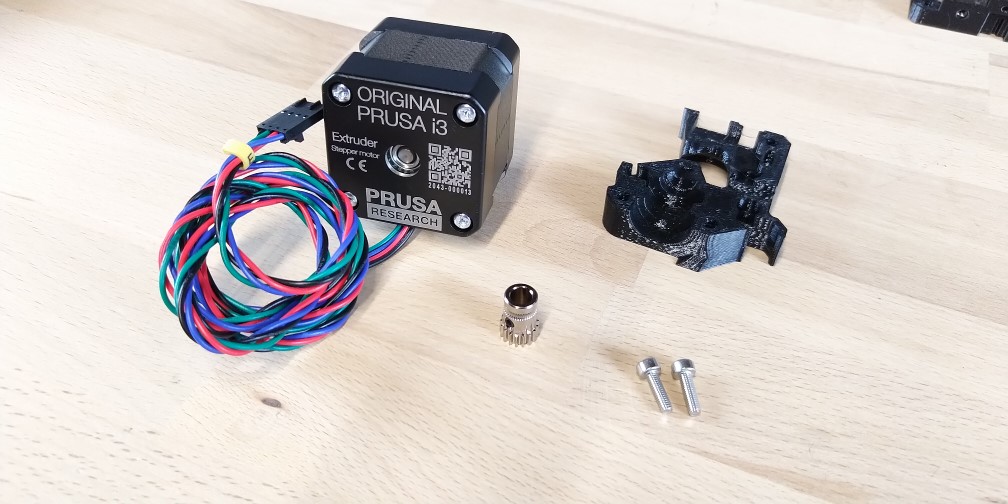
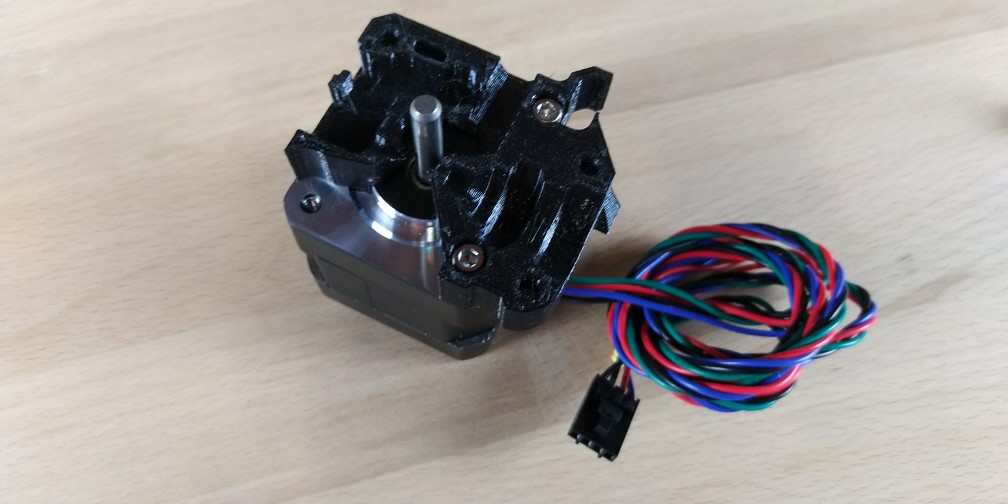
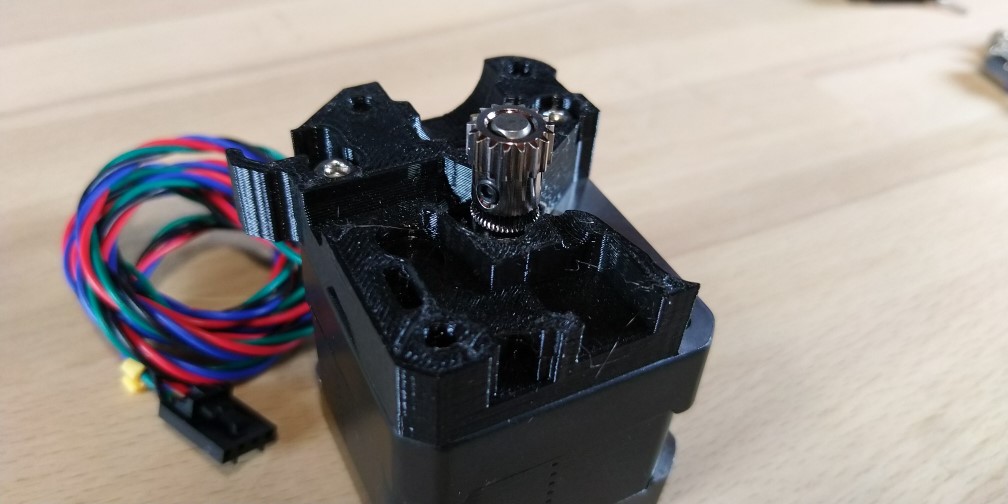
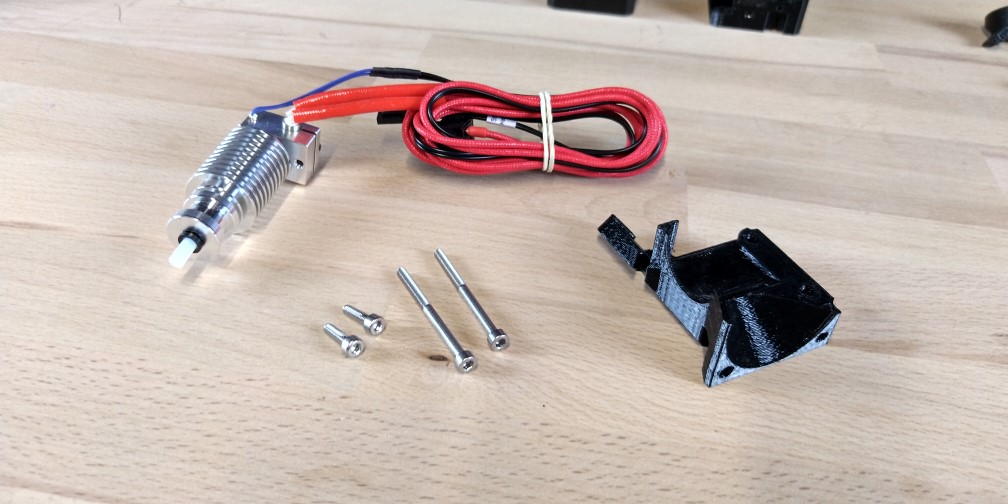
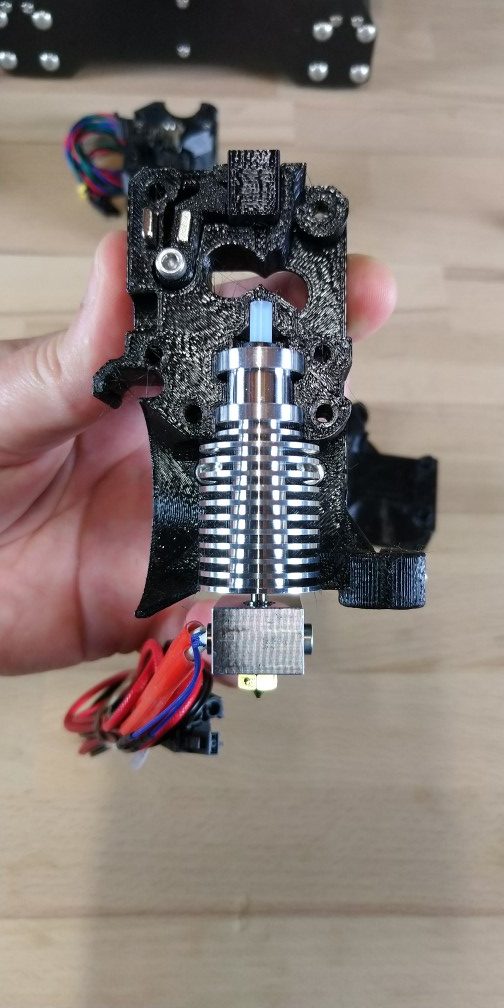
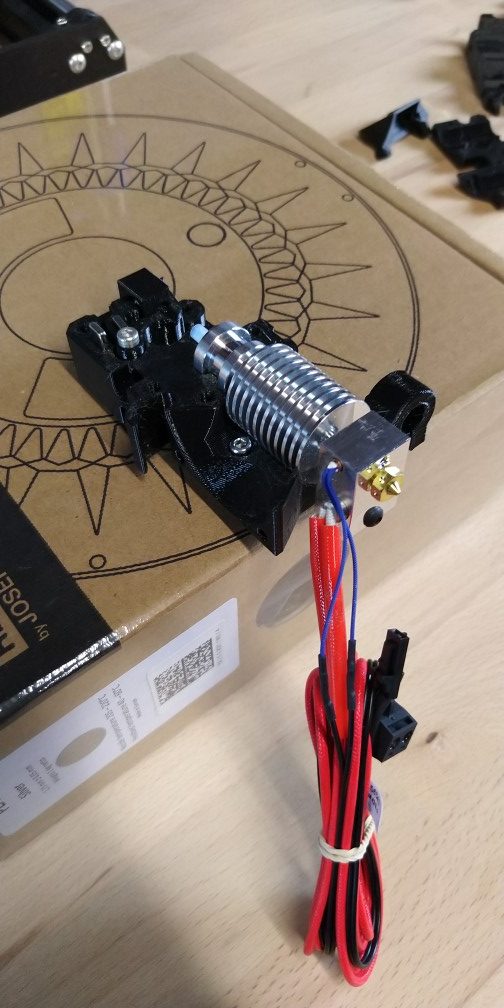
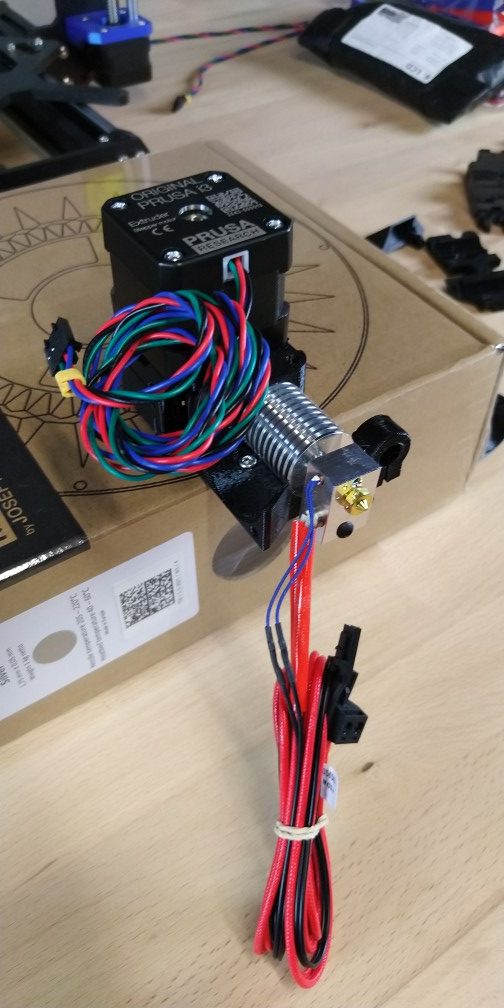
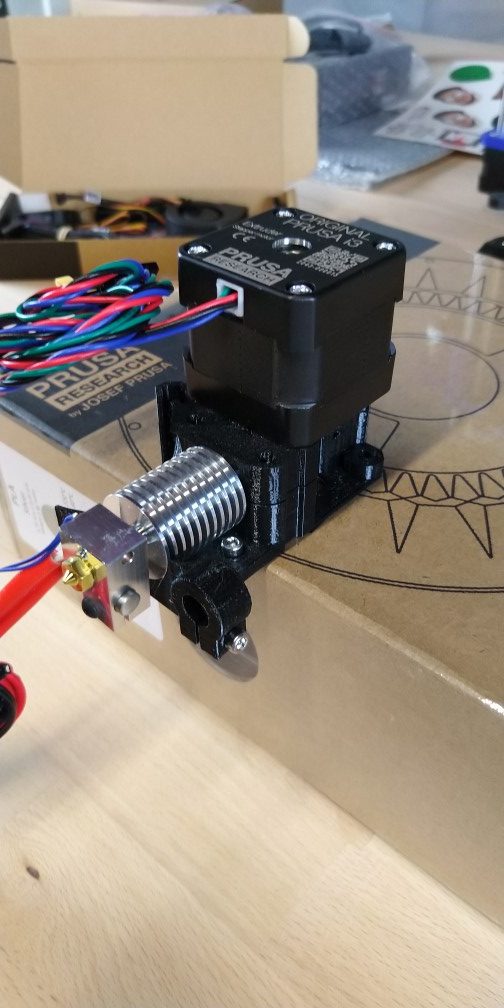
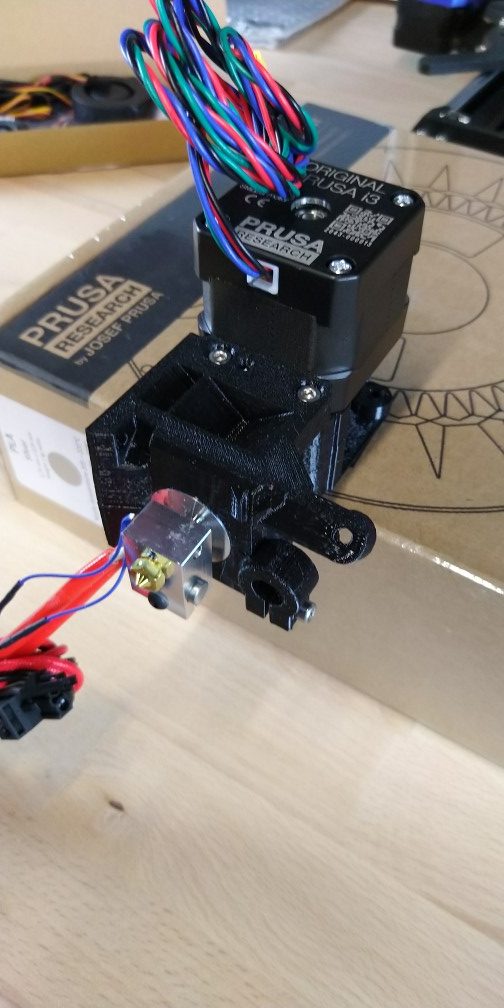
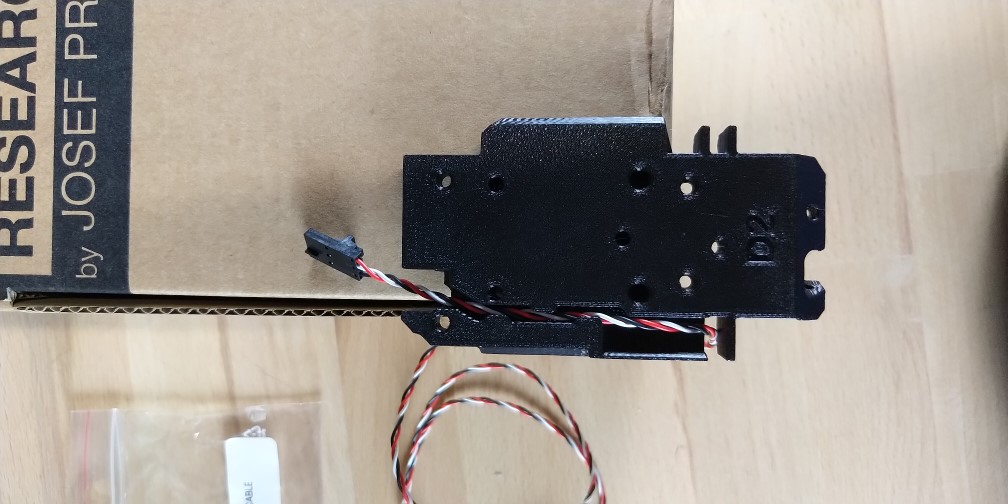
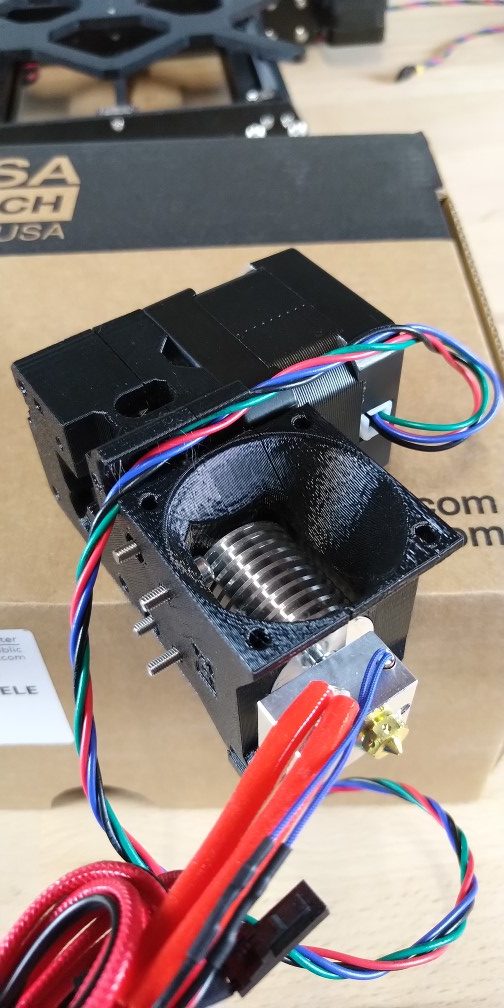
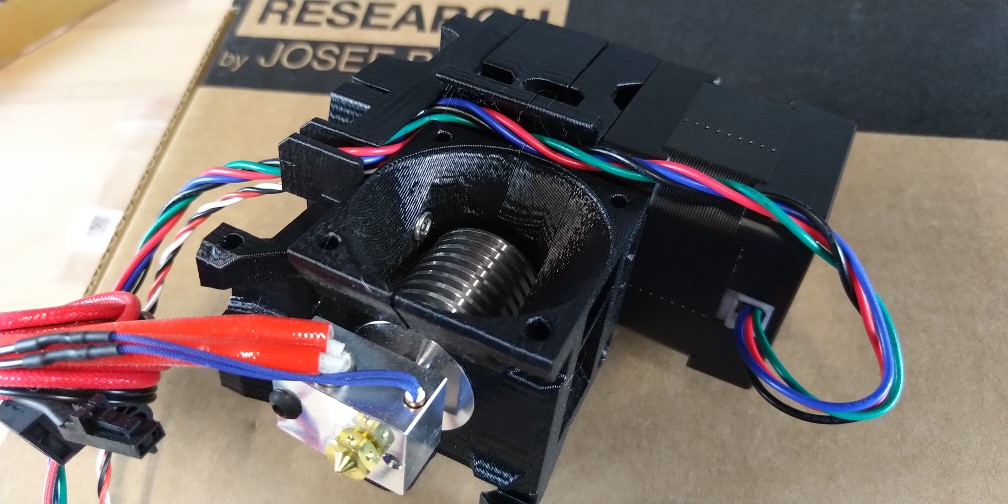
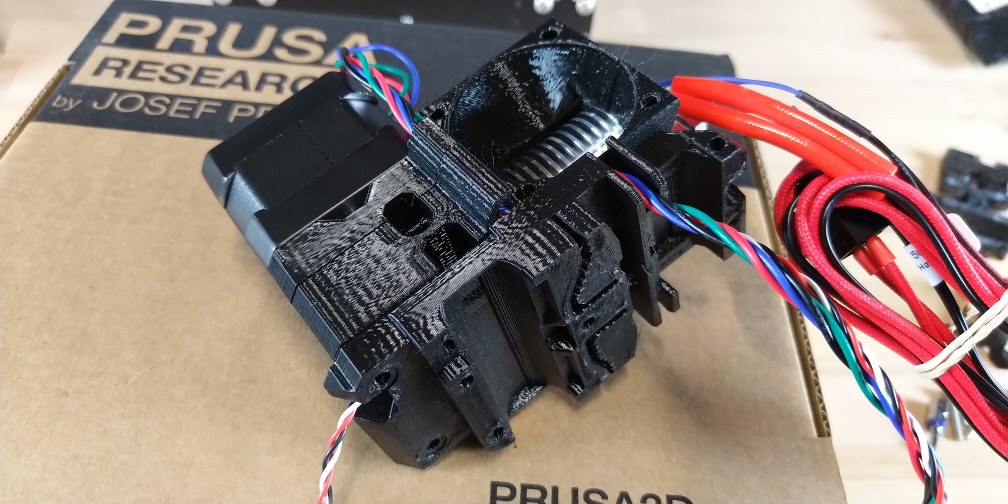
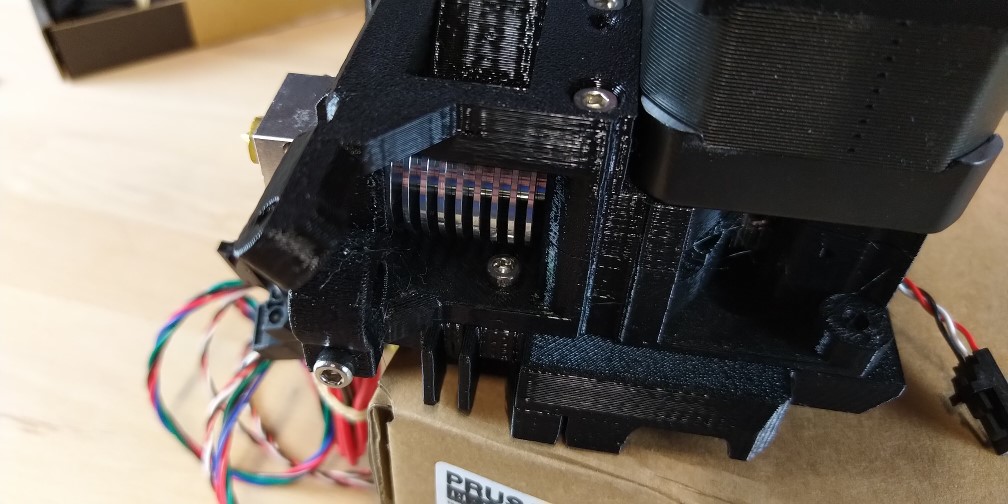
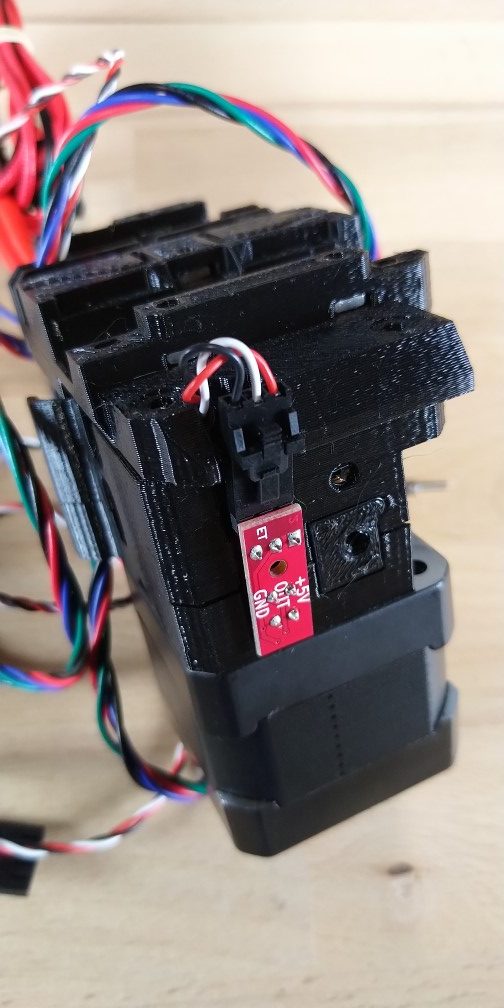
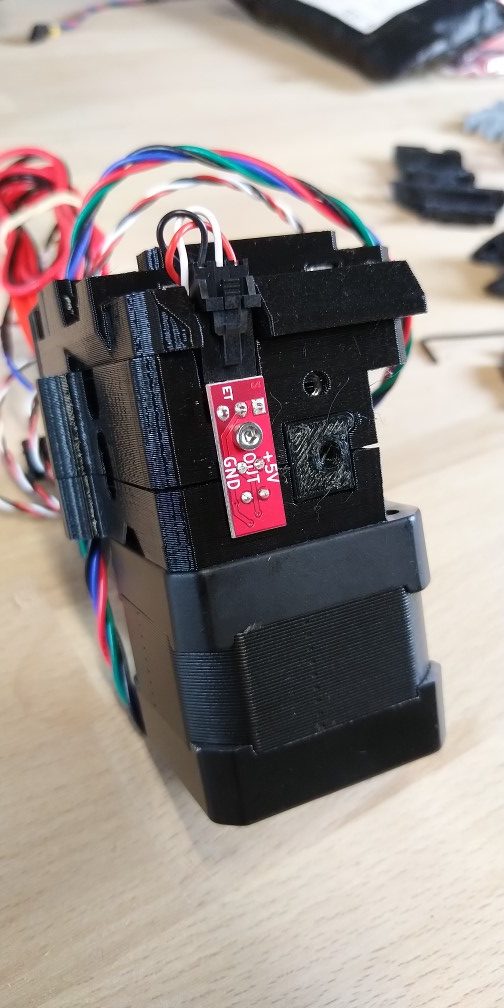
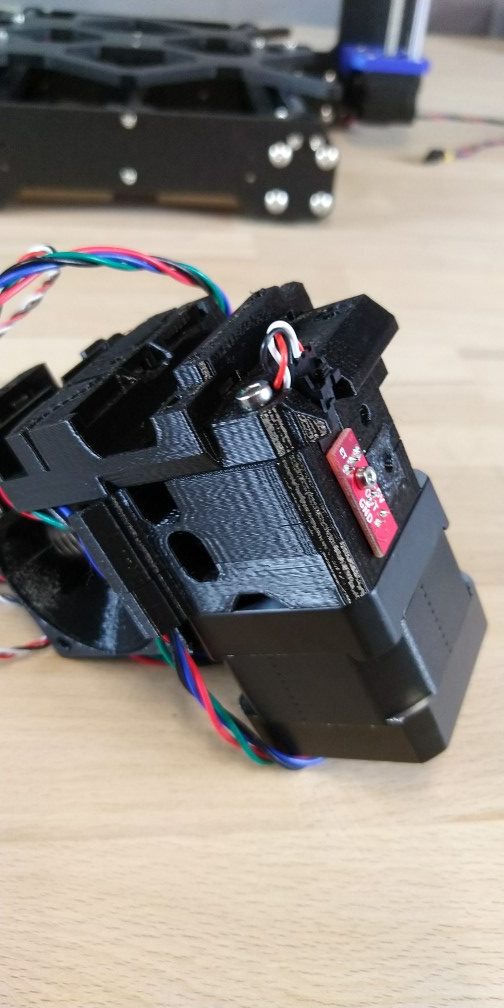
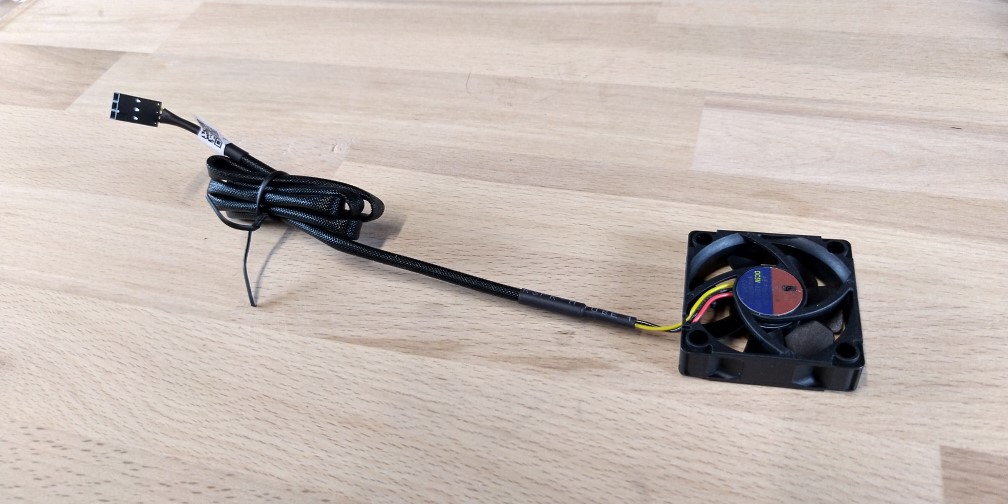
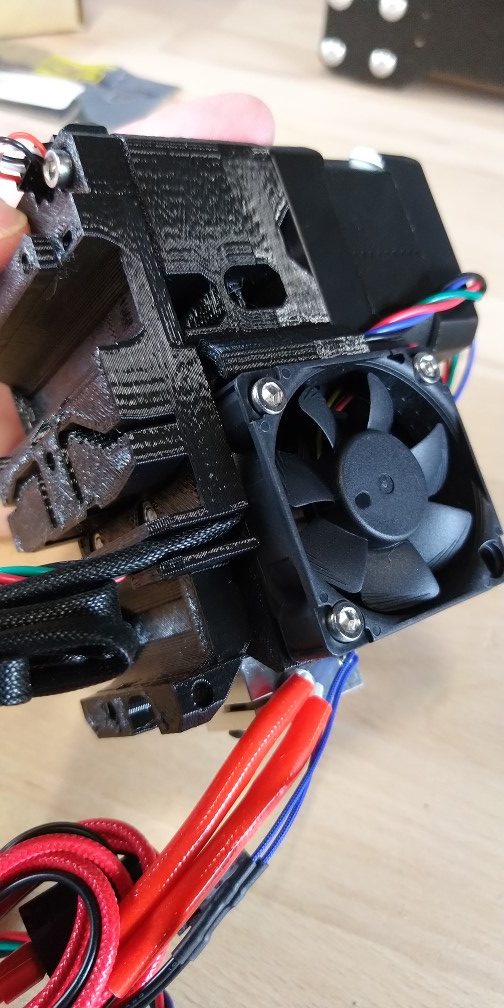
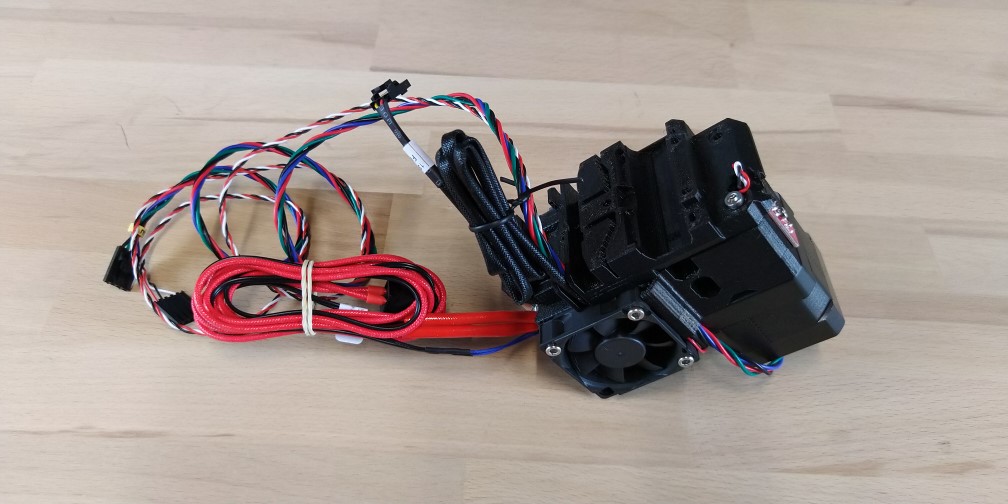
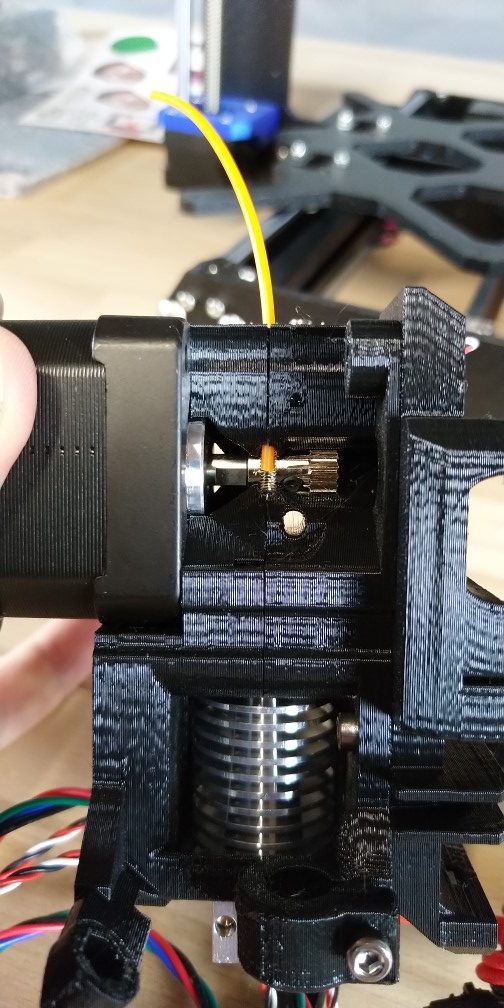
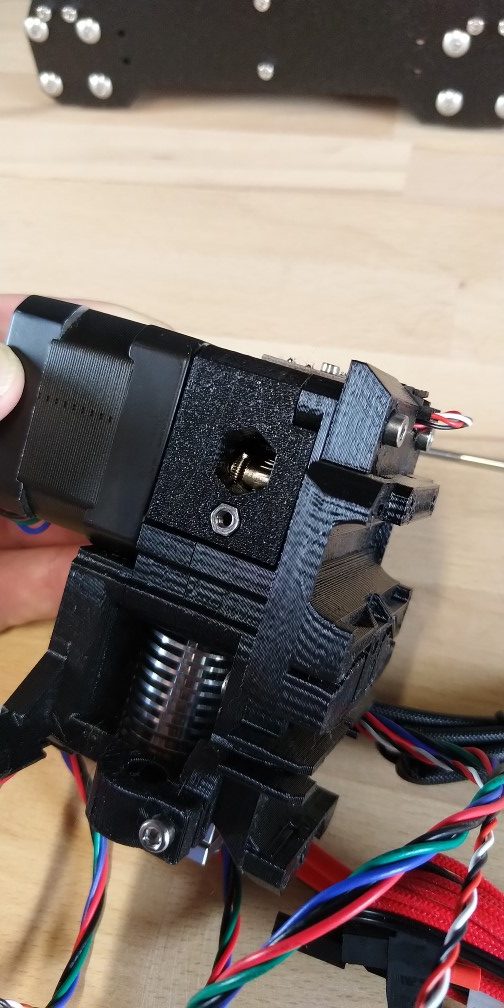
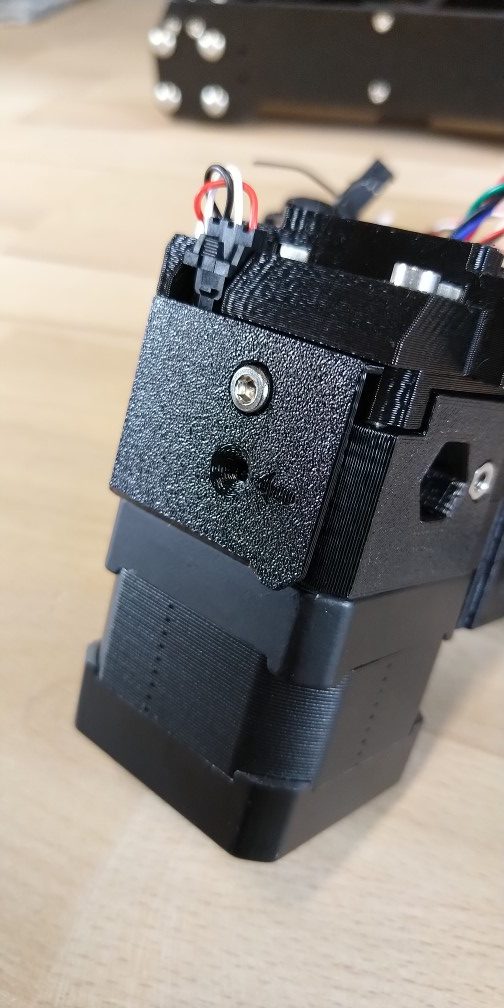
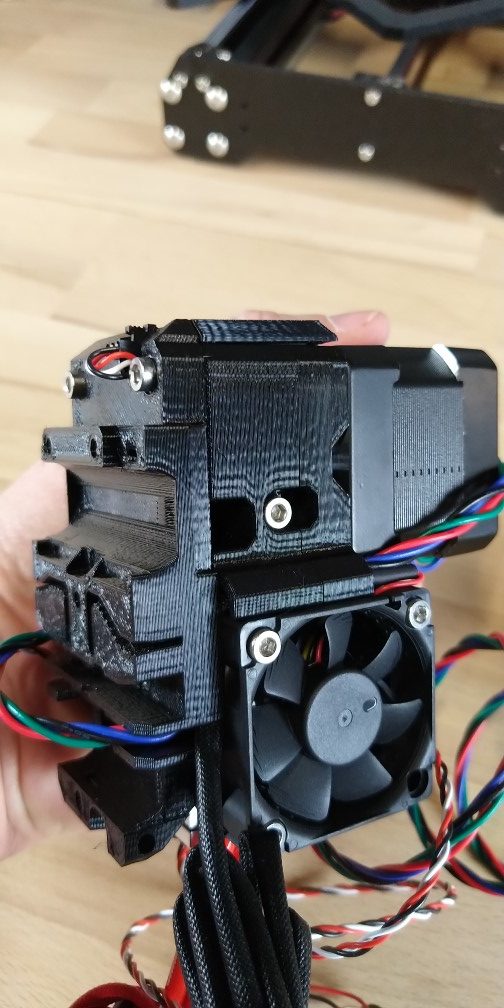
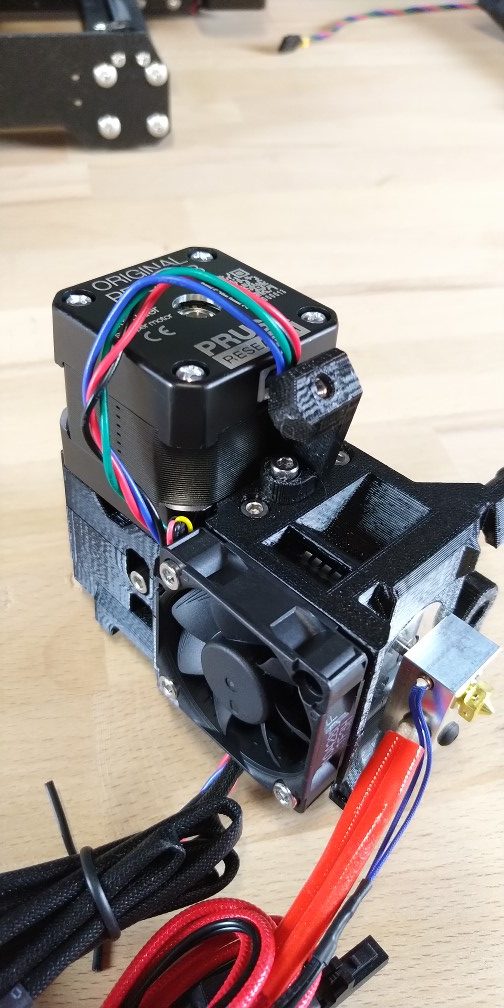
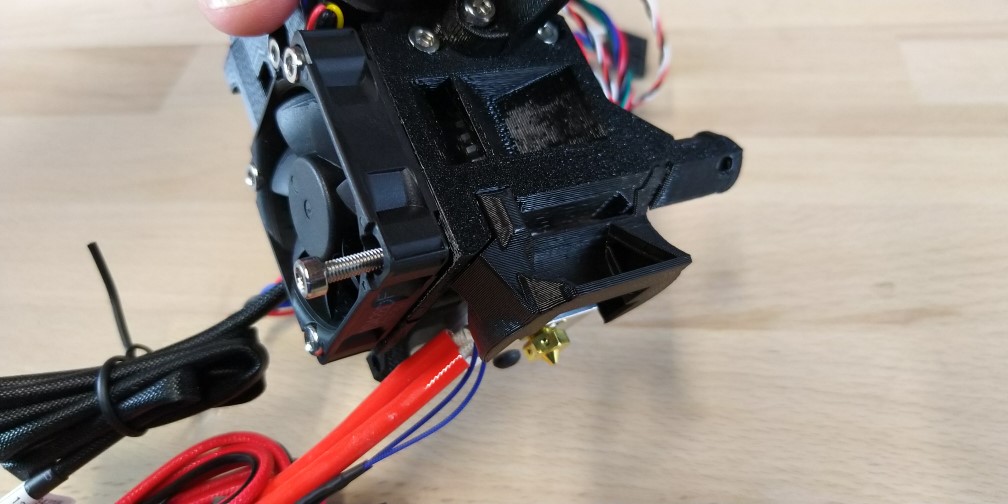
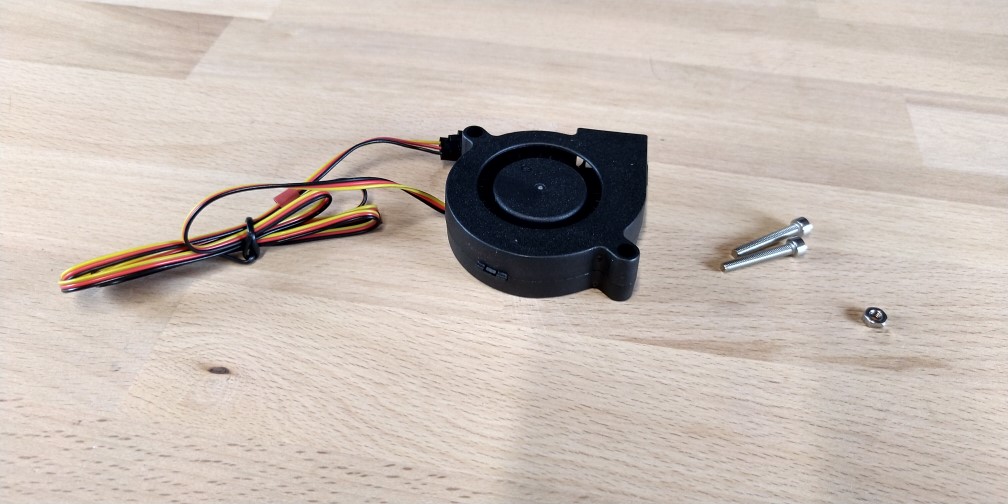
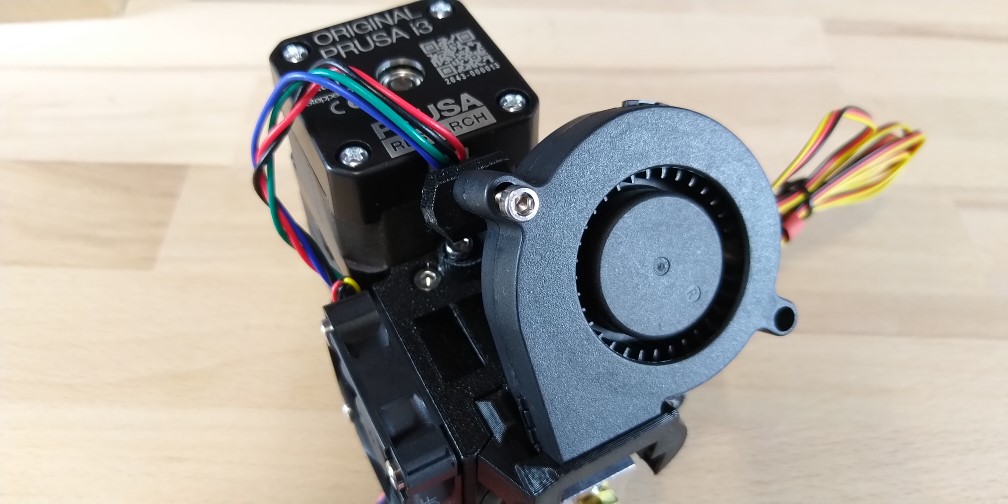
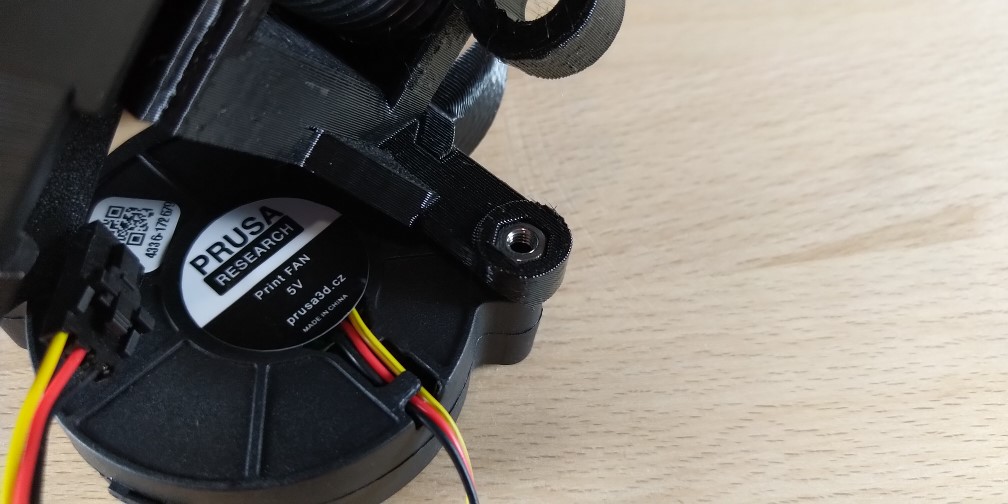
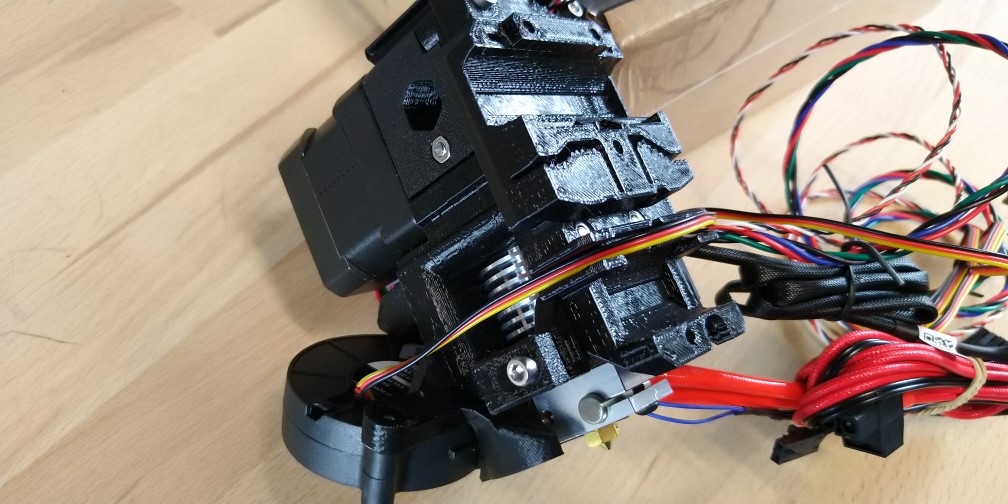
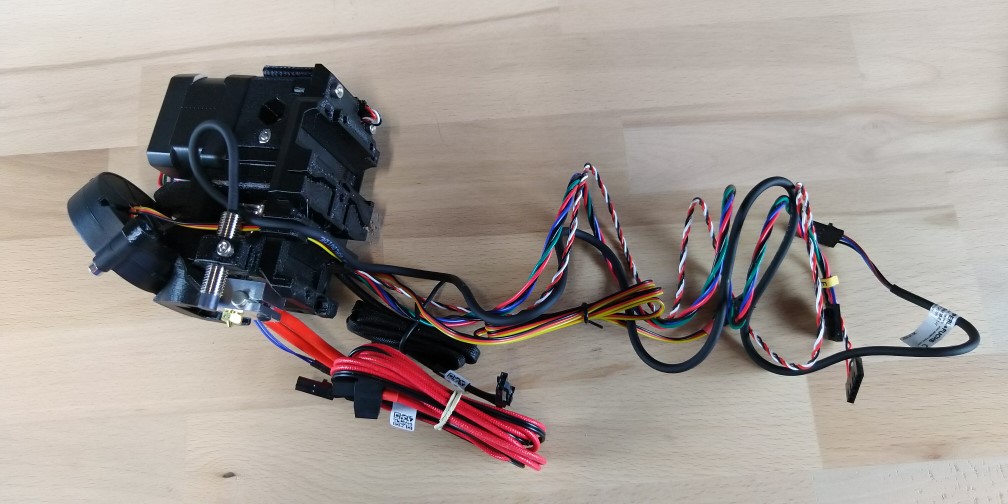
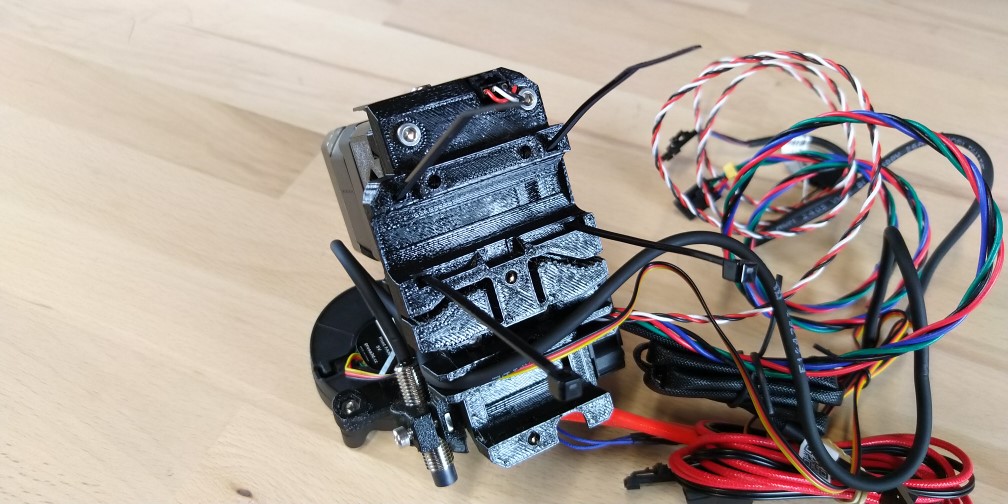
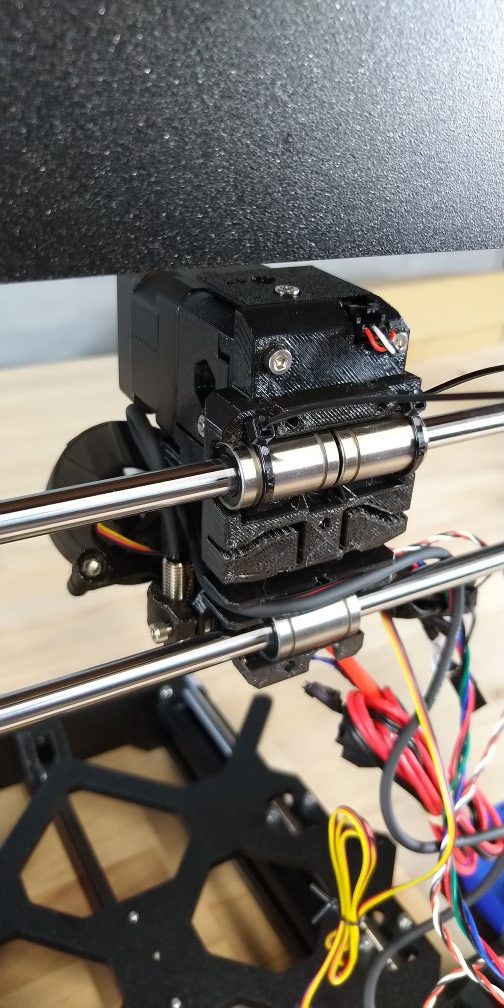
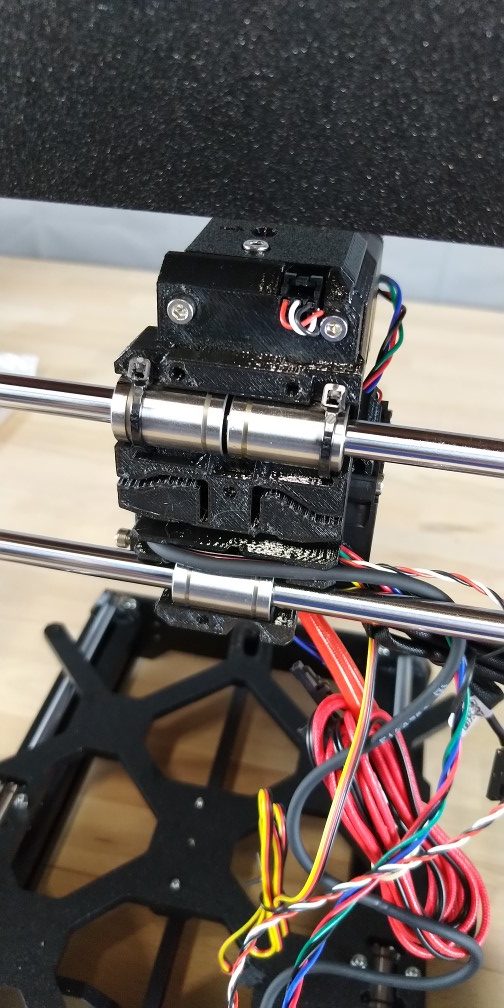
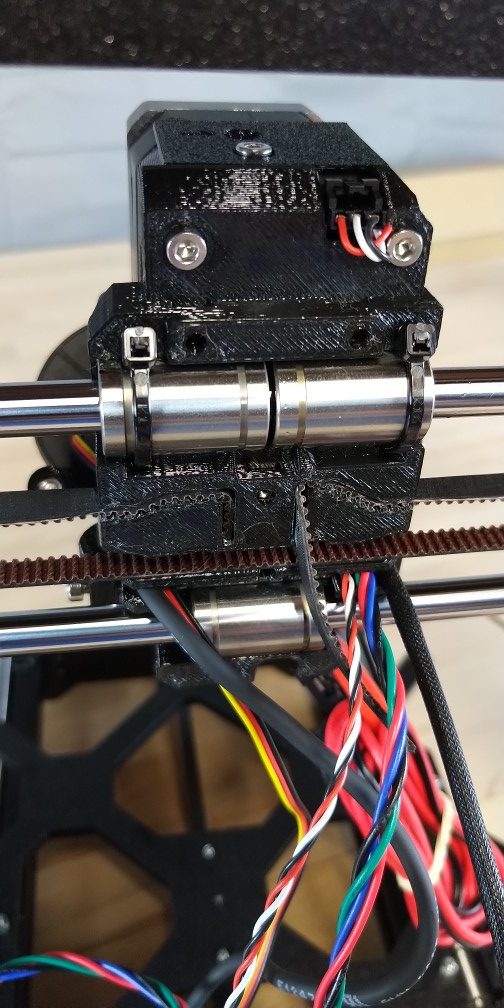
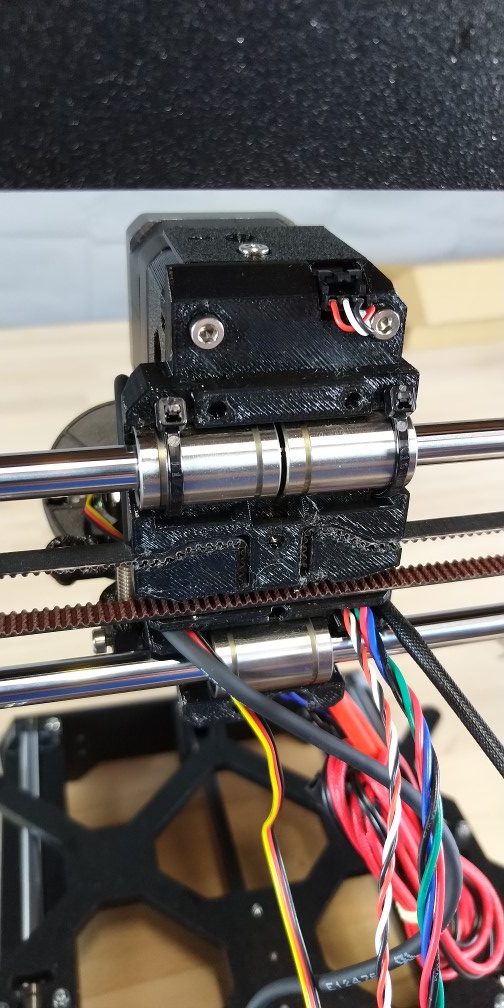
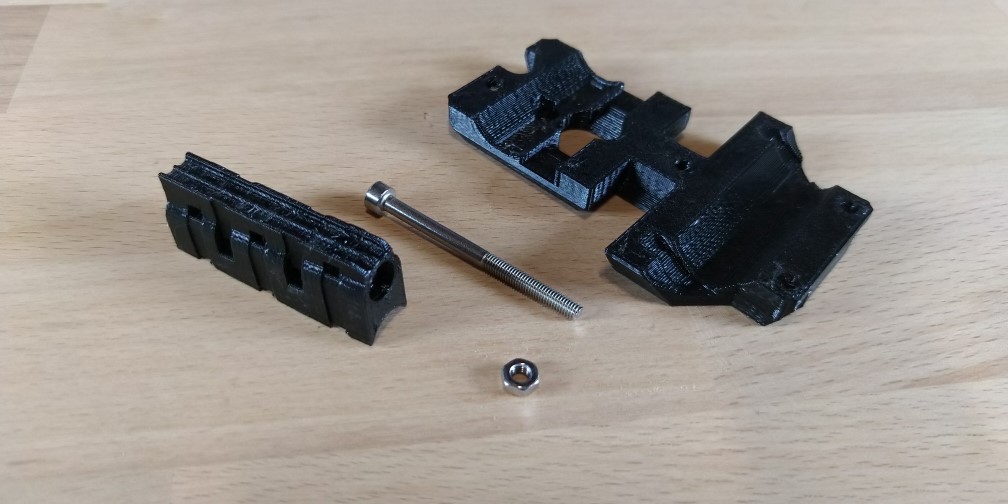
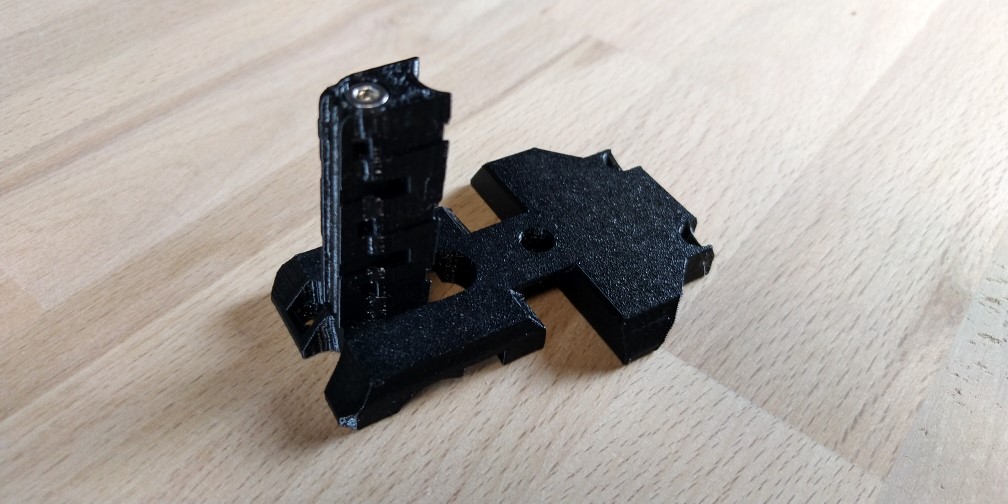
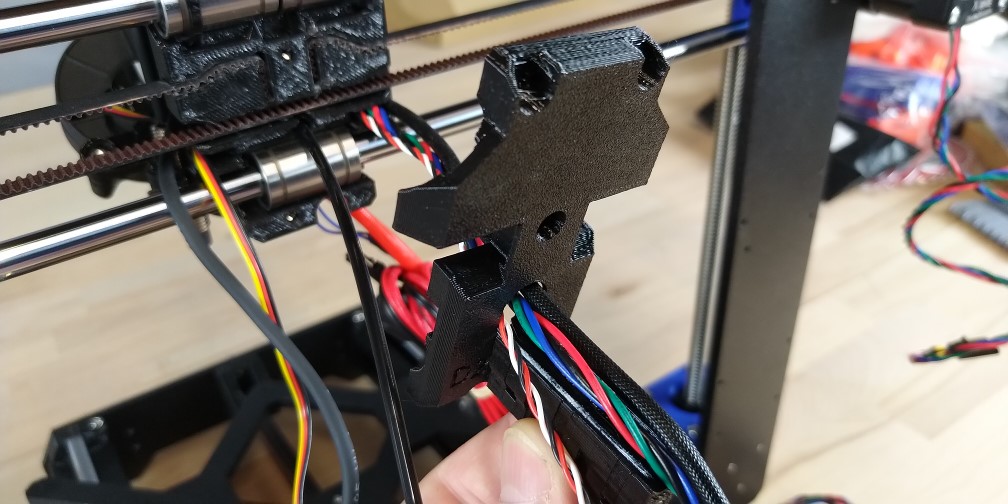
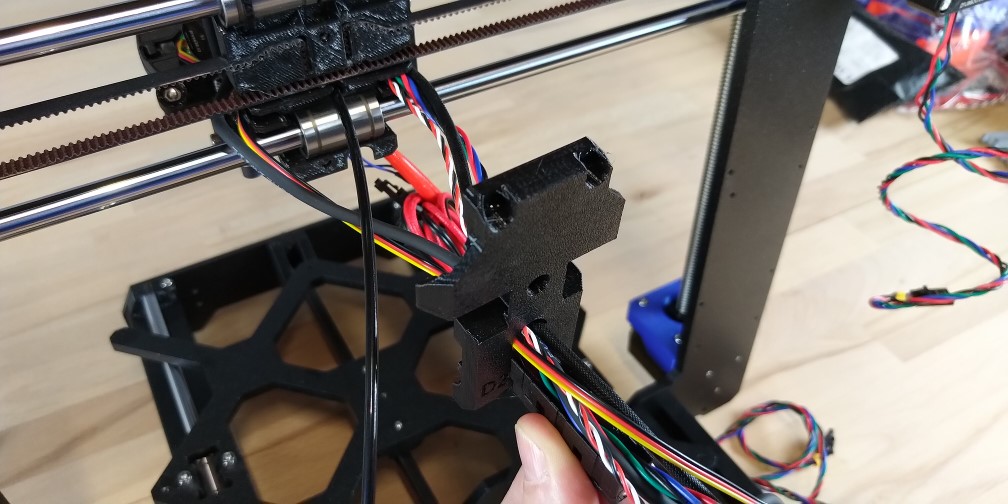
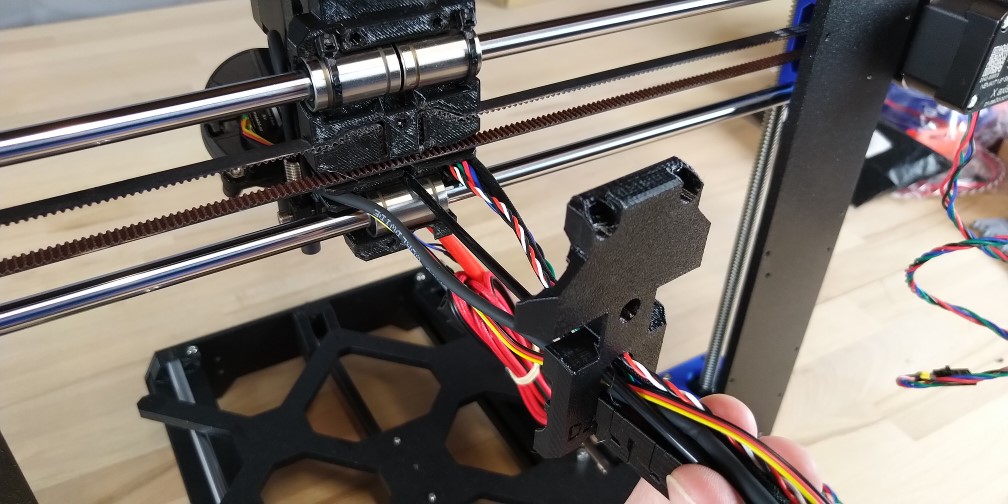
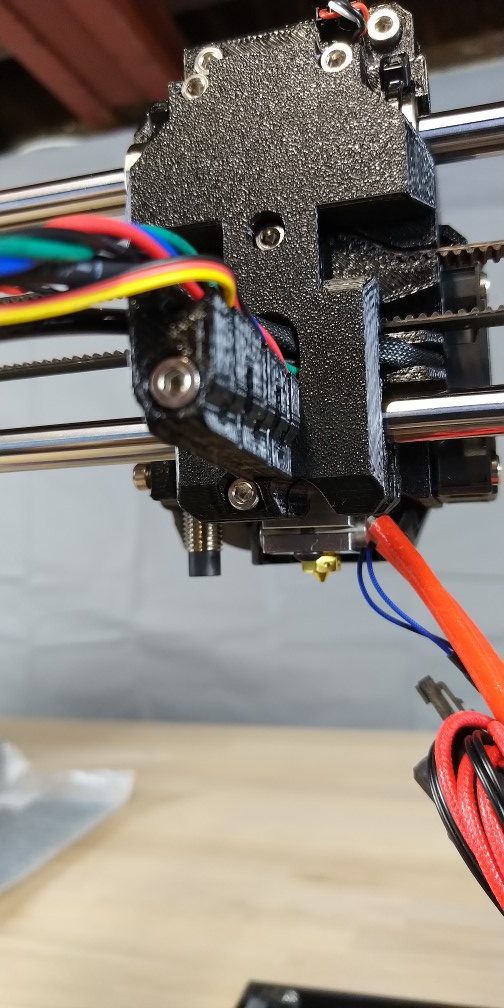
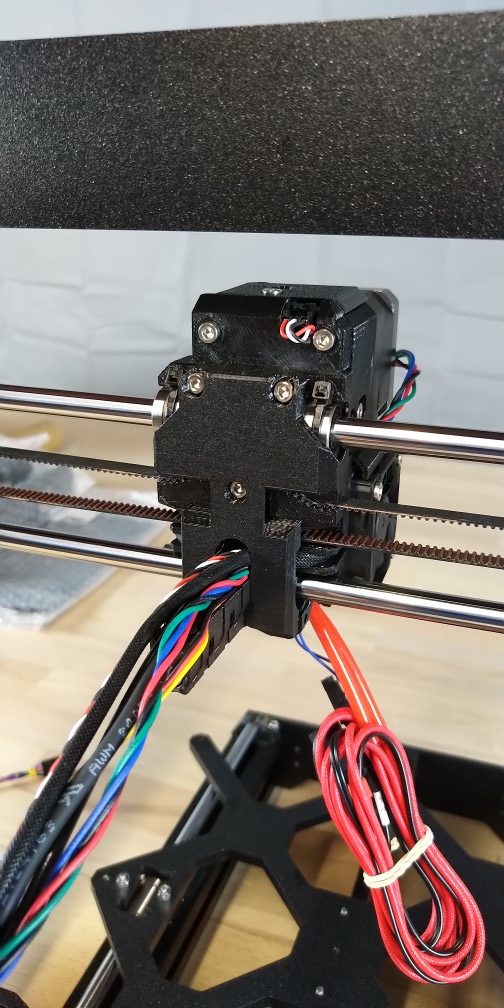
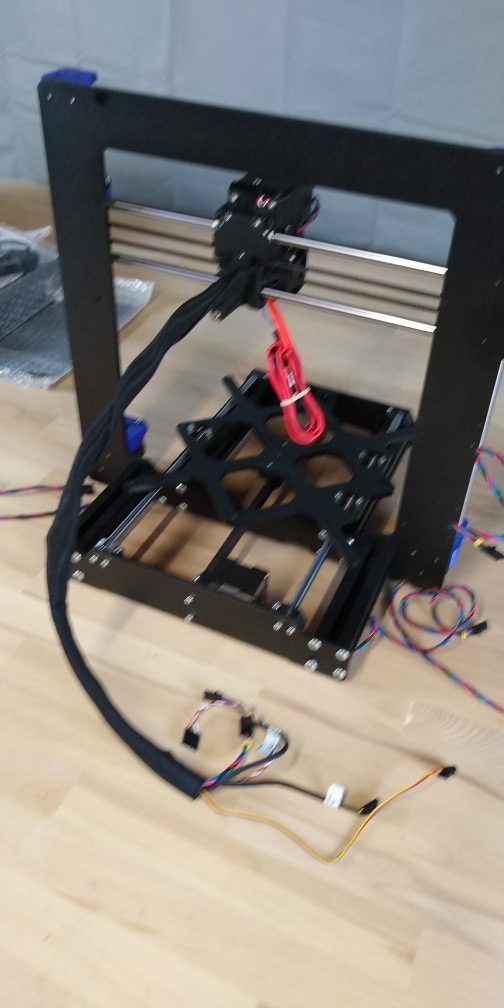
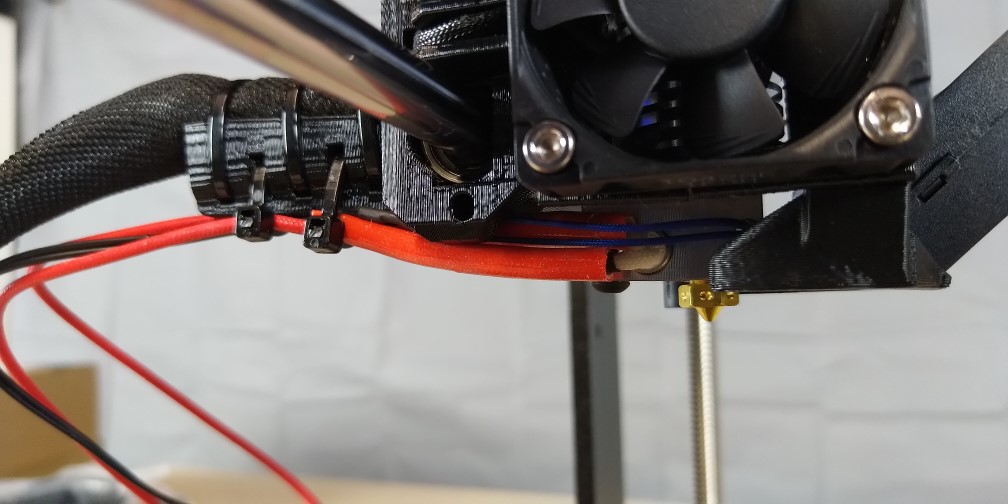
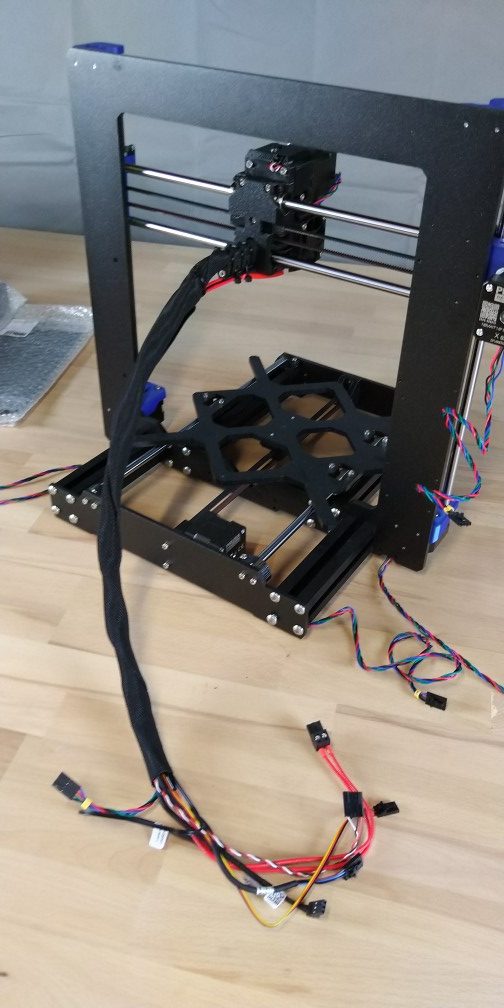
It’s now time to assembly the business end of your machine. The extruder assembly is where the filament is melted and placed onto the print bed to become your 3D printed part. Luckily Prusa have wired up all the necessary parts with plugs so that all we need to do is assemble them.
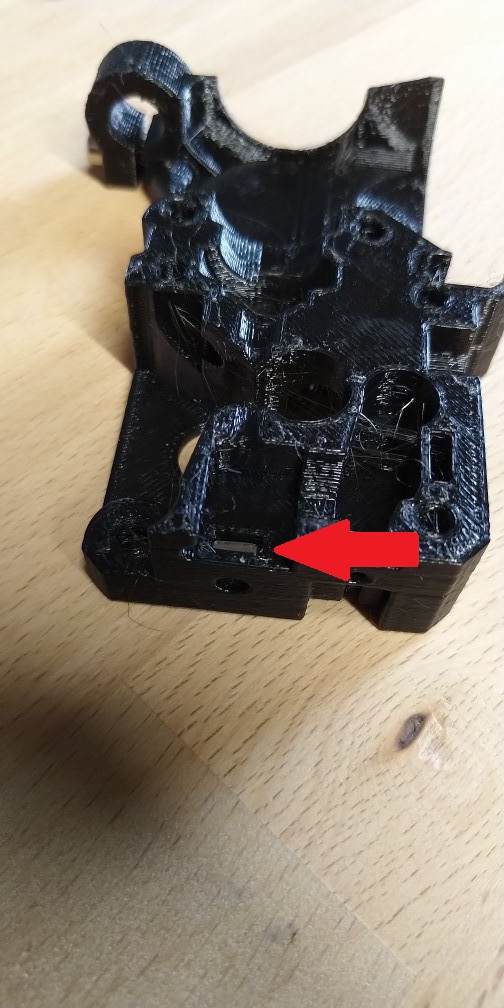
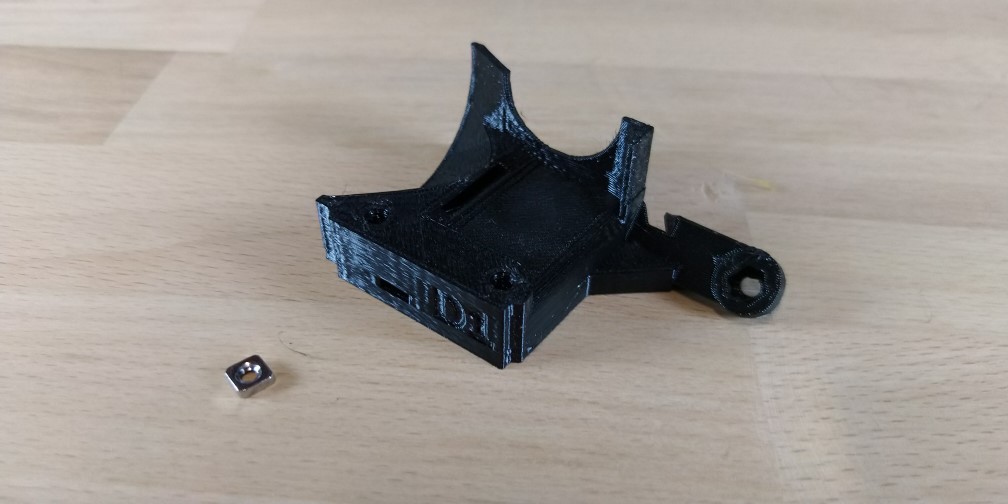
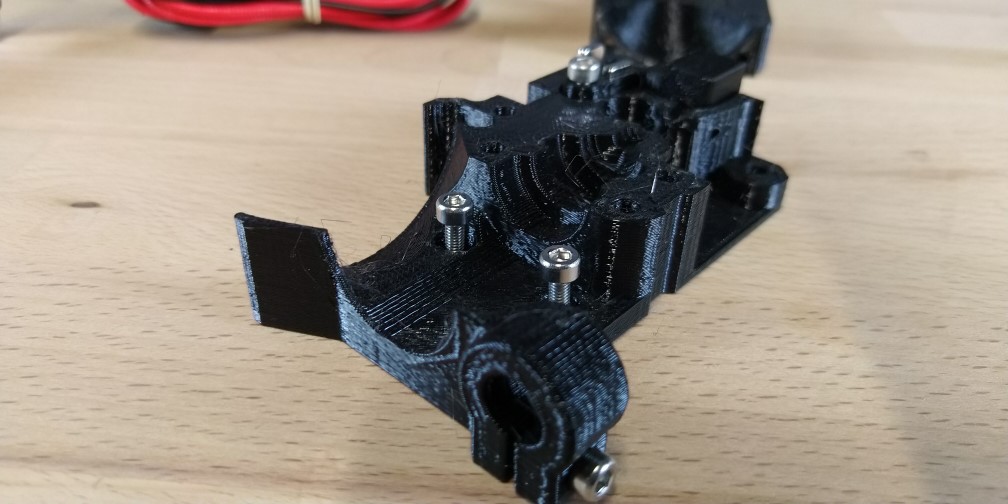
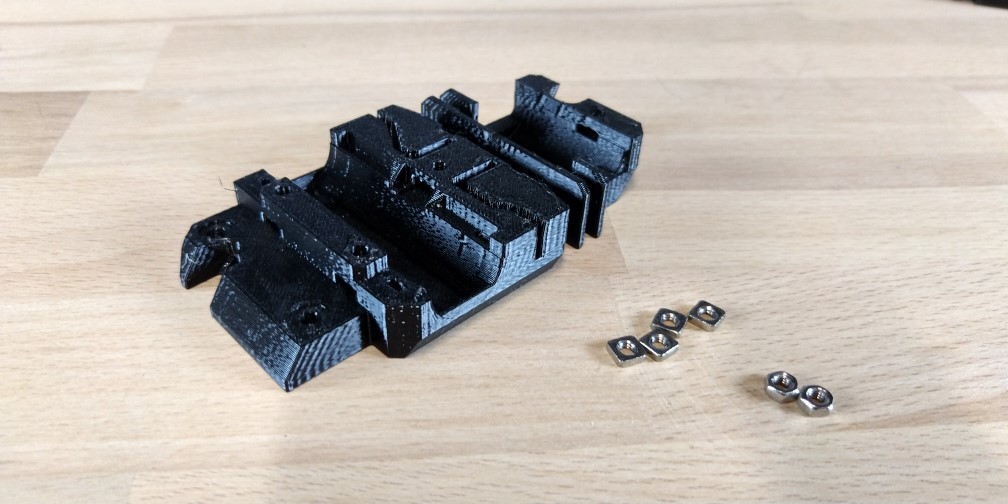
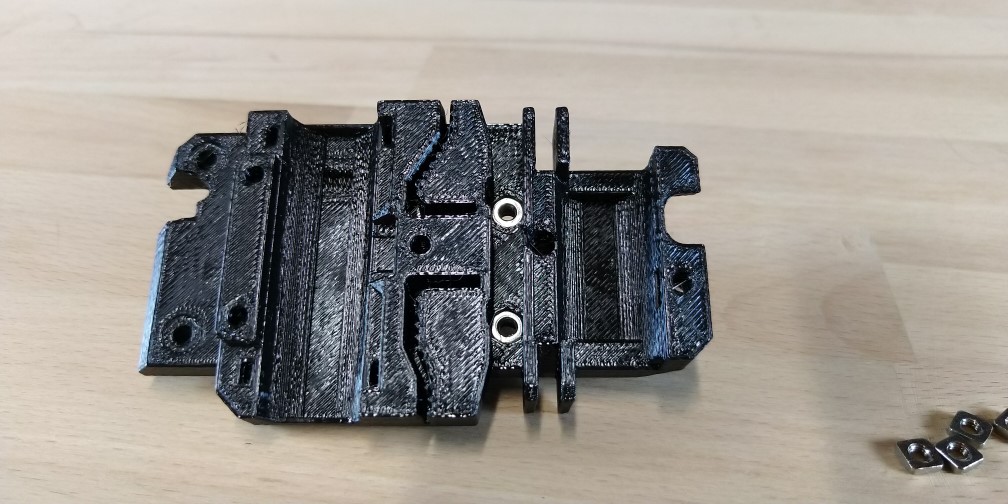
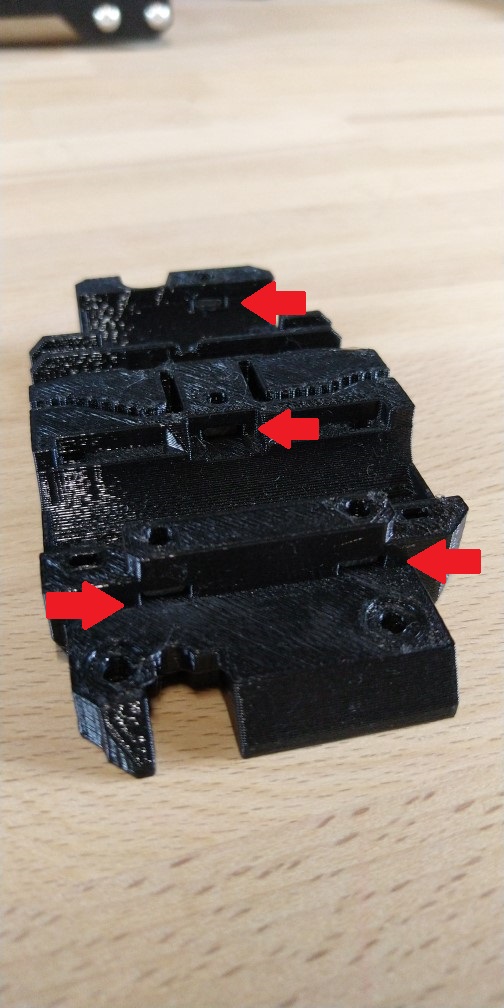
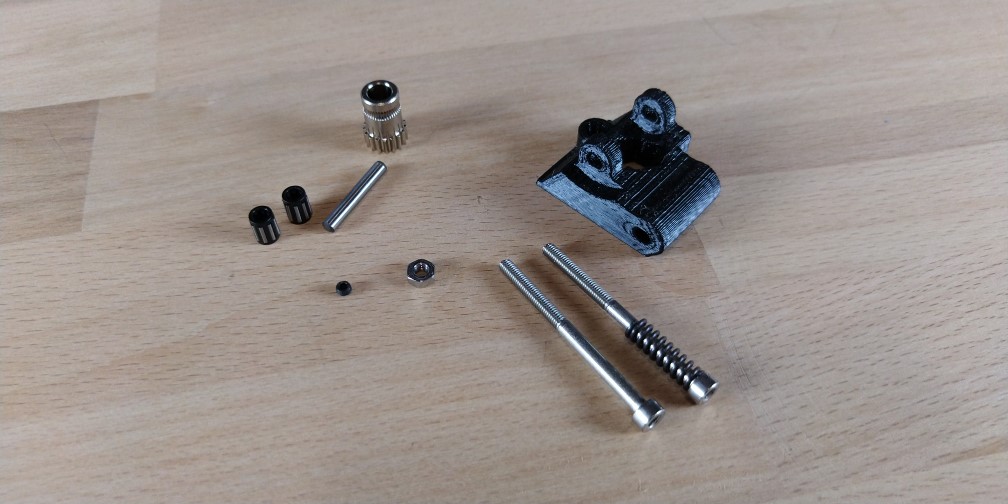
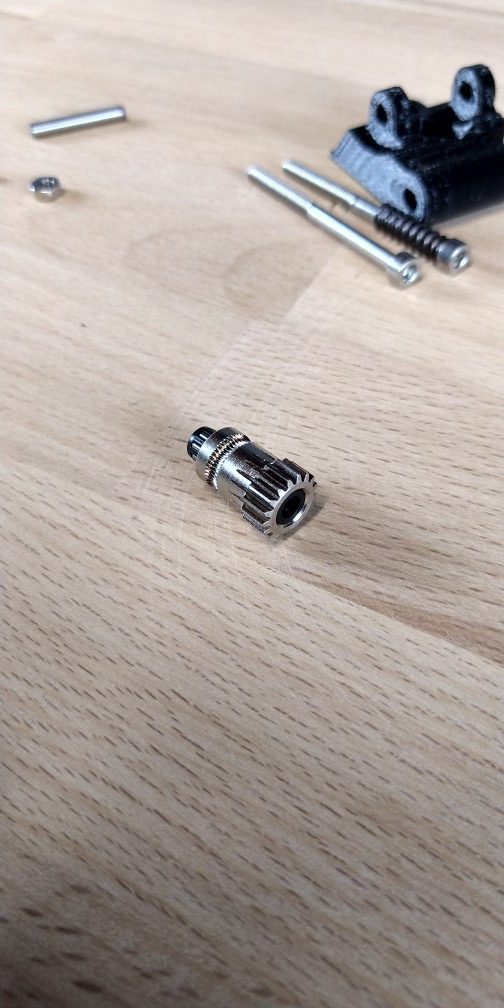
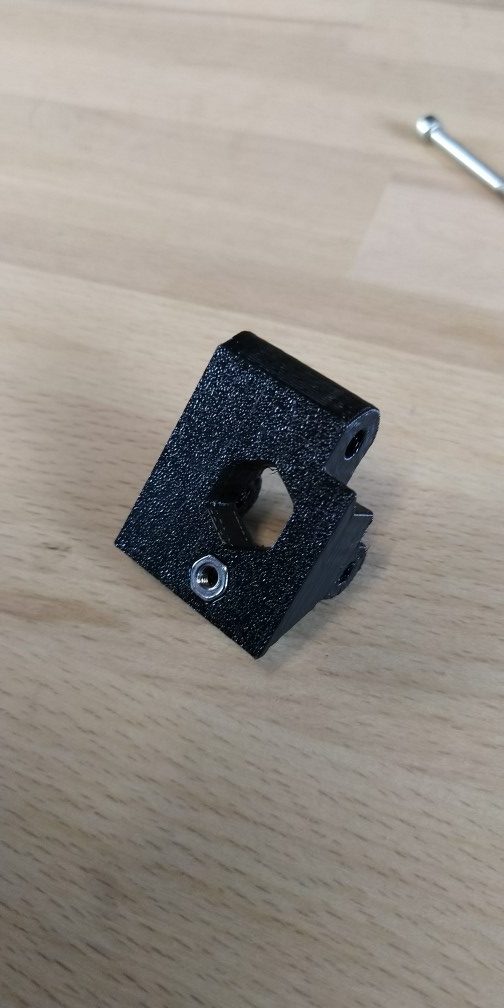
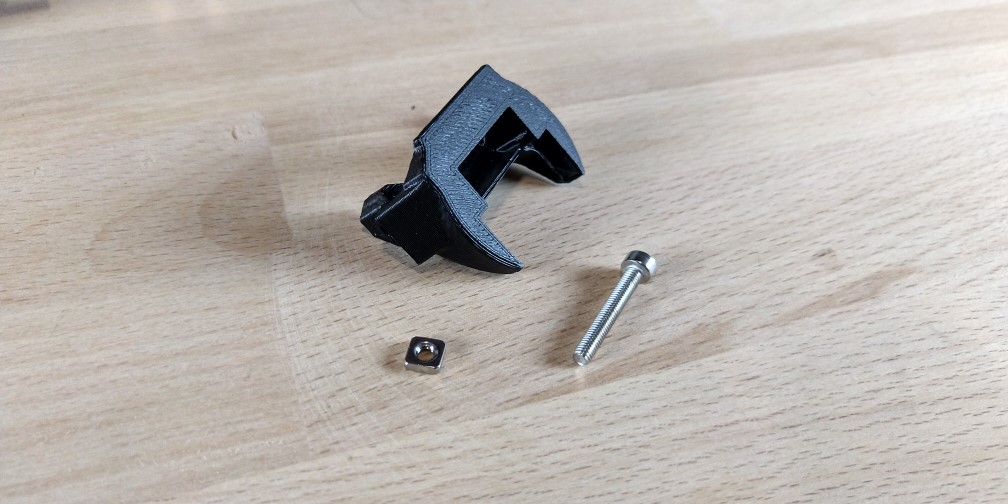
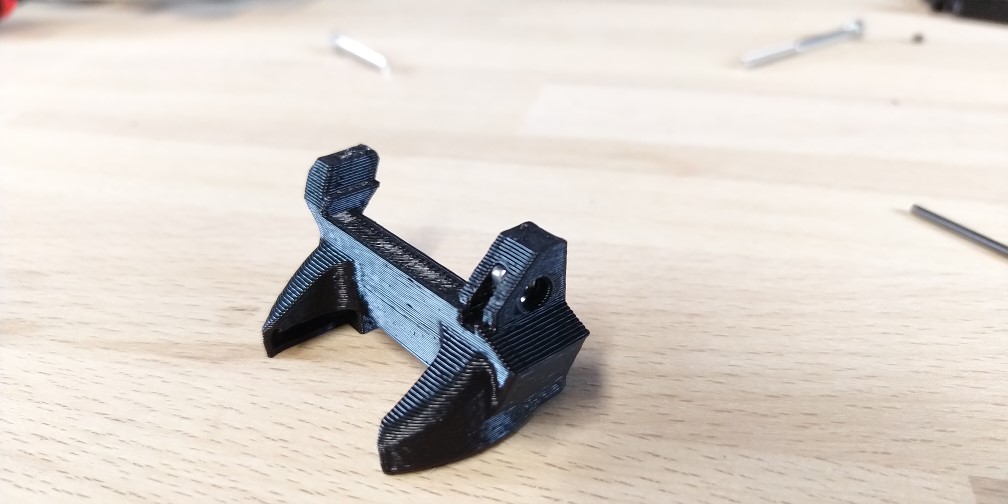
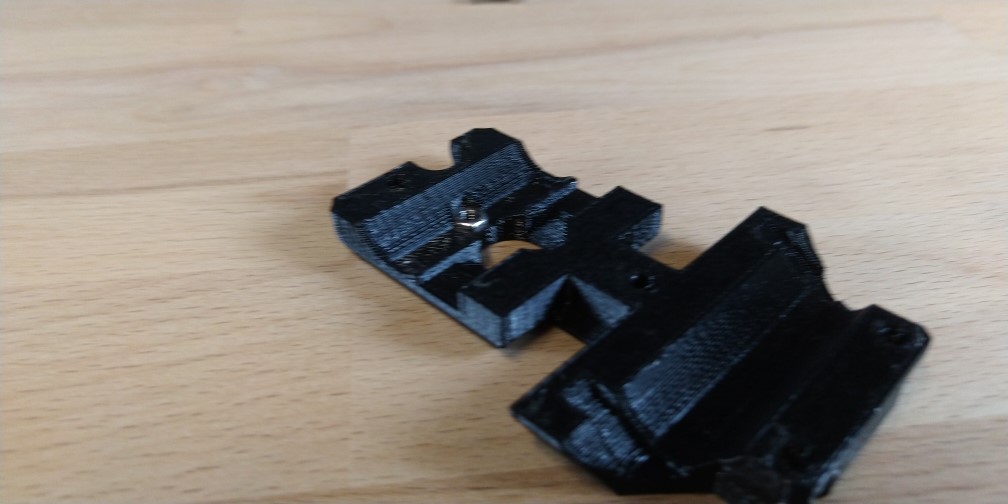
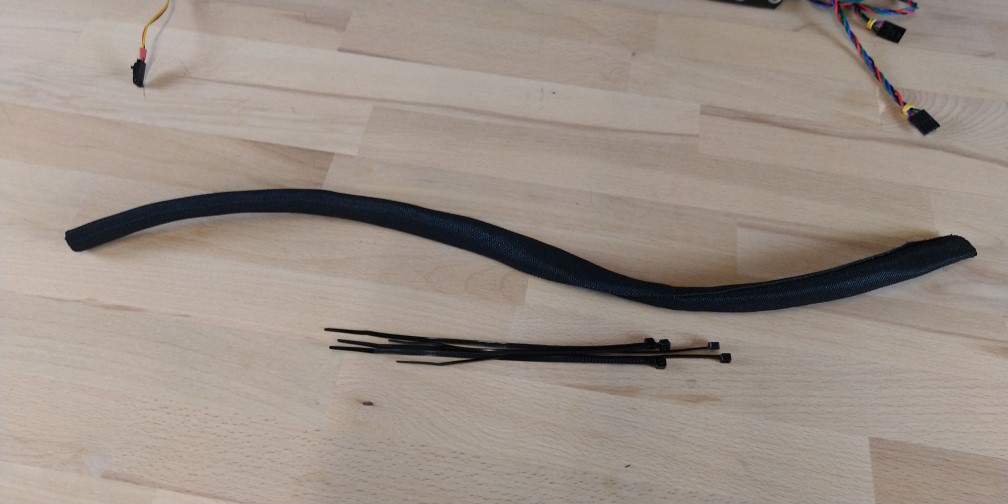
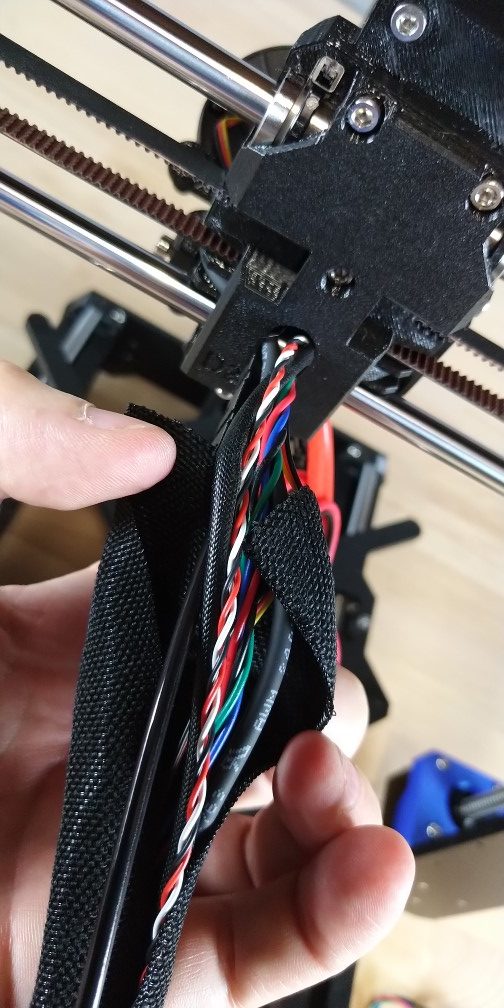
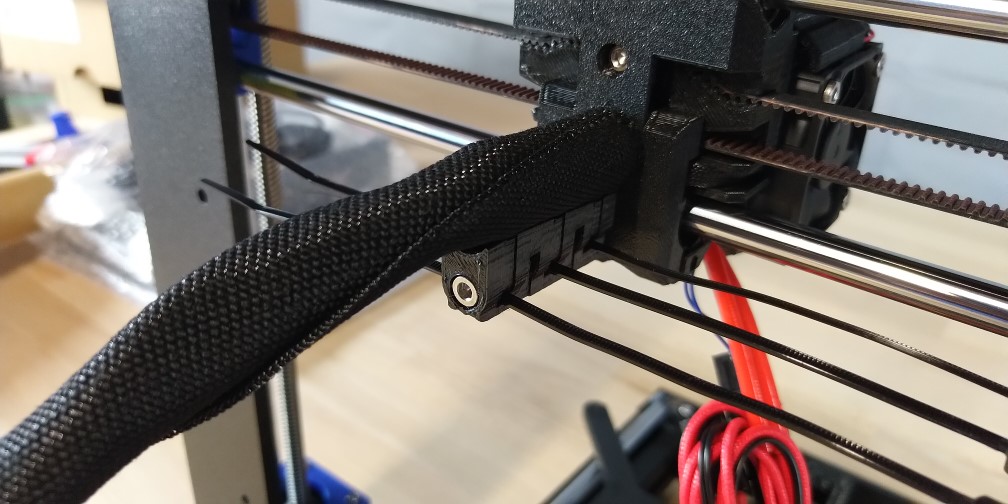
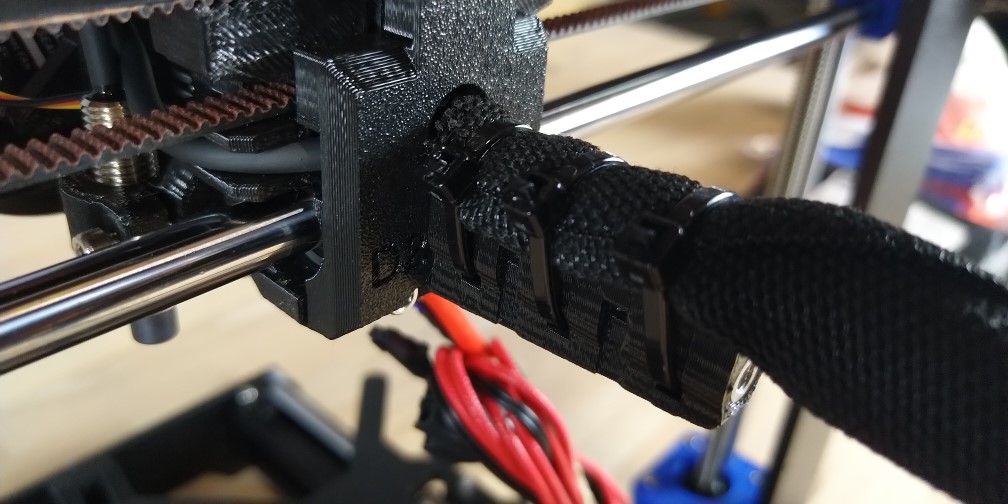
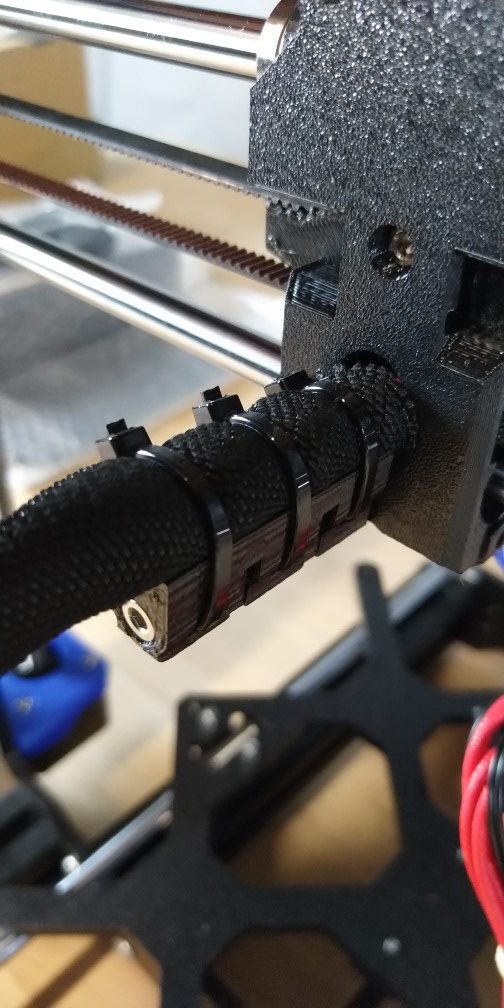
I would say that the build gets a little more challenging here due to the smaller and more numerous parts used as well as dealing with cable routing that can get in the way of everything fitting well if not done right.
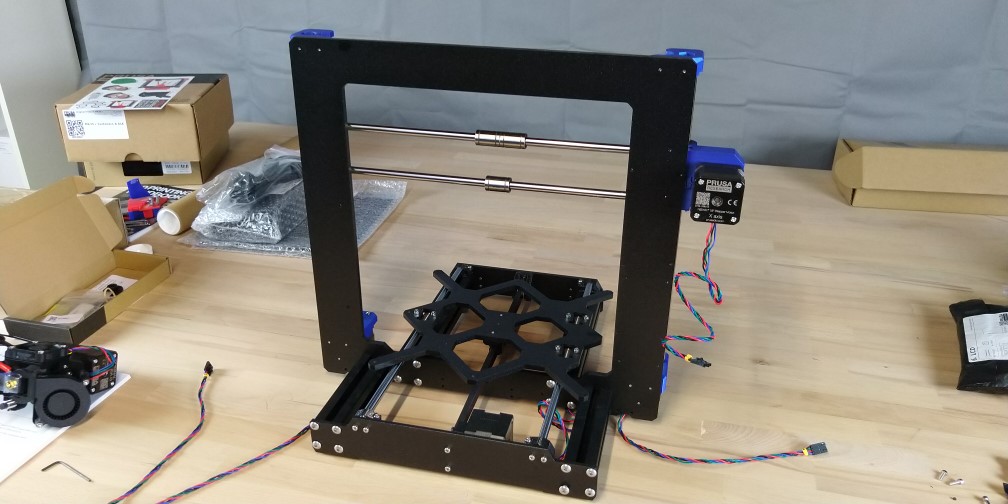
So, as mentioned before, this is a big update split across five galleries but there should be enough covered to assist you in assembling your MK3S+.
Check out the previous parts of the build if you haven’t seen them already. The next part should be published next month for those who want it.