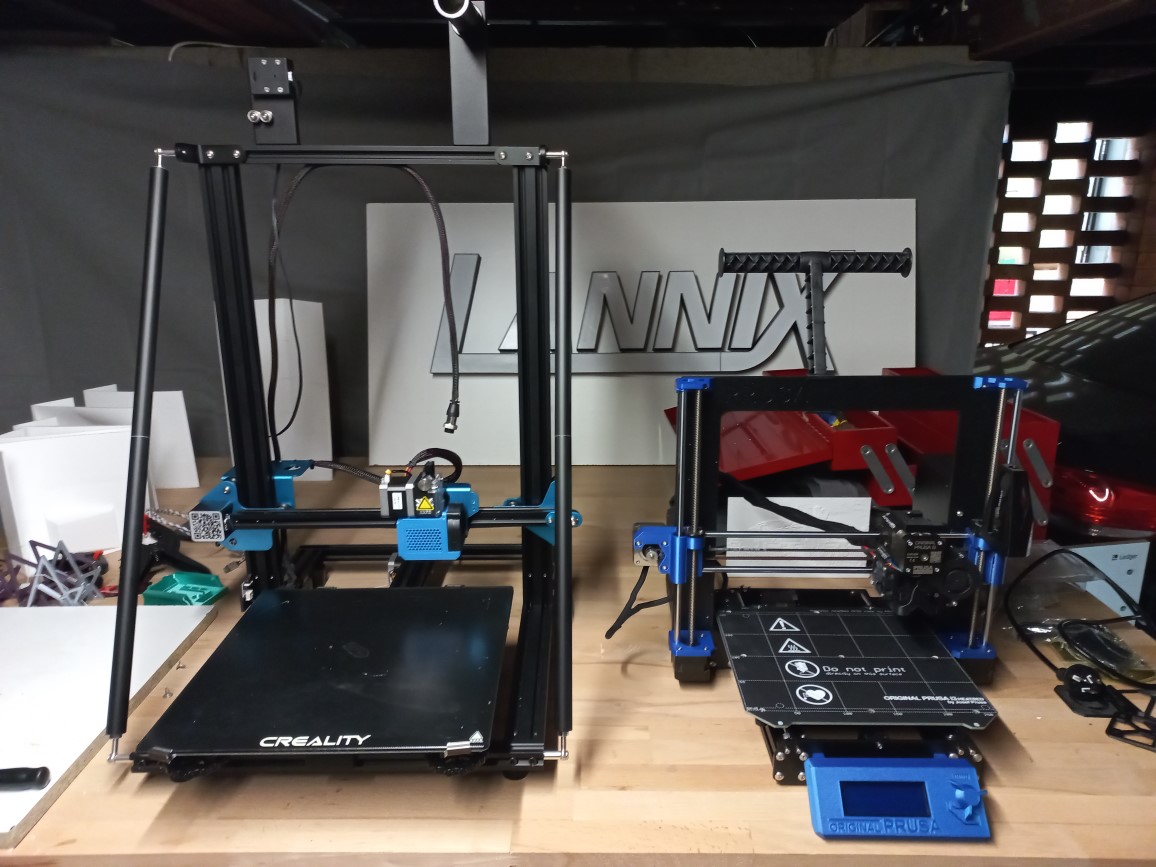
Sometimes you need to 3D print something that’s just that little bit too big for the standard Prusa MK3S print bed. I thought I’d try out a Creality CR10 since they are relatively cheap and the guy I know who has one seems to believe they go alright. Check out our guide on replacing the thermistor to see what I think! This printer is to be used mainly for prototyping for the R-Spec side business we have in the works so it will do the job for now.
I was getting some inconsistent prints from it where I had it setup in a spare room so I thought an enclosure may help with that. I tried fitting it into the large enclosure we already have but it’s just that little bit too large to fit with its separate control box. A new enclosure needed to be built.
Planning
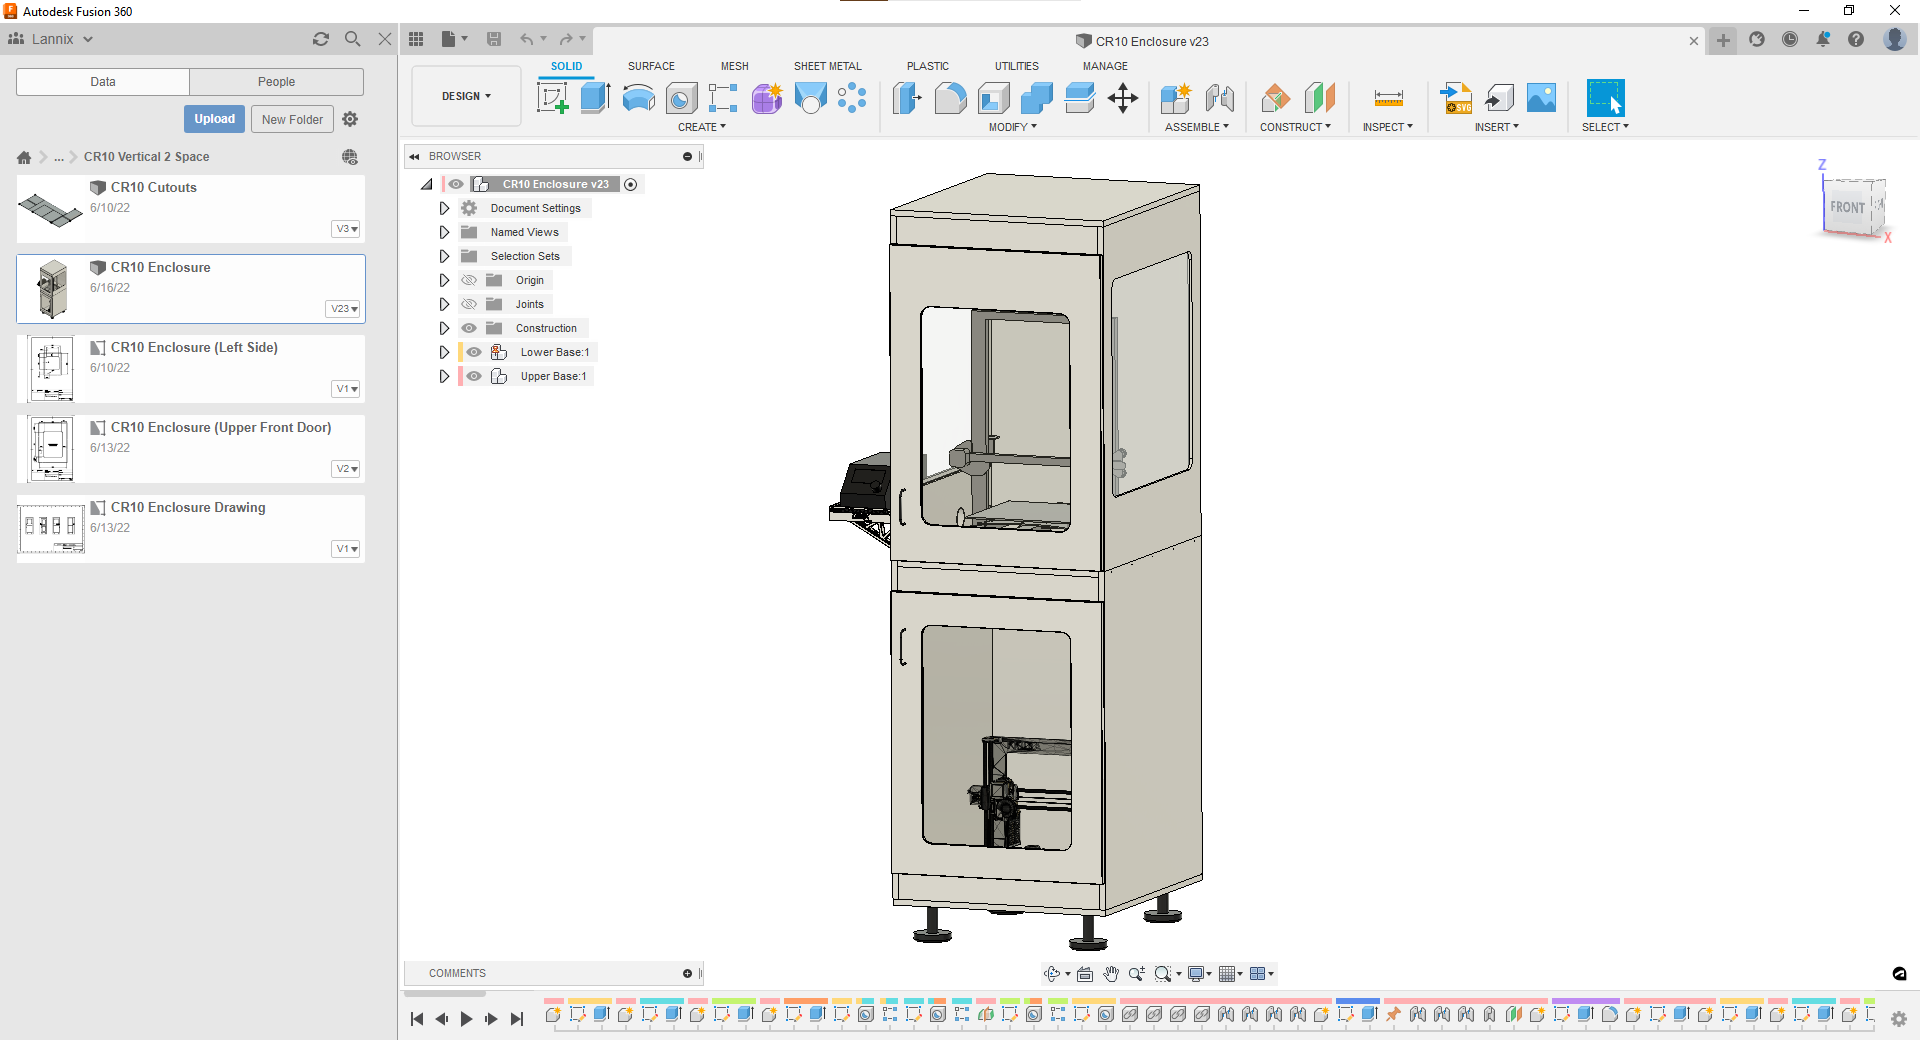
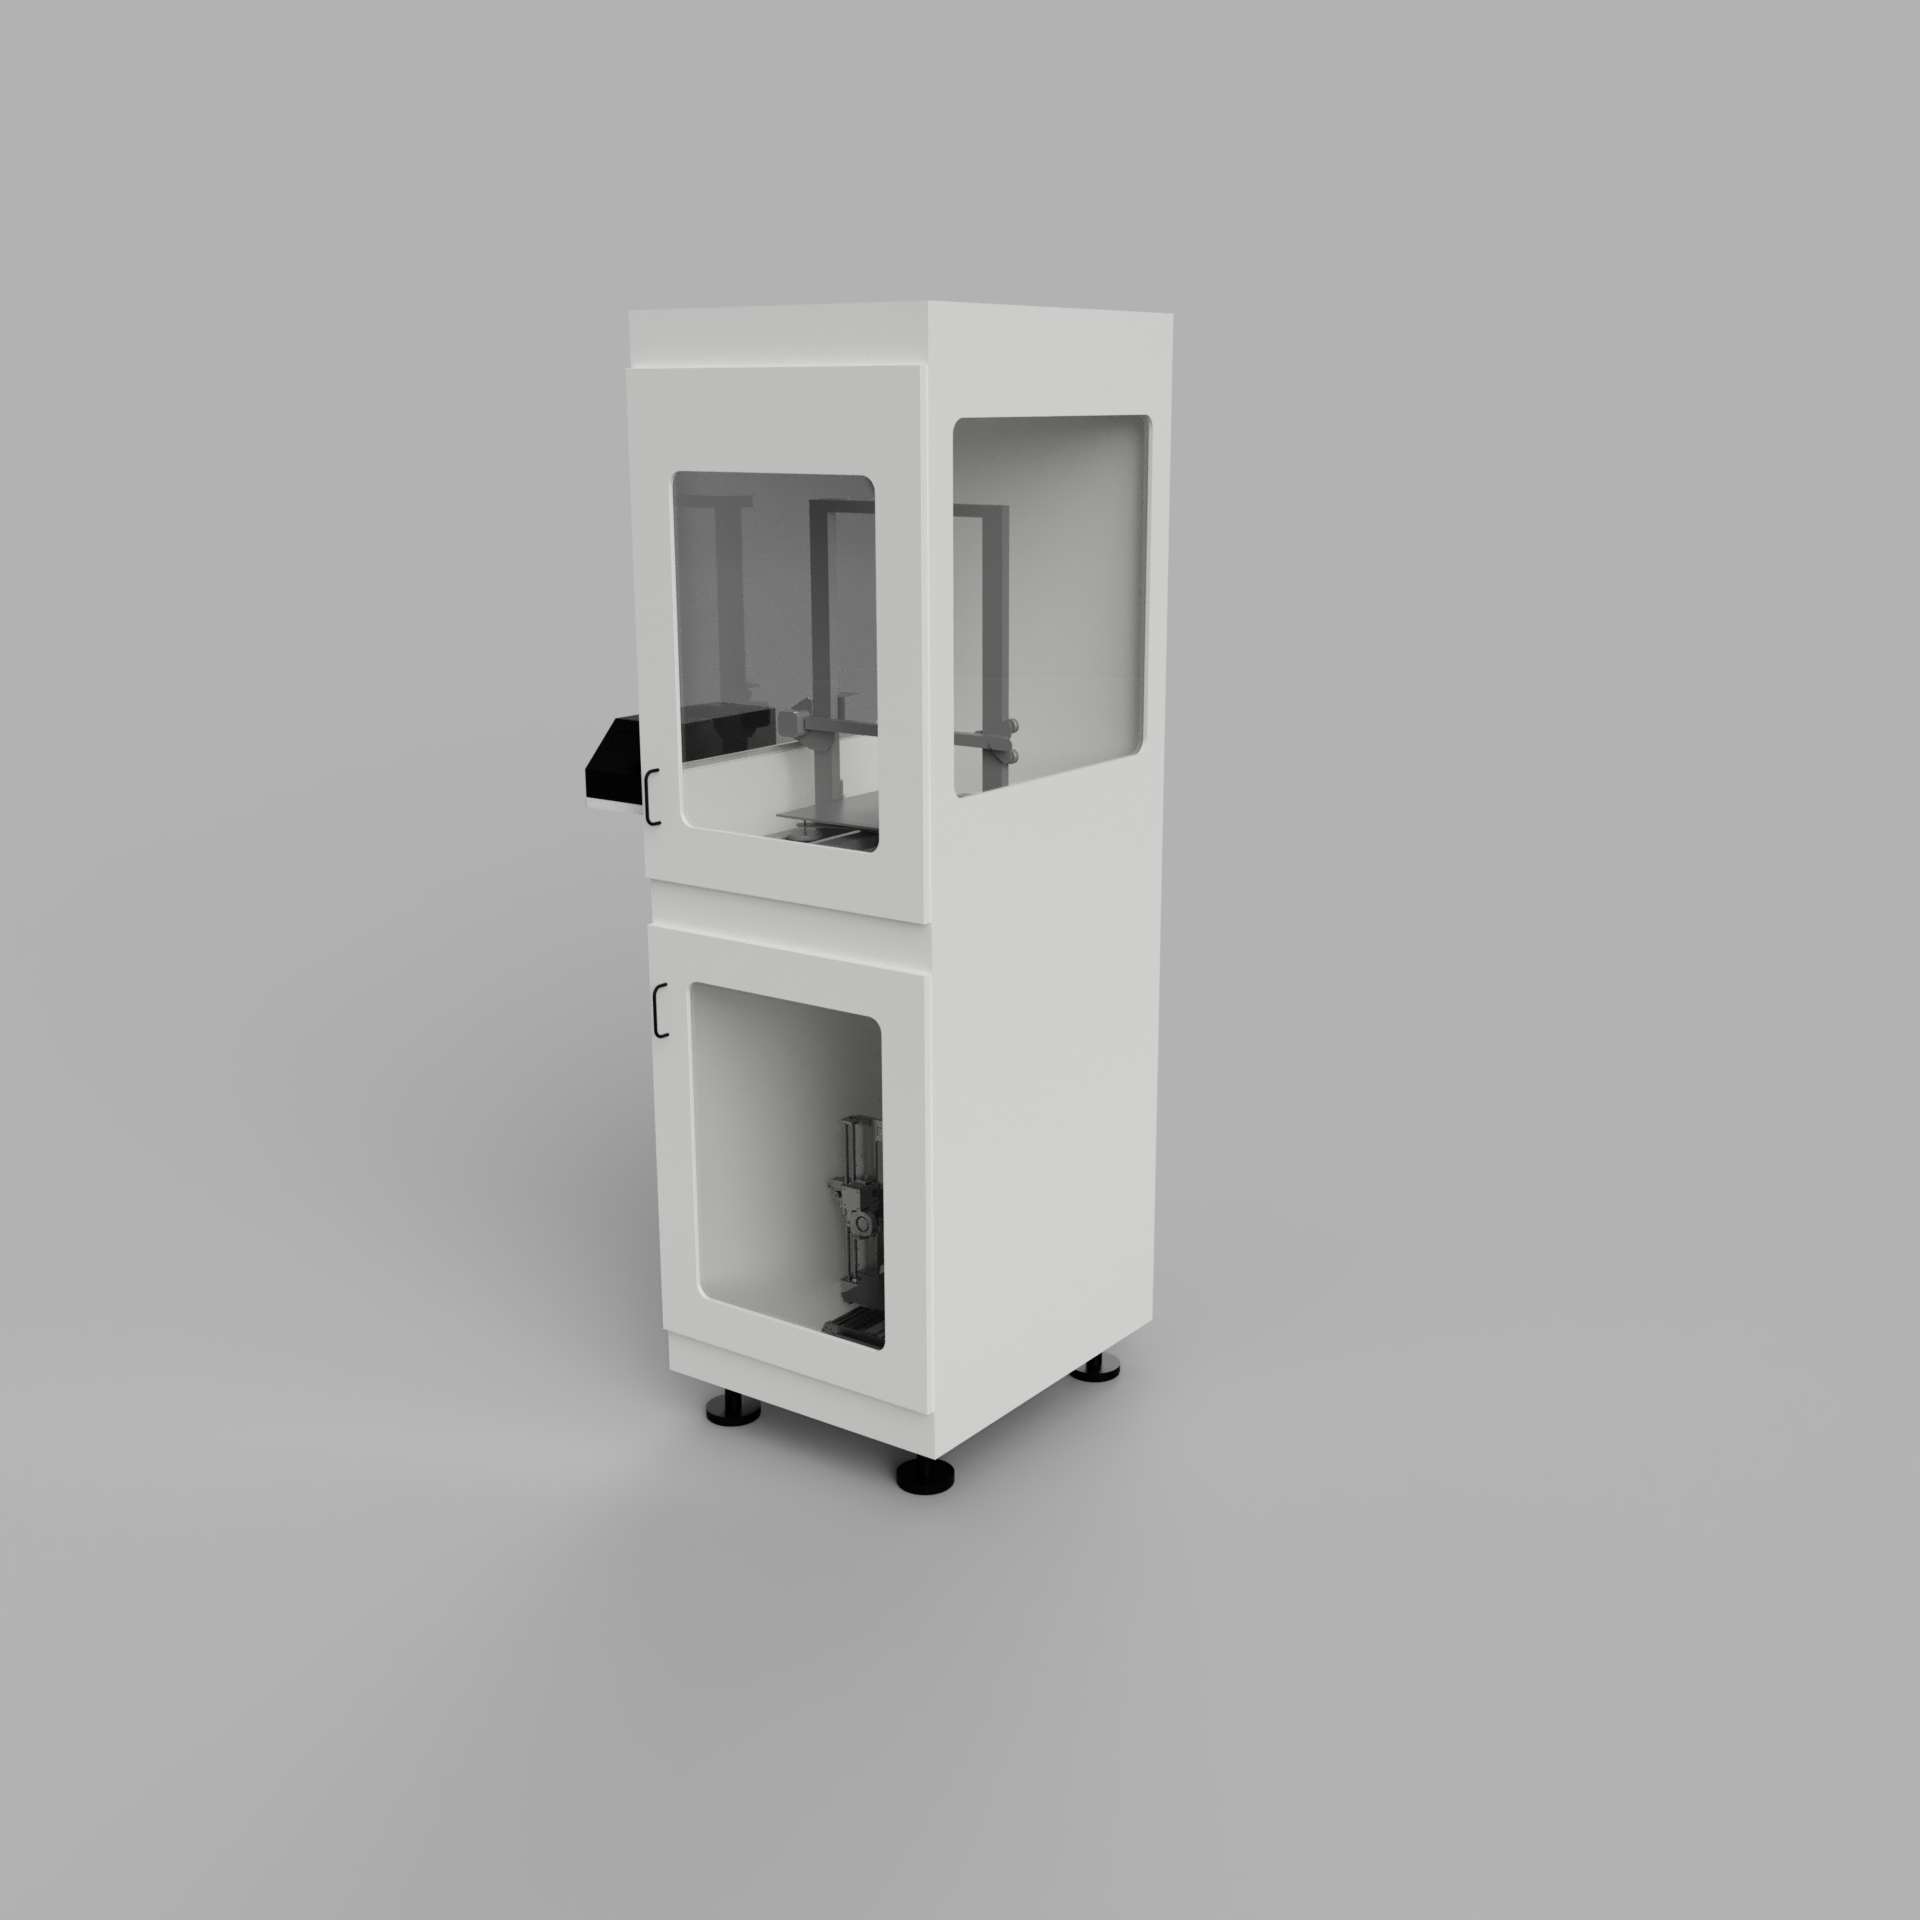
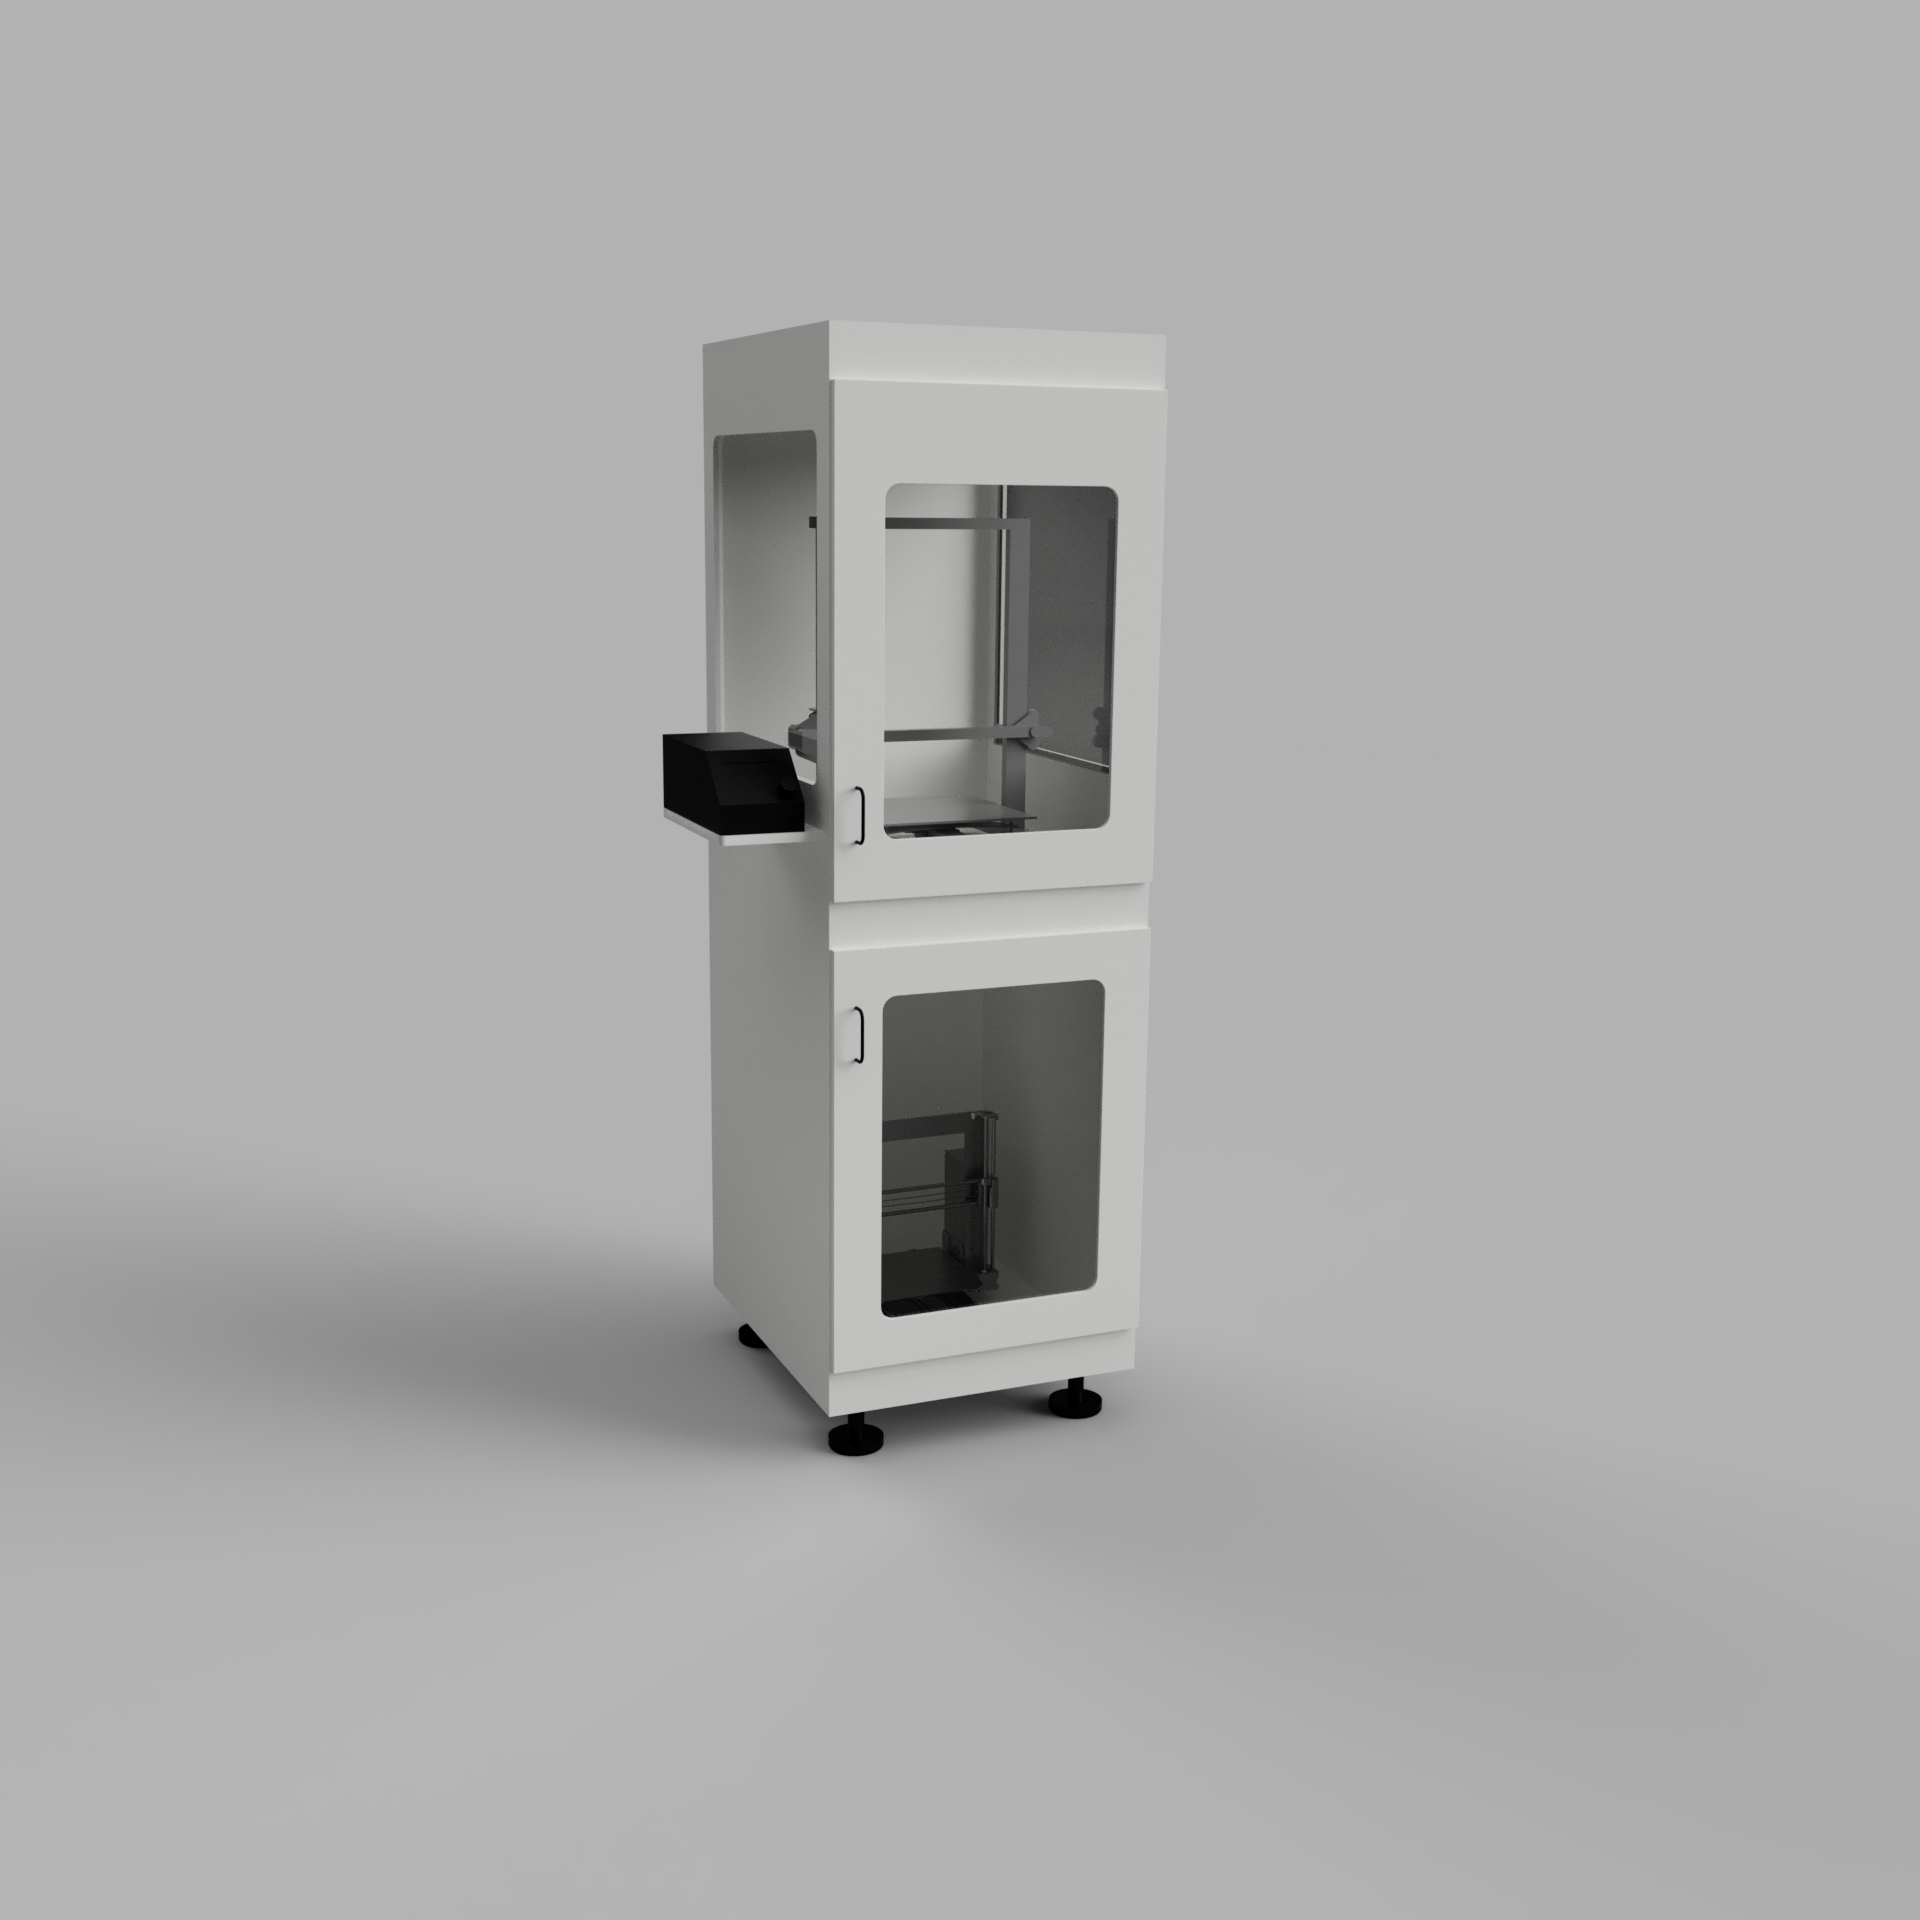
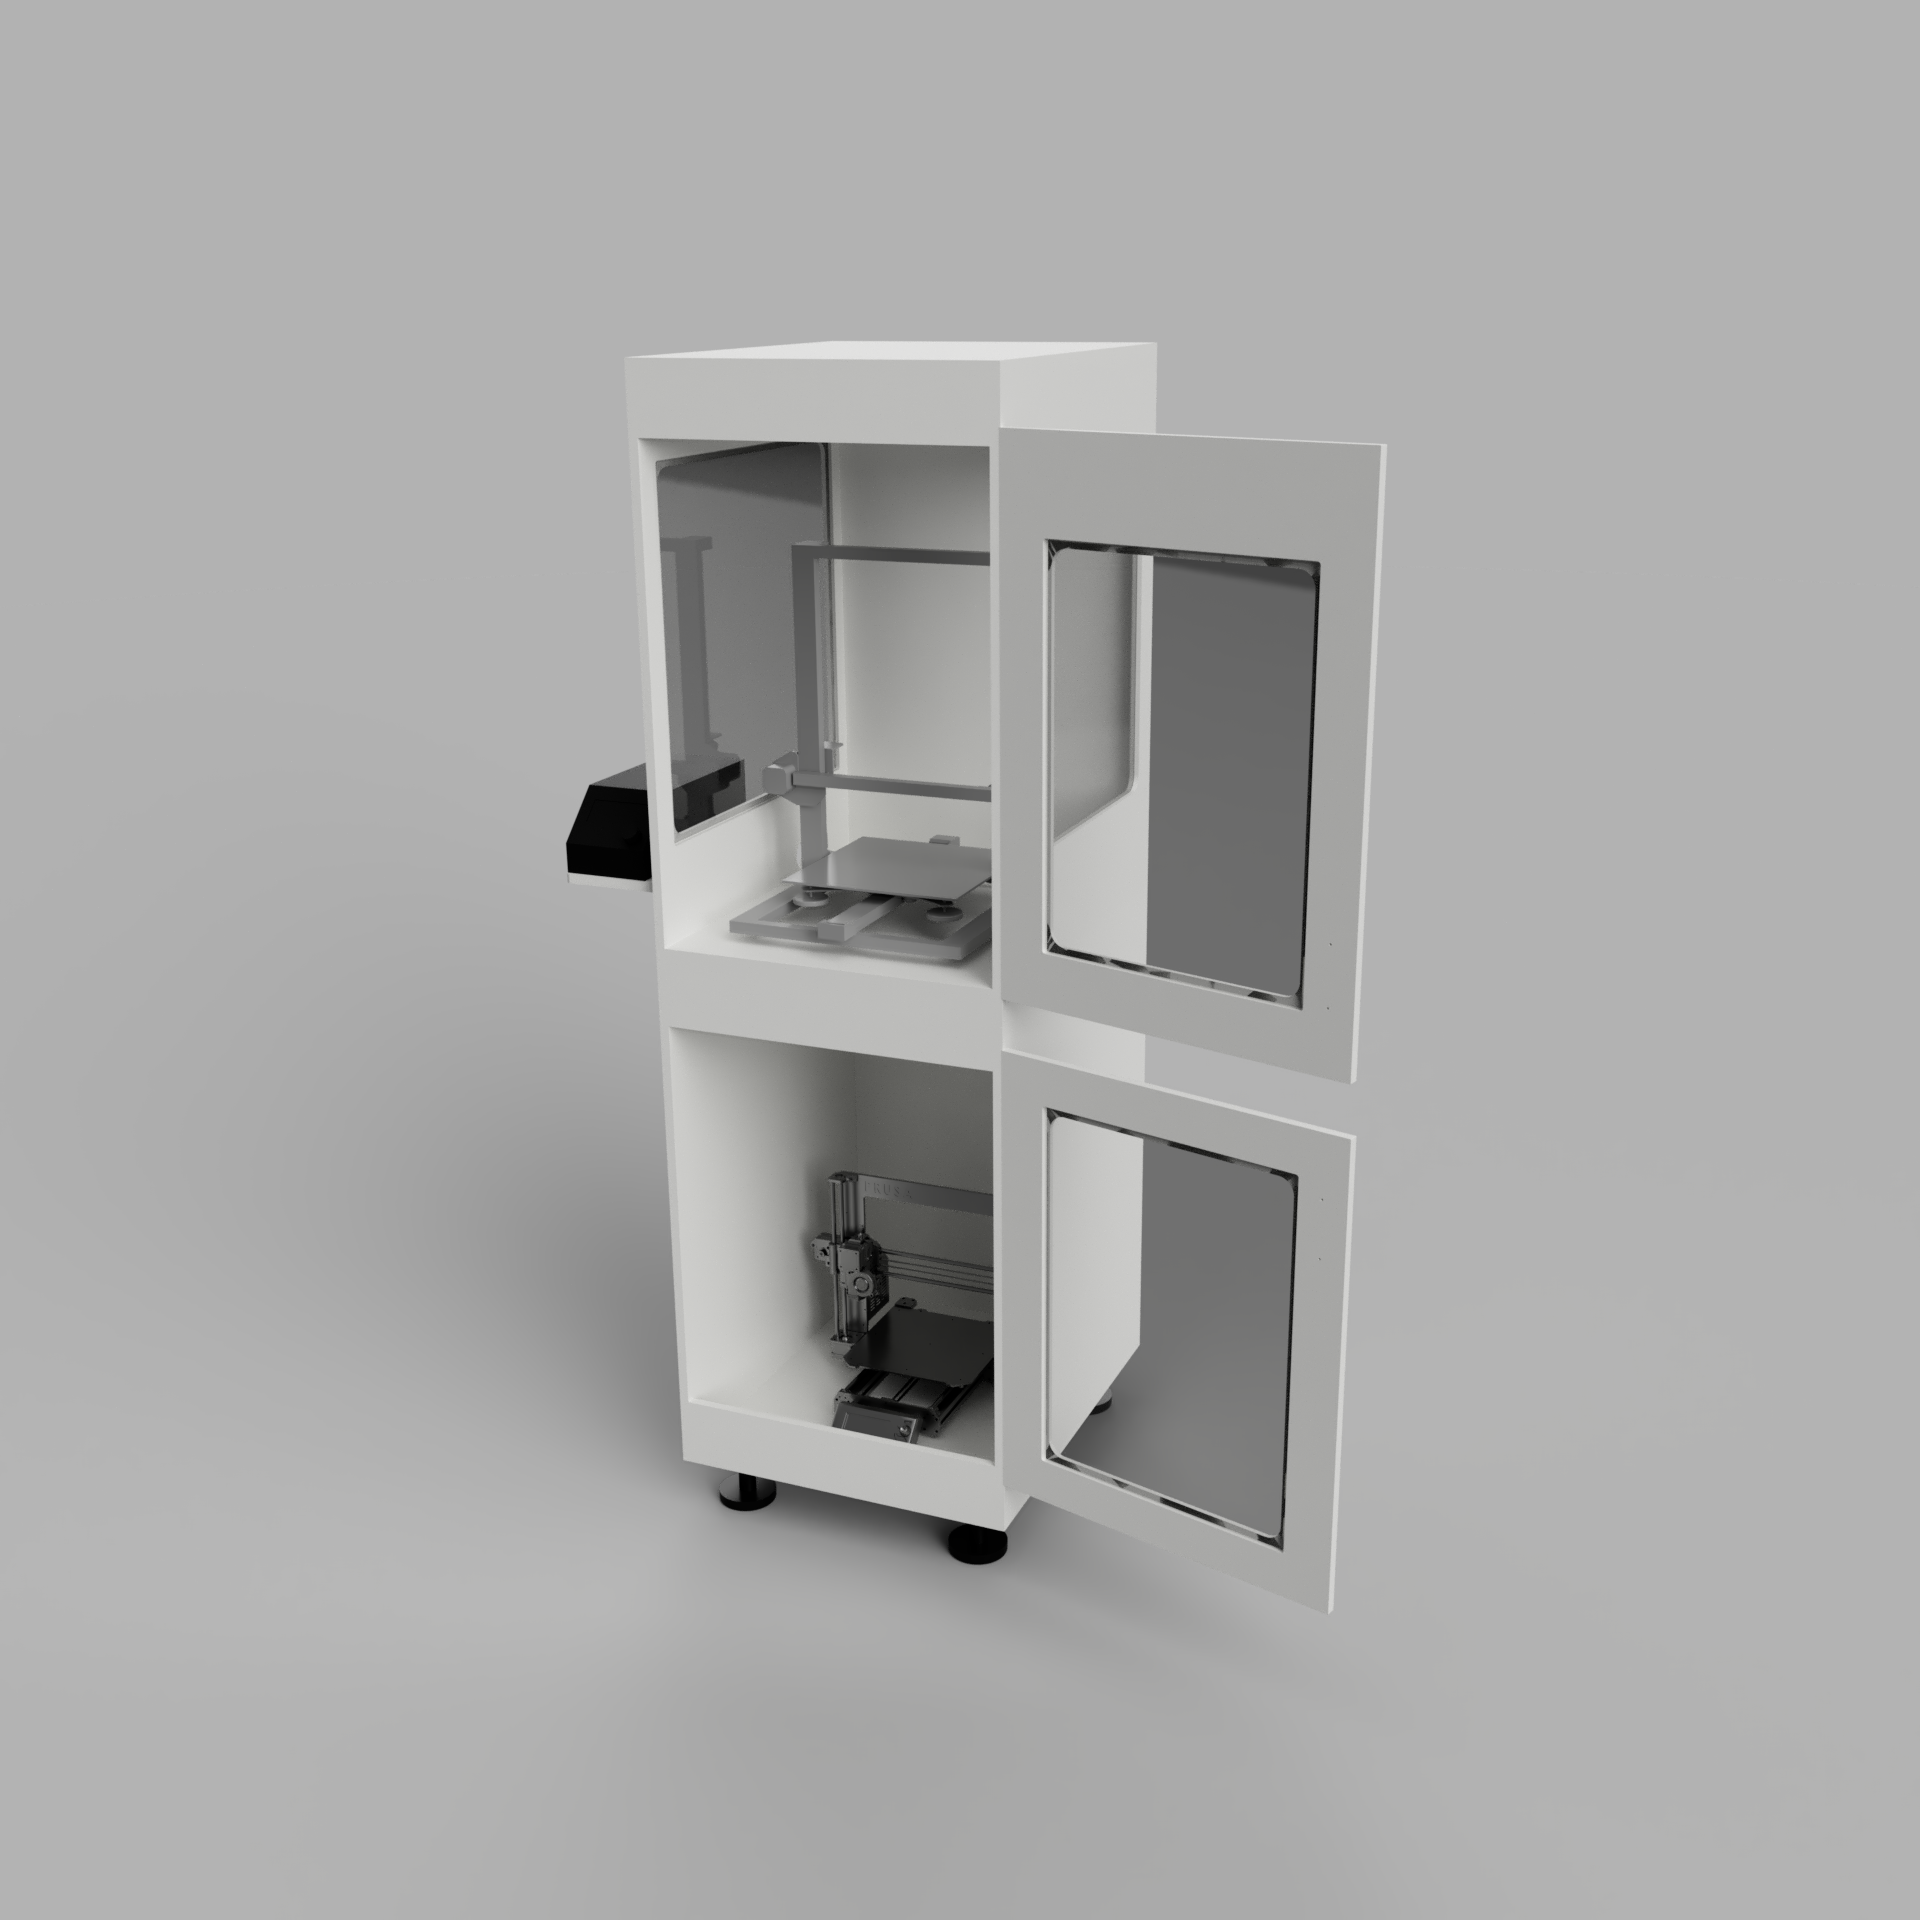
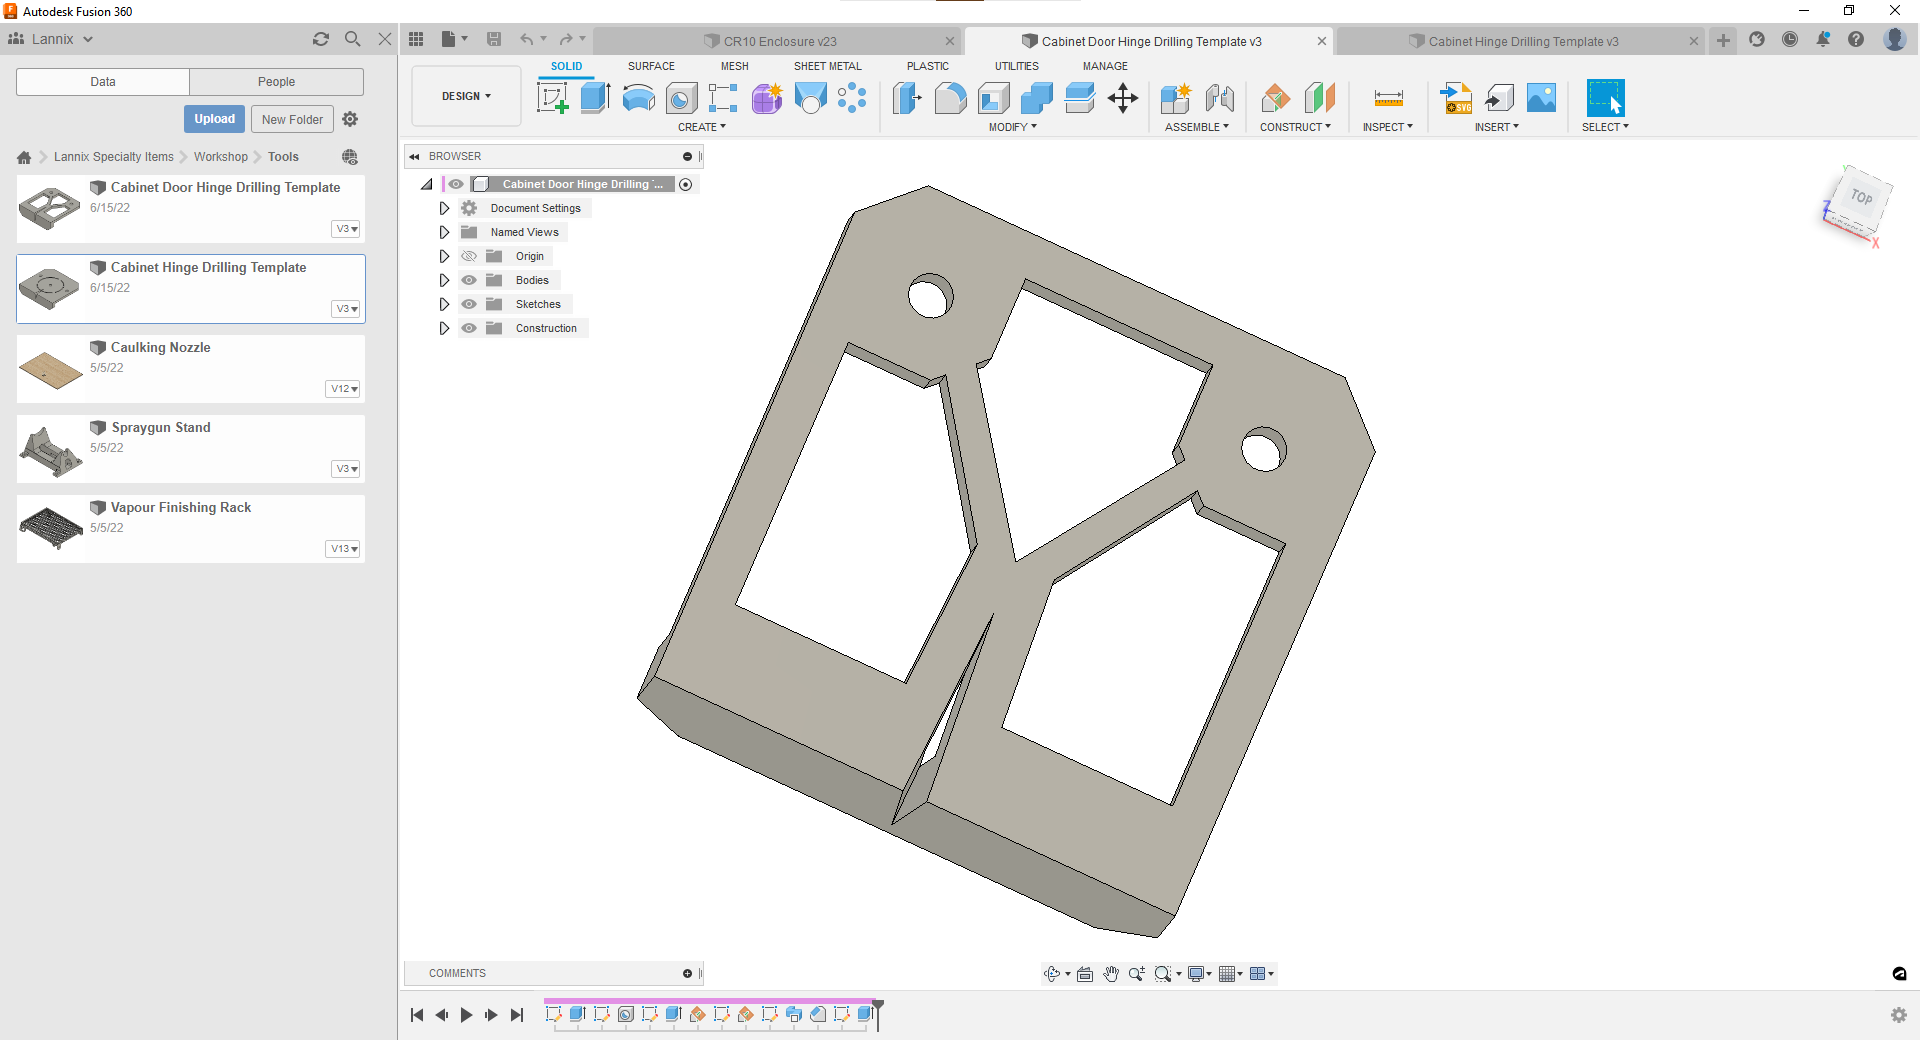
Many find it easy to go into a project without a plan but I for one prefer to have something to refer to during the build. My projects just turn out better that way so the enclosure was designed using CAD and reference drawings were printed.
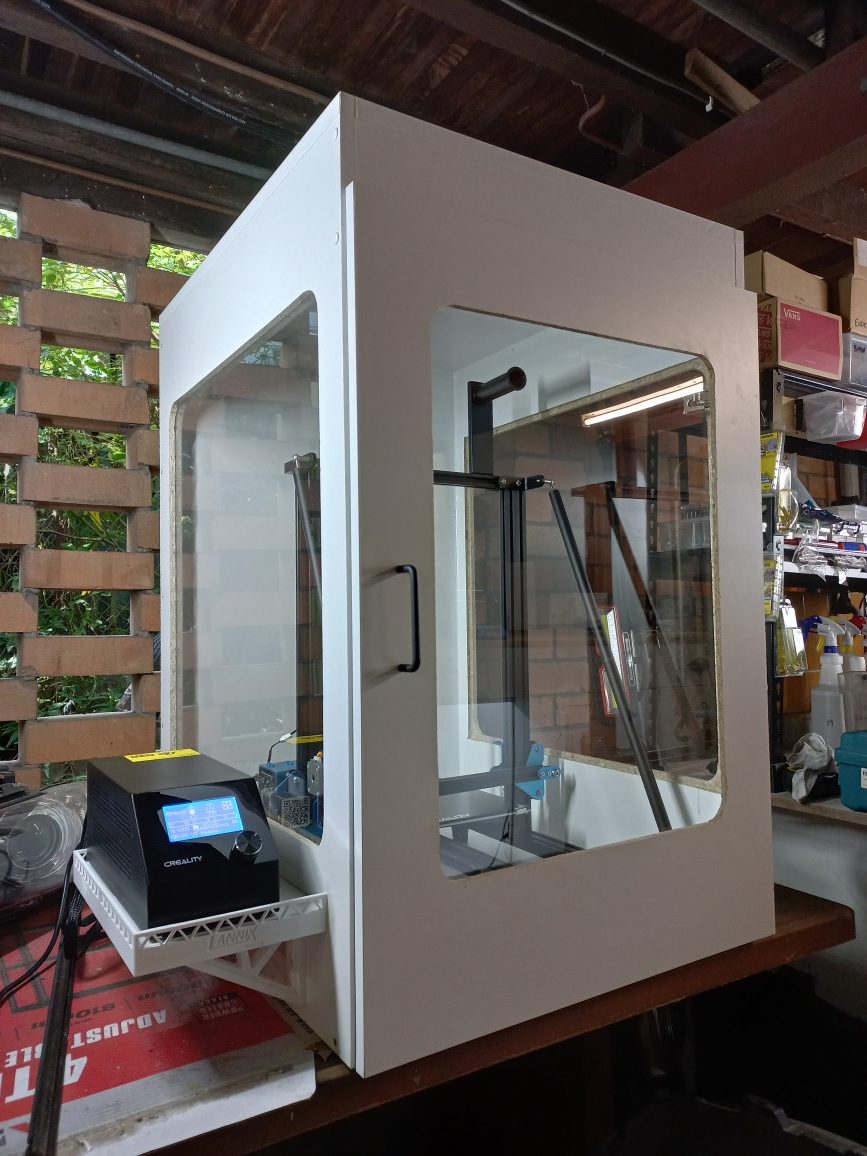
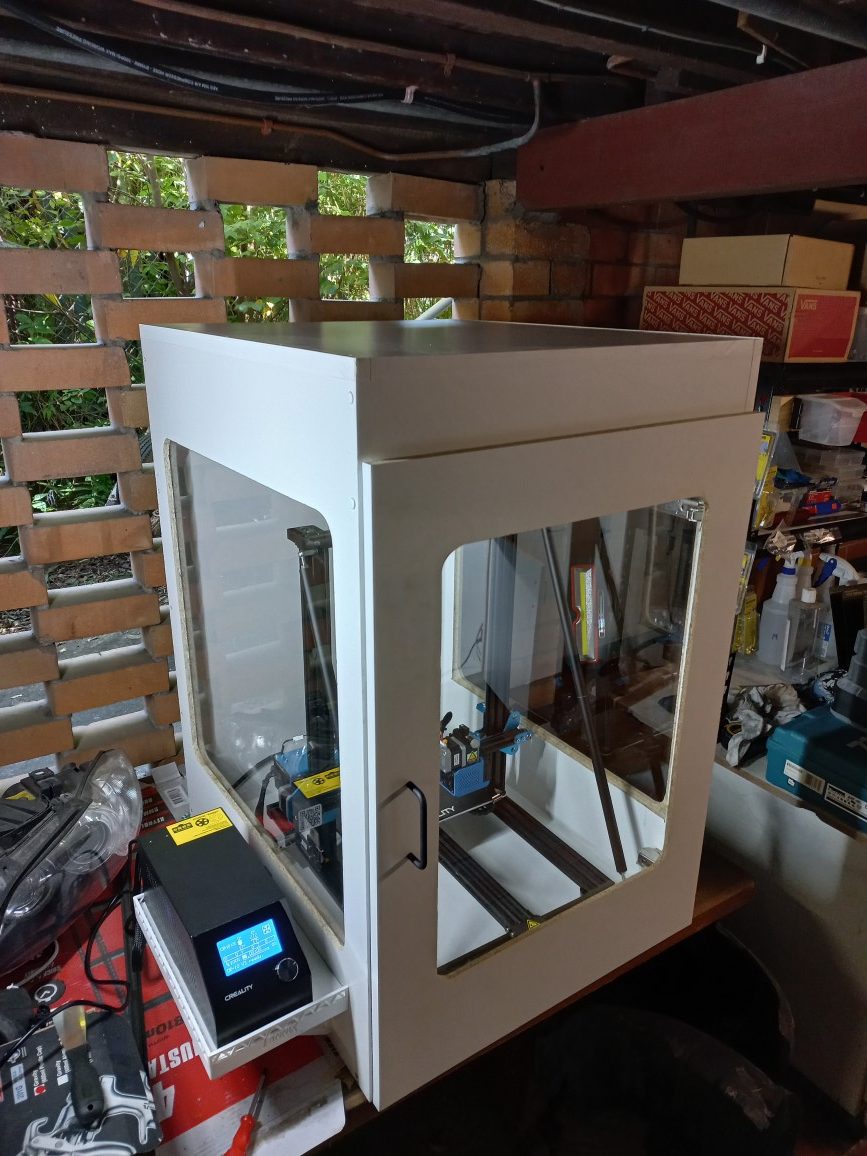
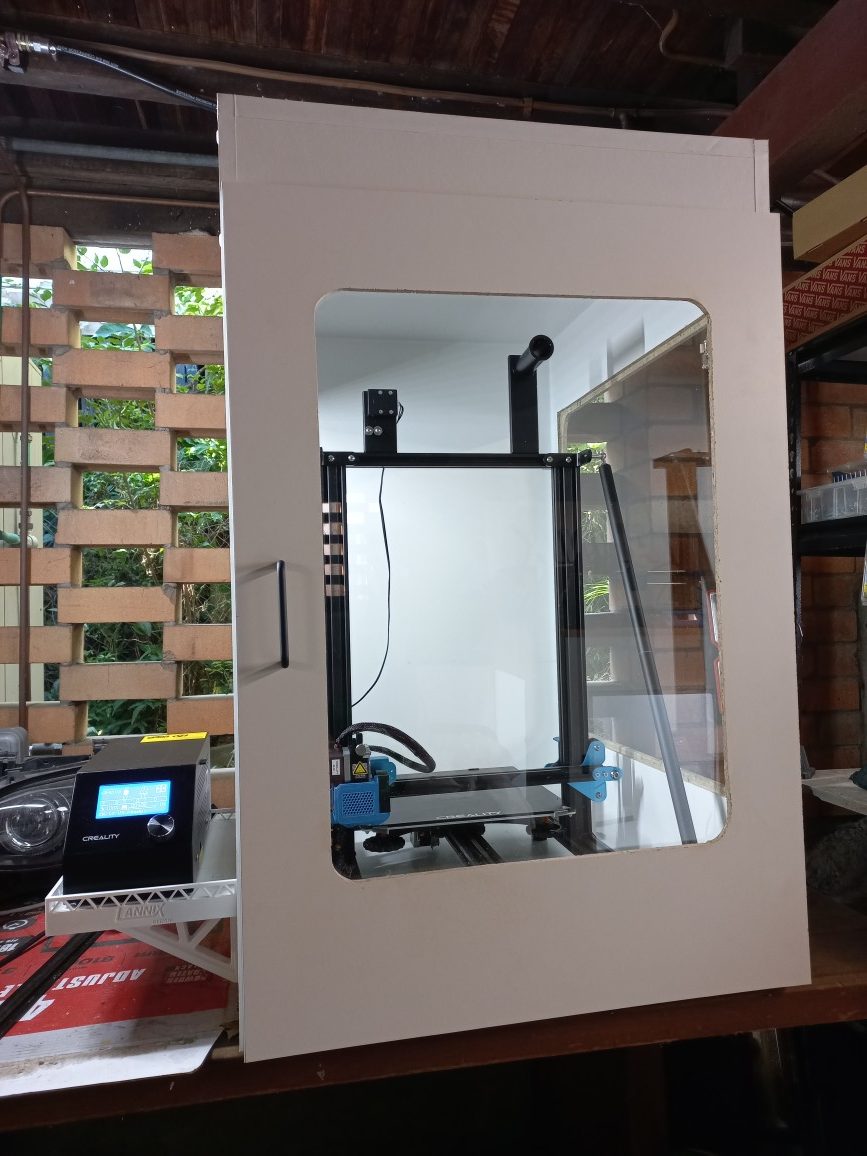
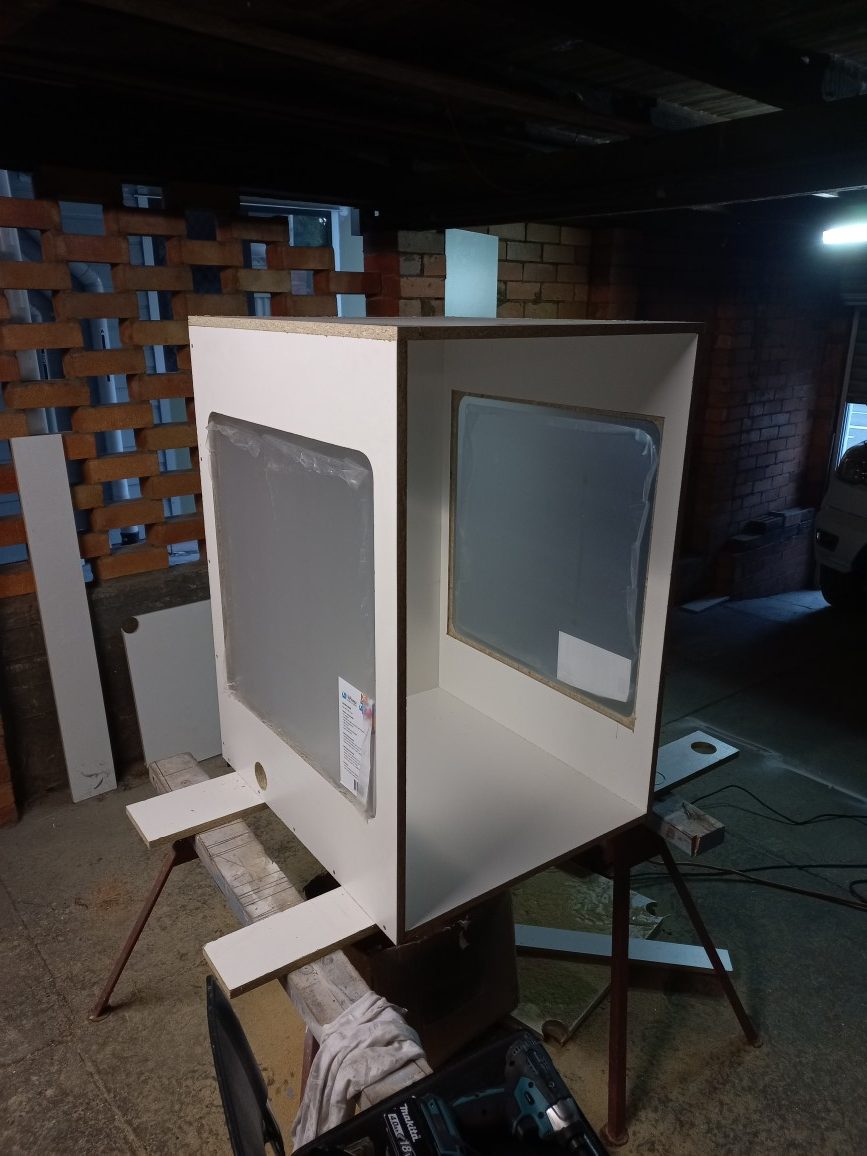
The finished enclosure in its temporary home.
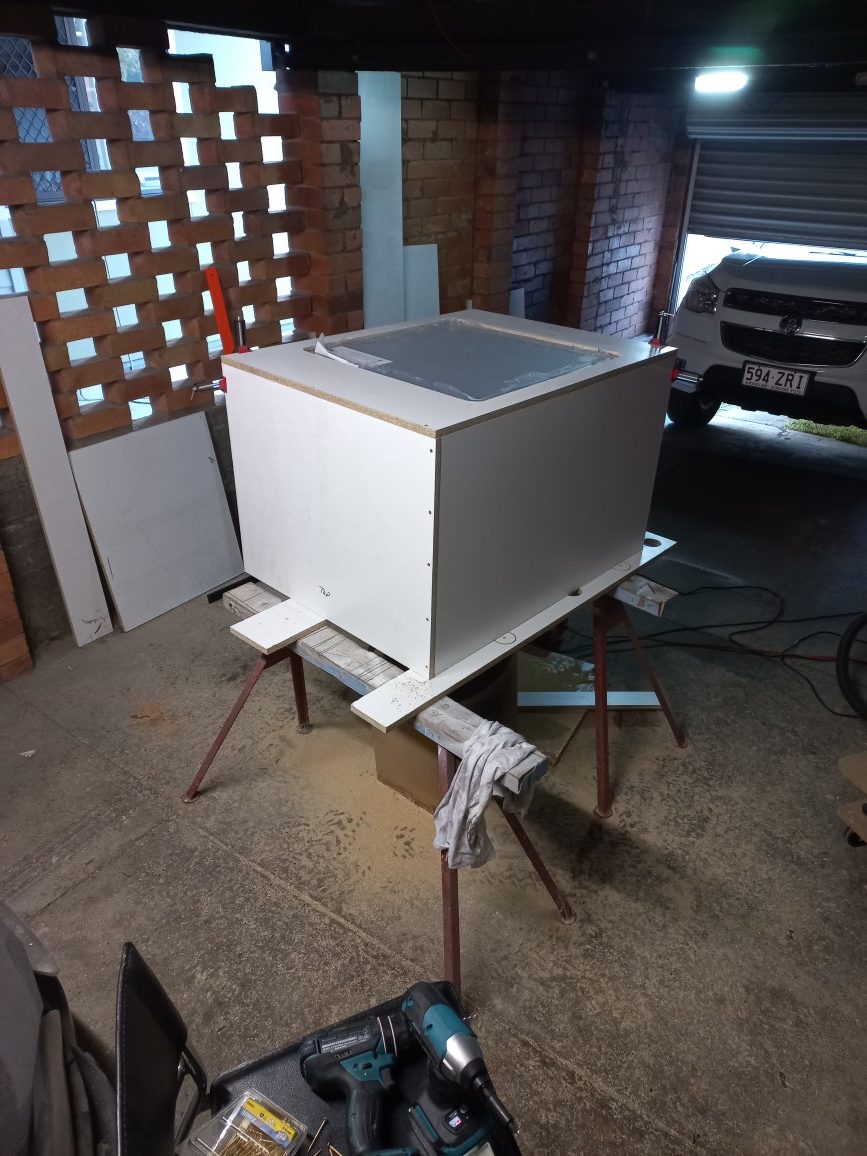
Thinking long term, this enclosure will end up living in the office of the new workshop so being a stand-alone design with its own base was critical. For now though, only the top half of the unit was built due to lack of space in the current workshop.
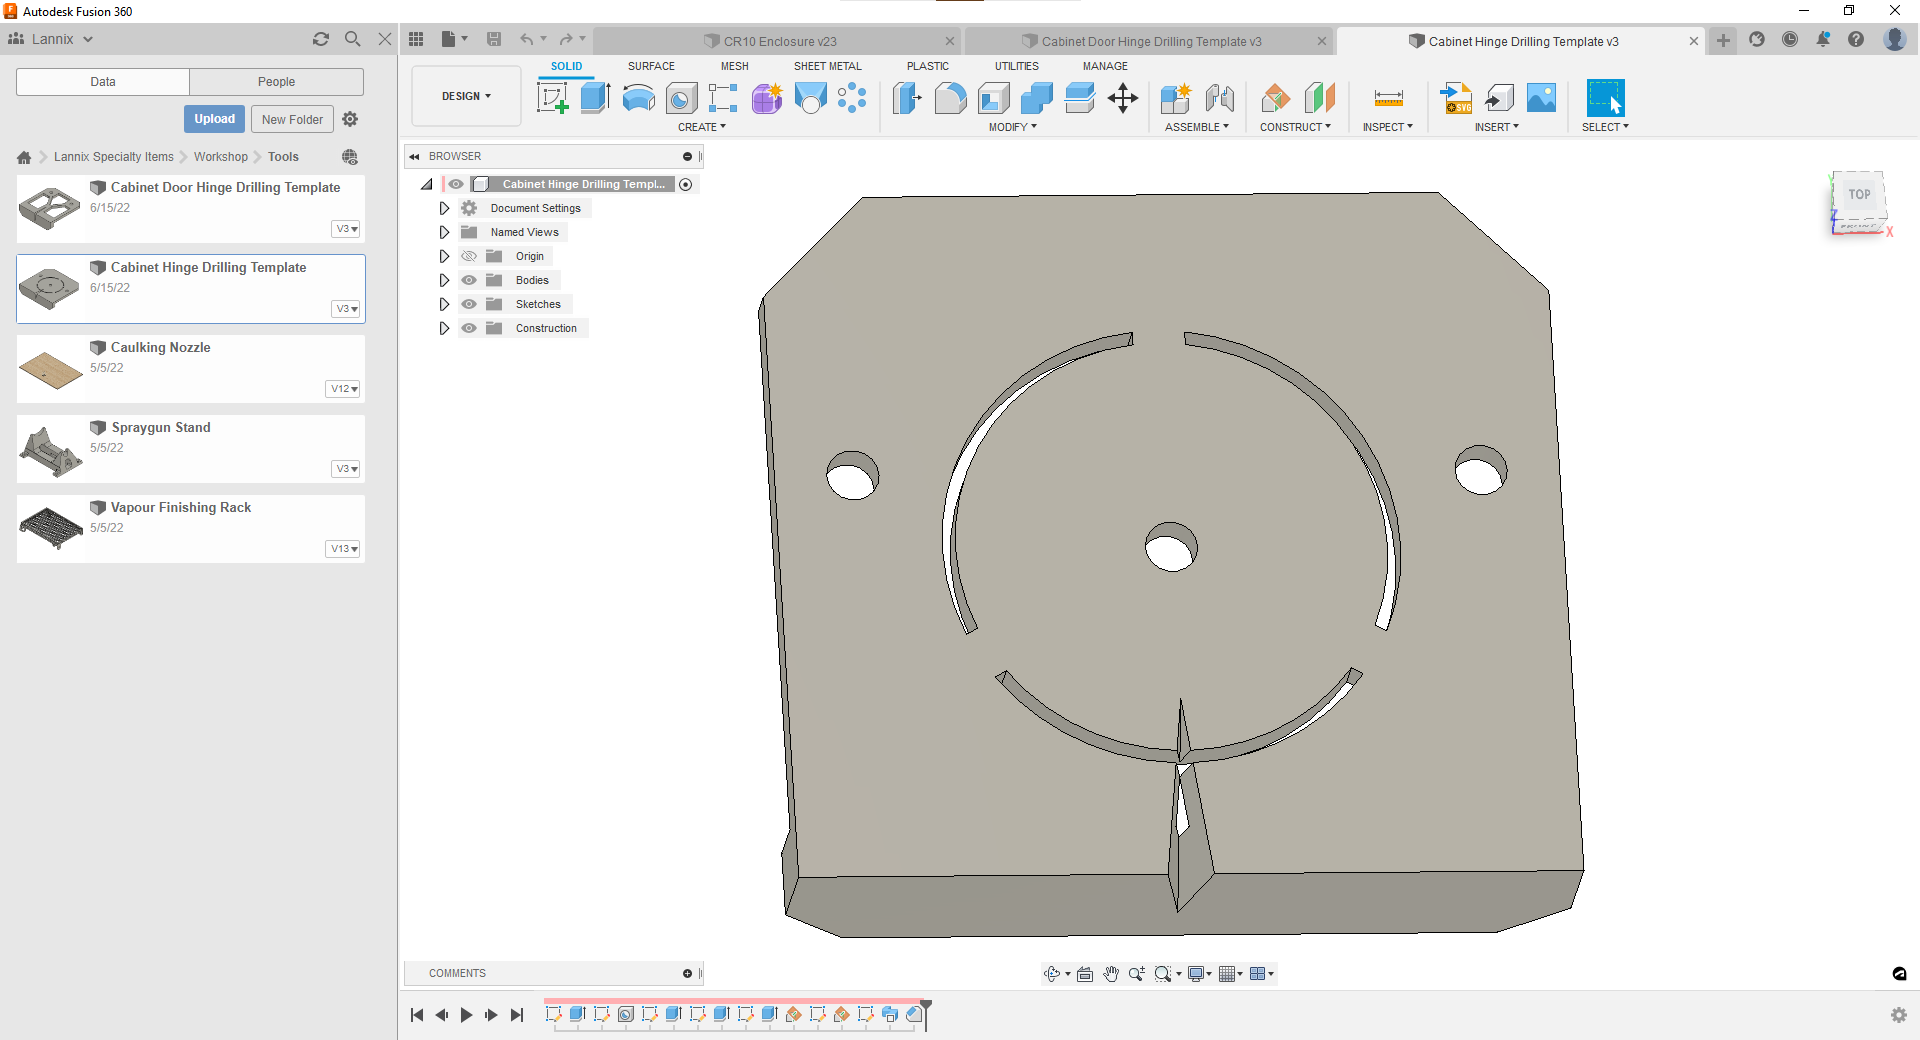
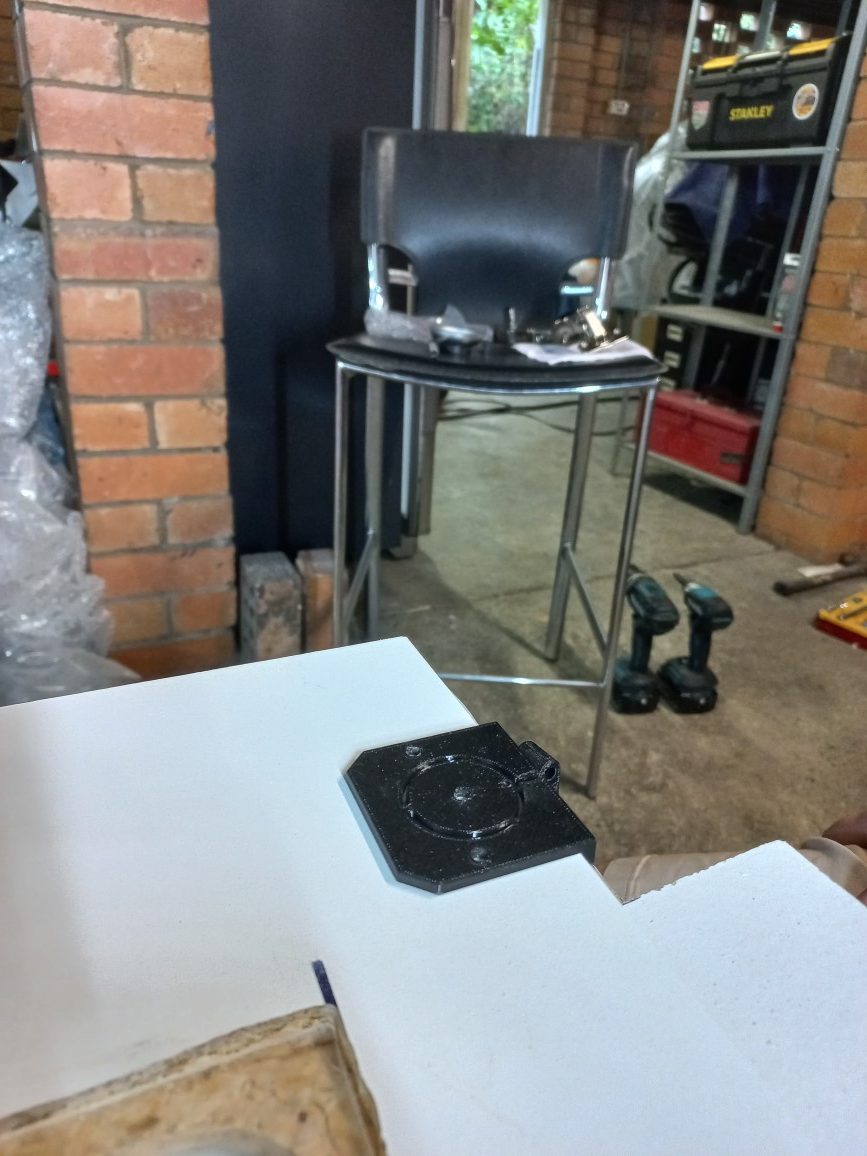
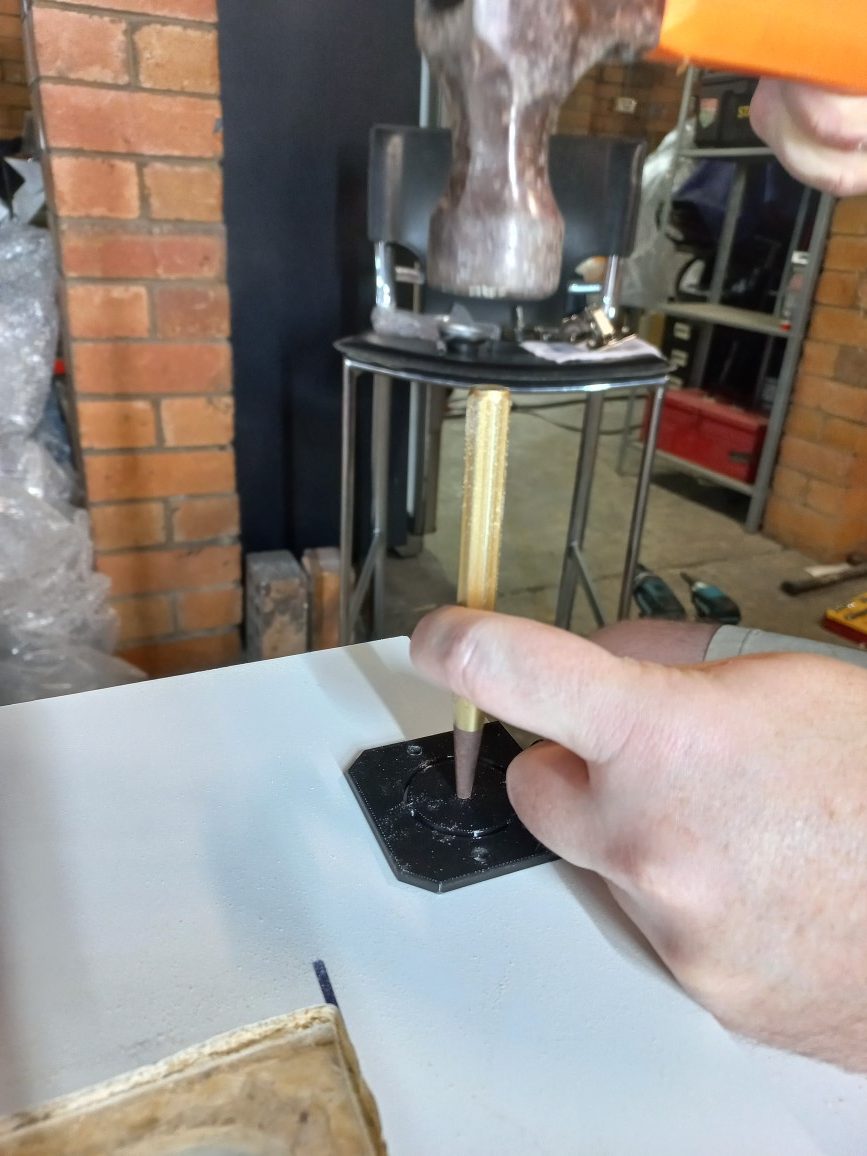
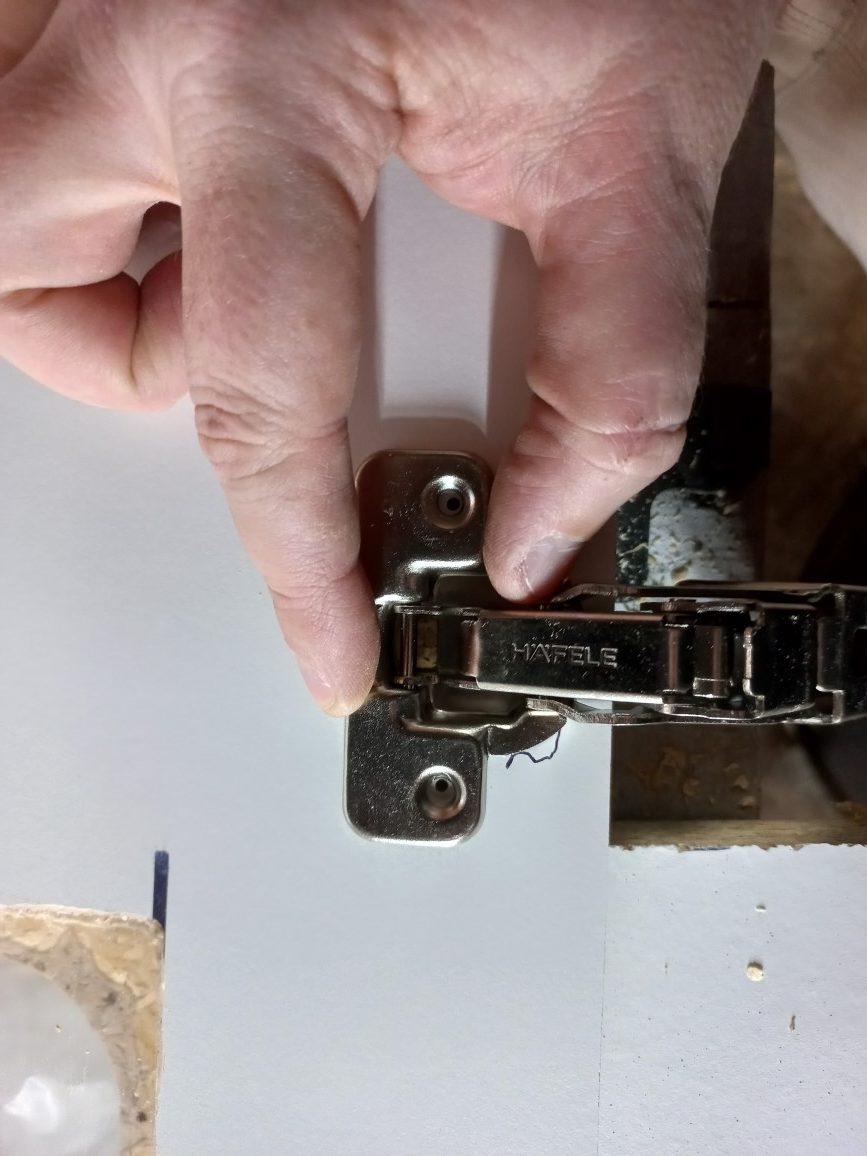
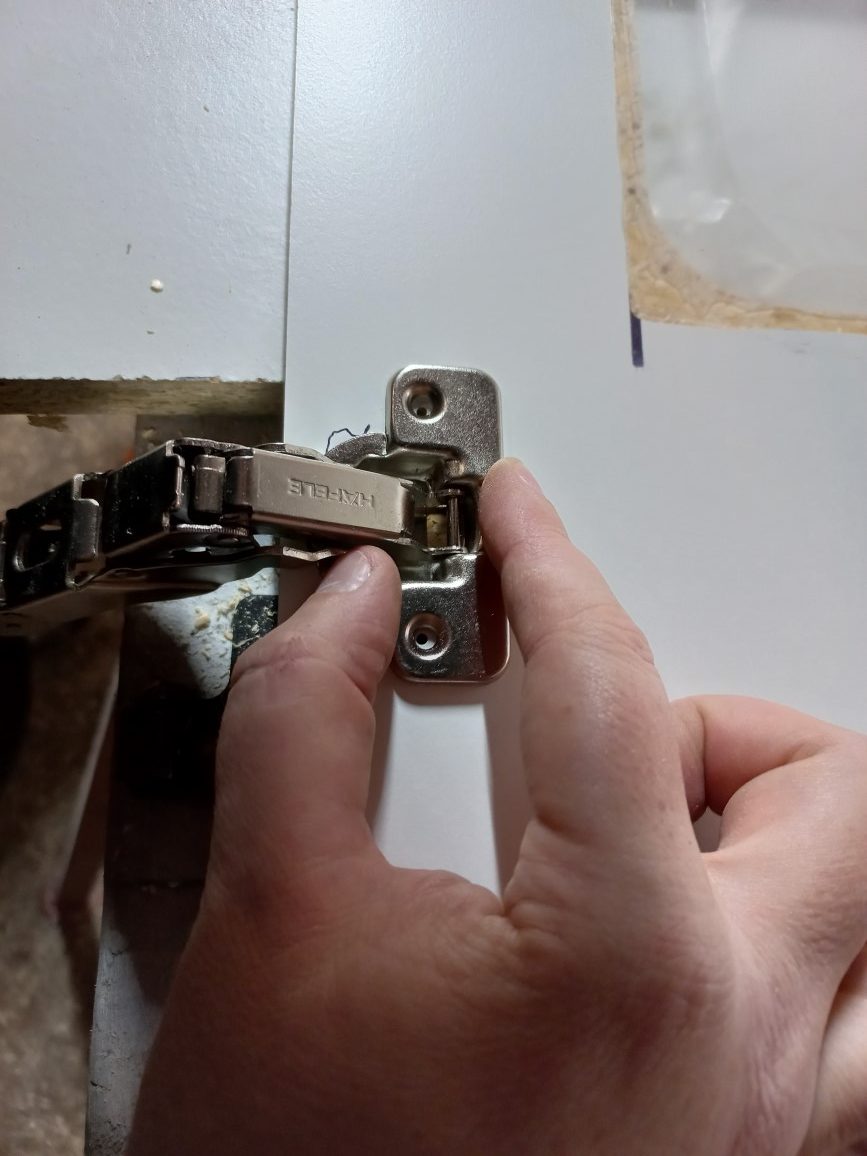
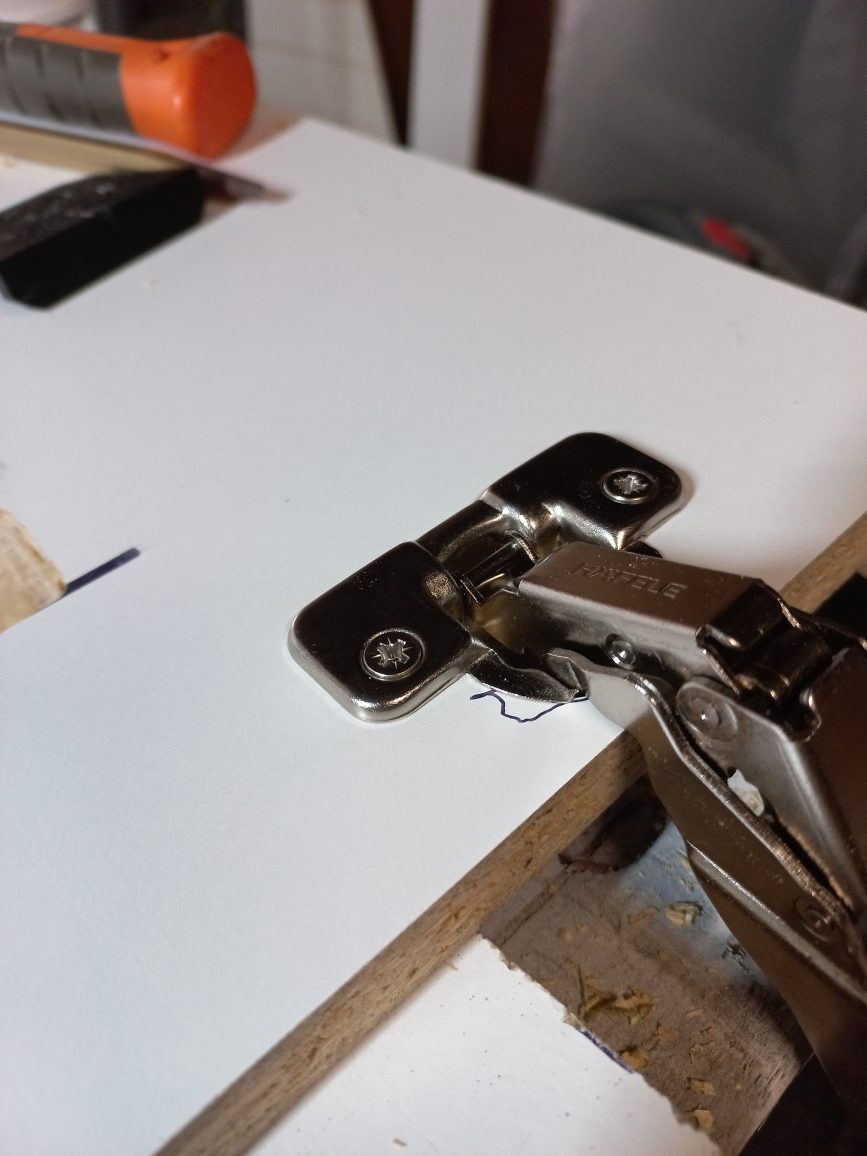
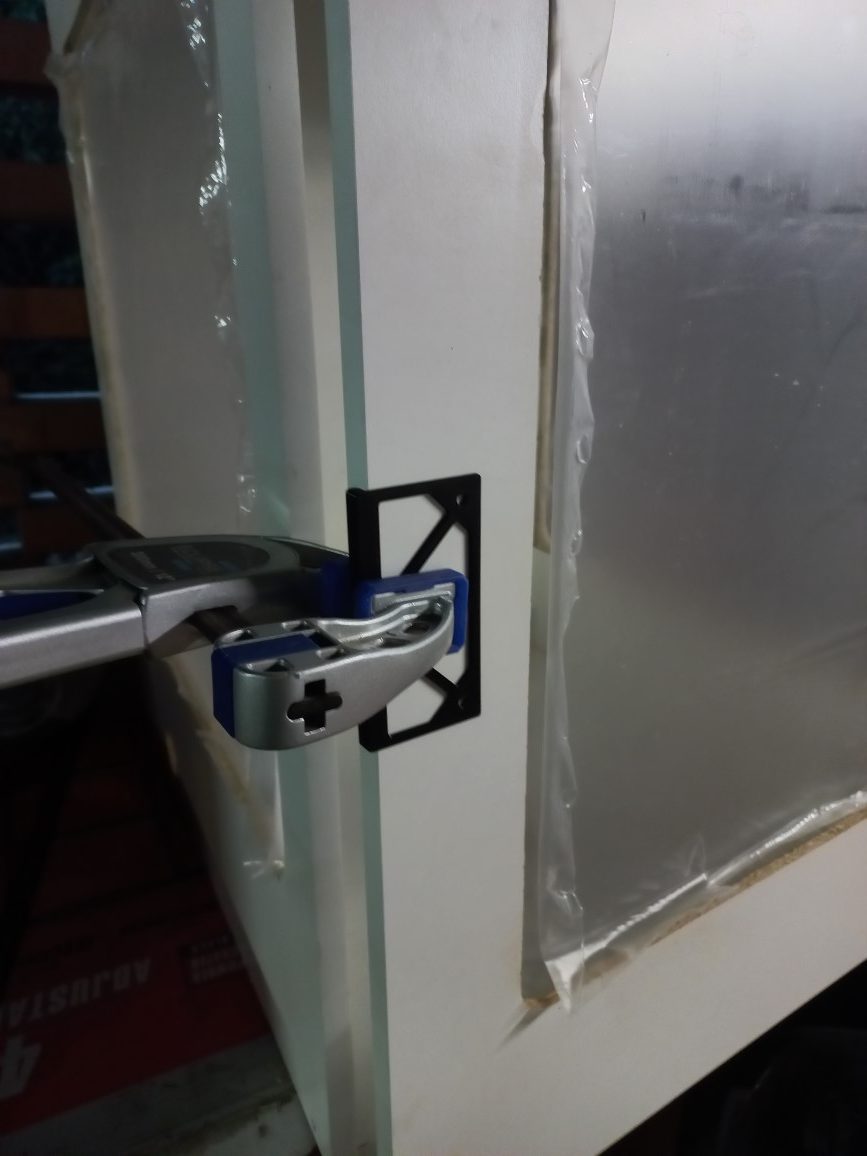
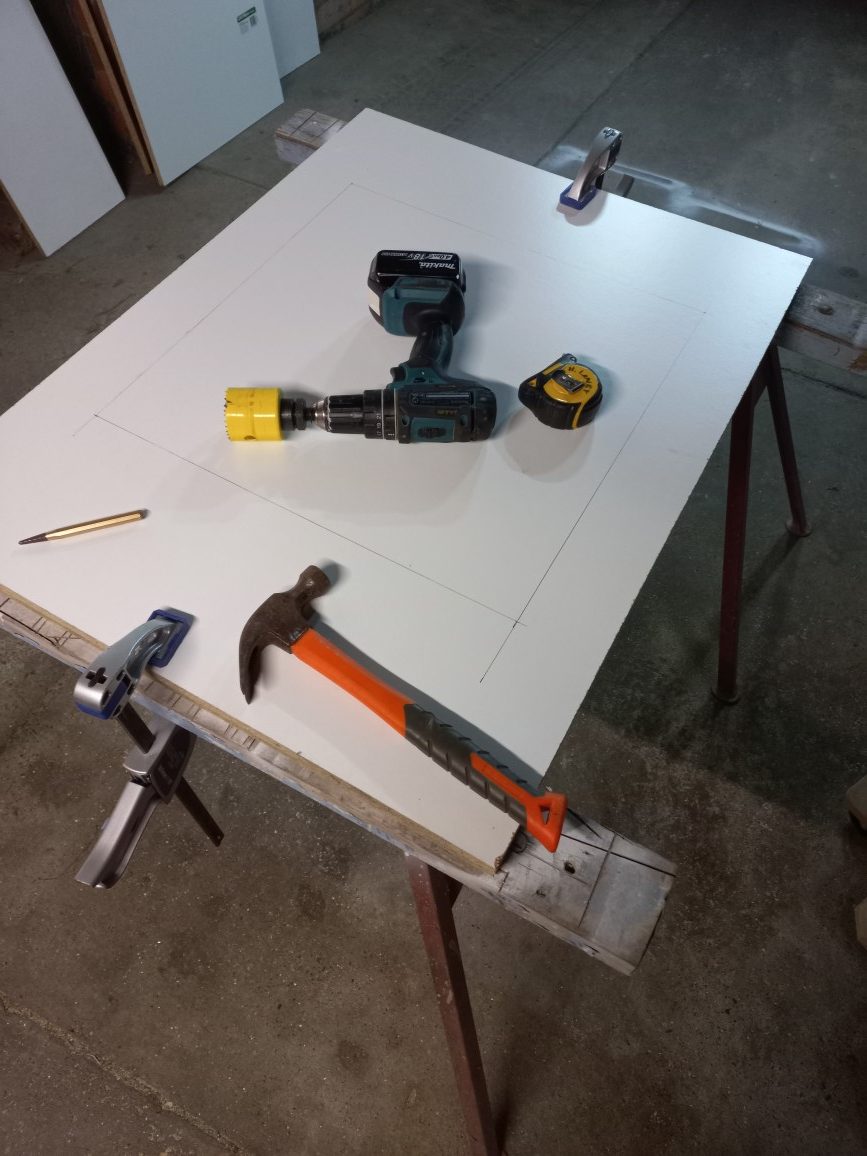
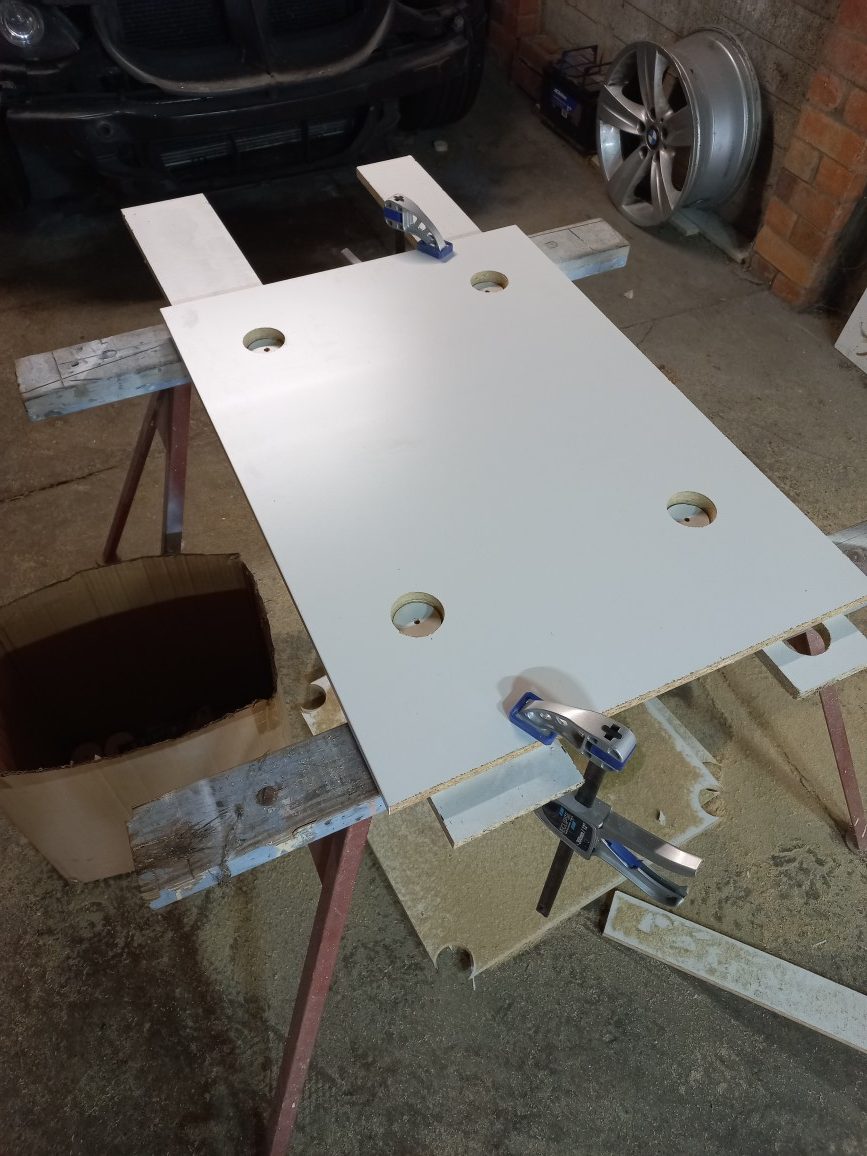
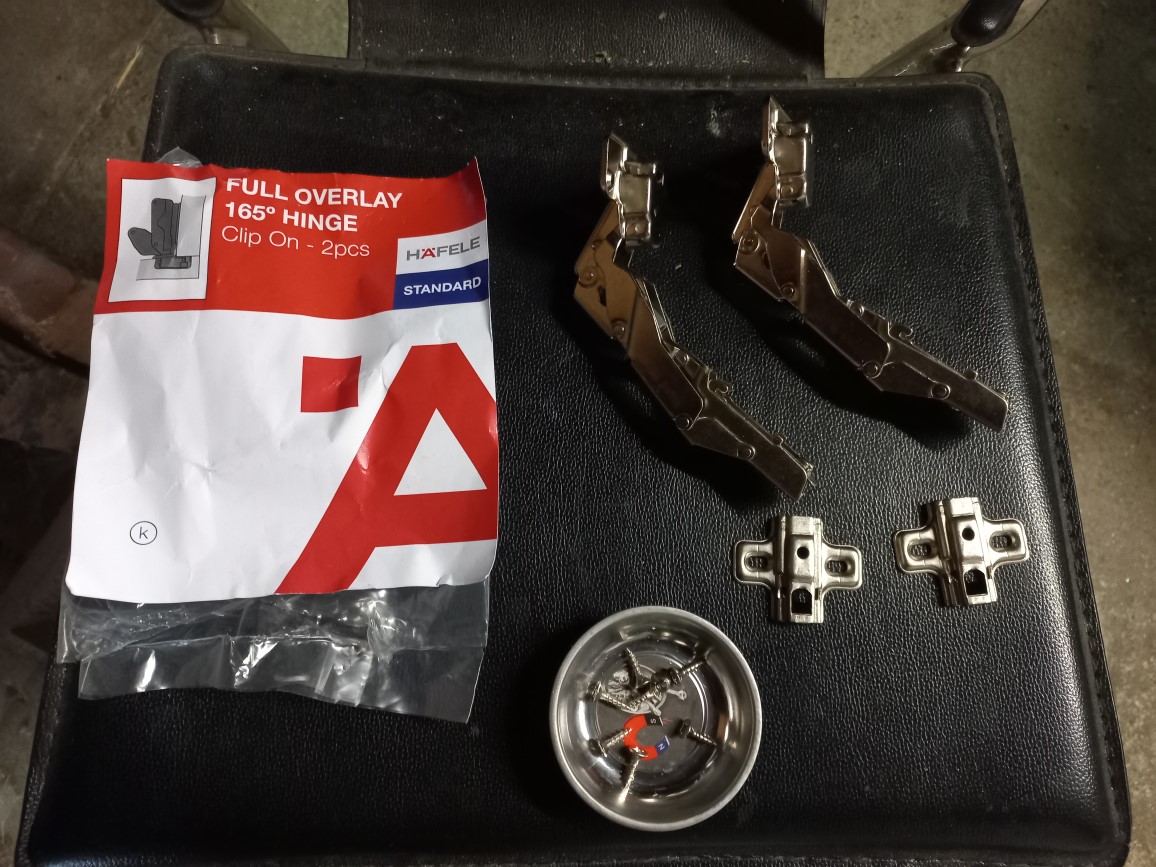
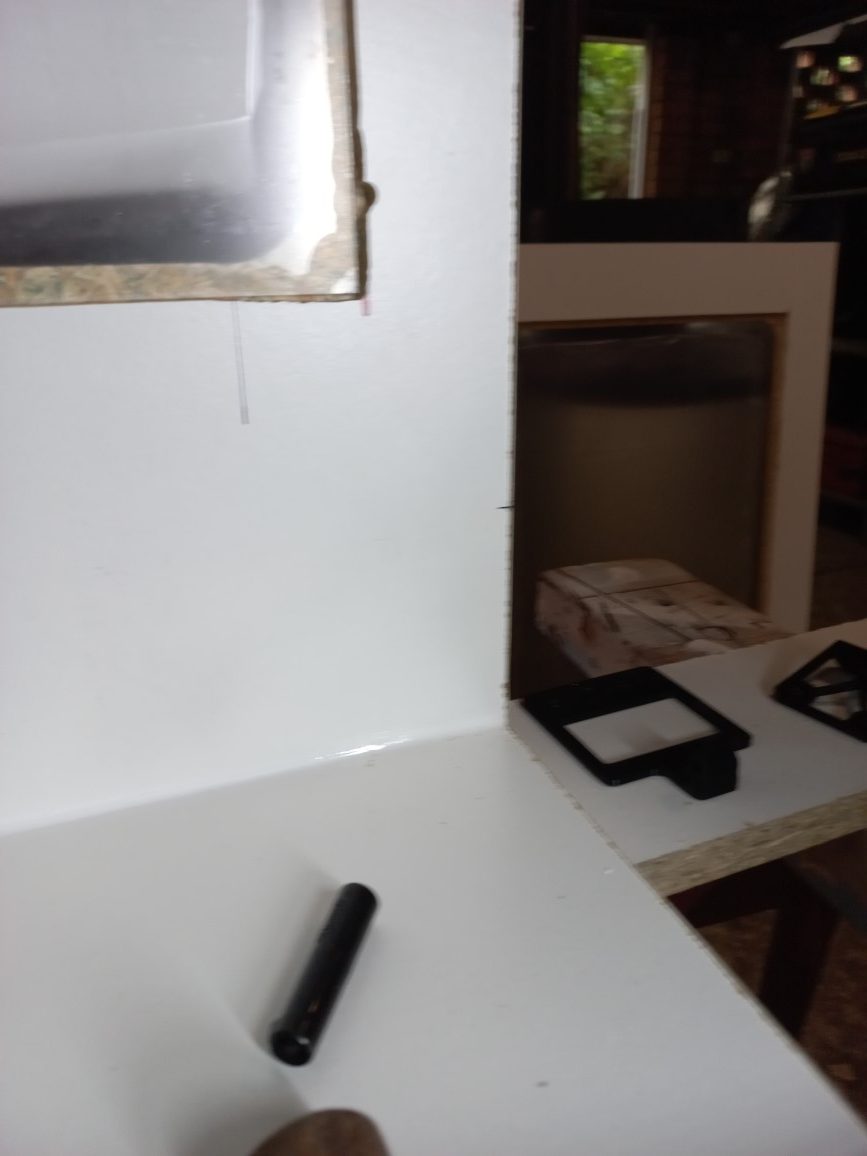
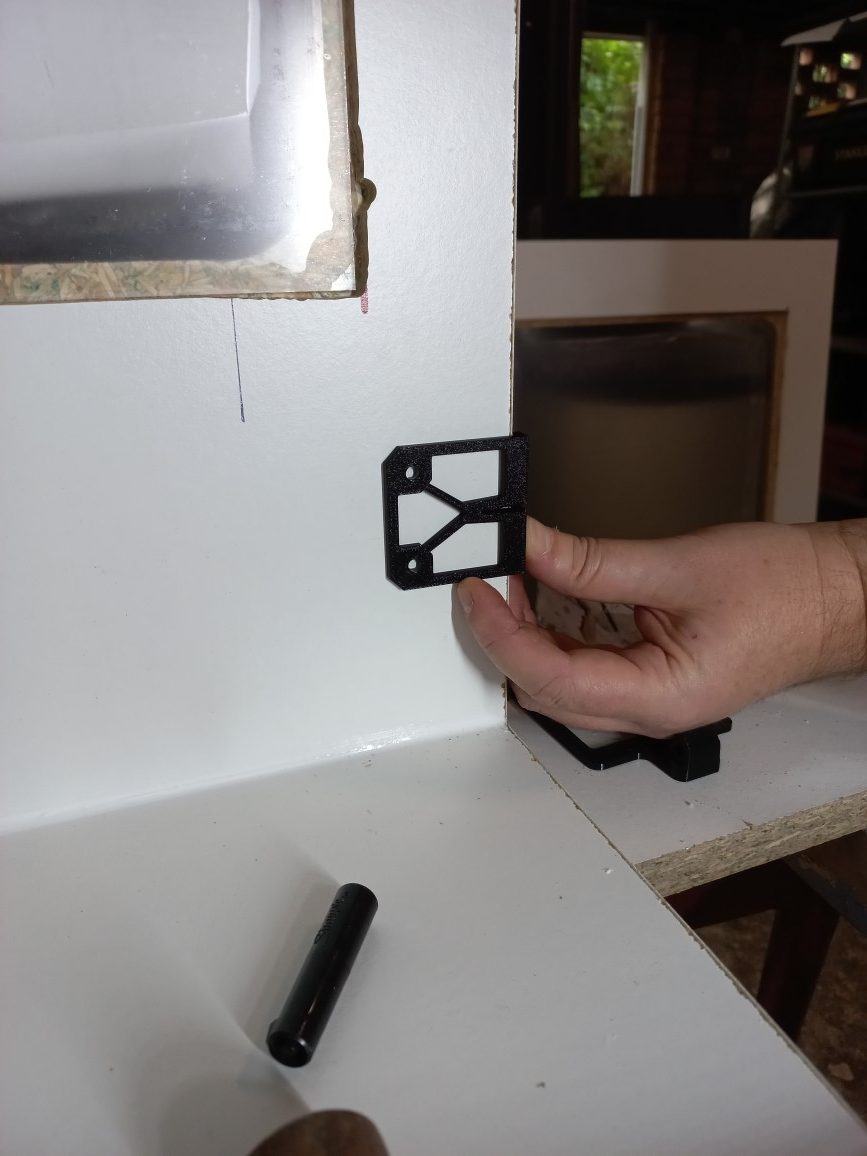
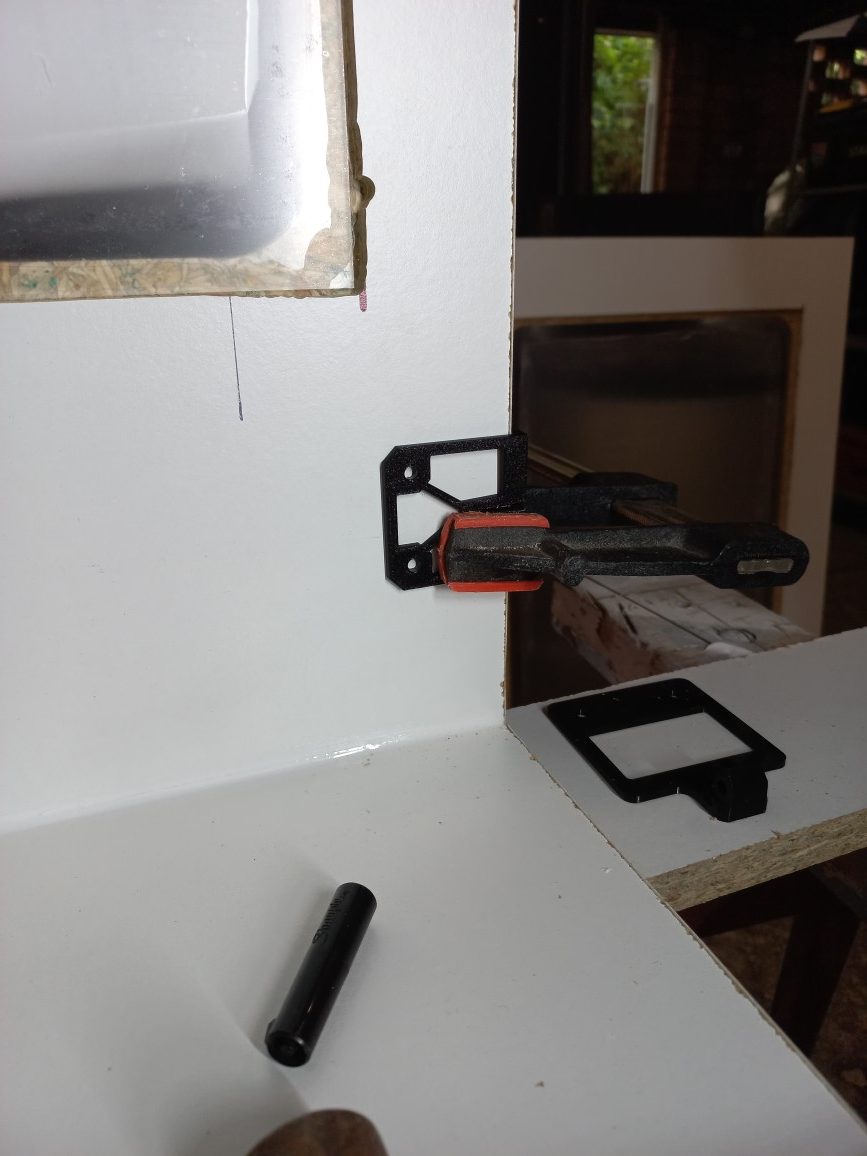
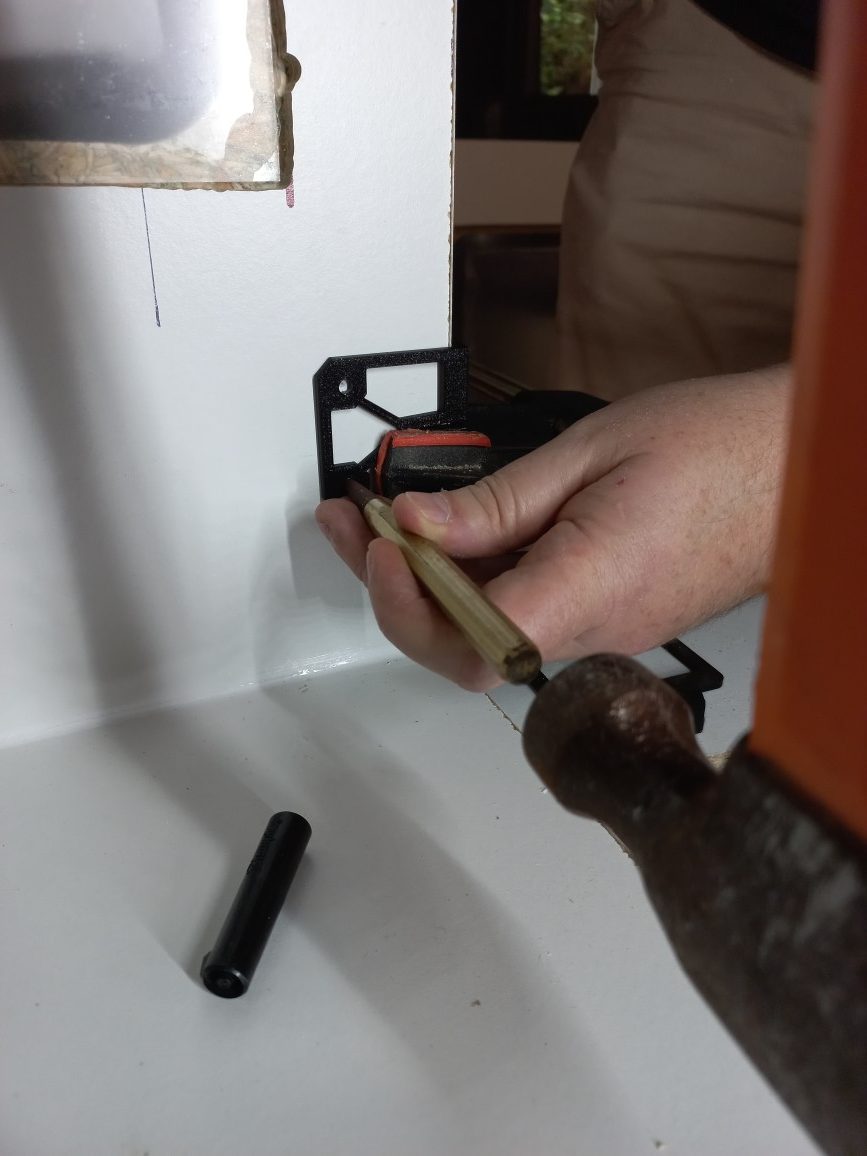
The door hinges required somewhat precise drilling for installation so I decided to make some drilling templates that could be 3D printed. They proved to be very handy and the door turned out perfectly.
Building
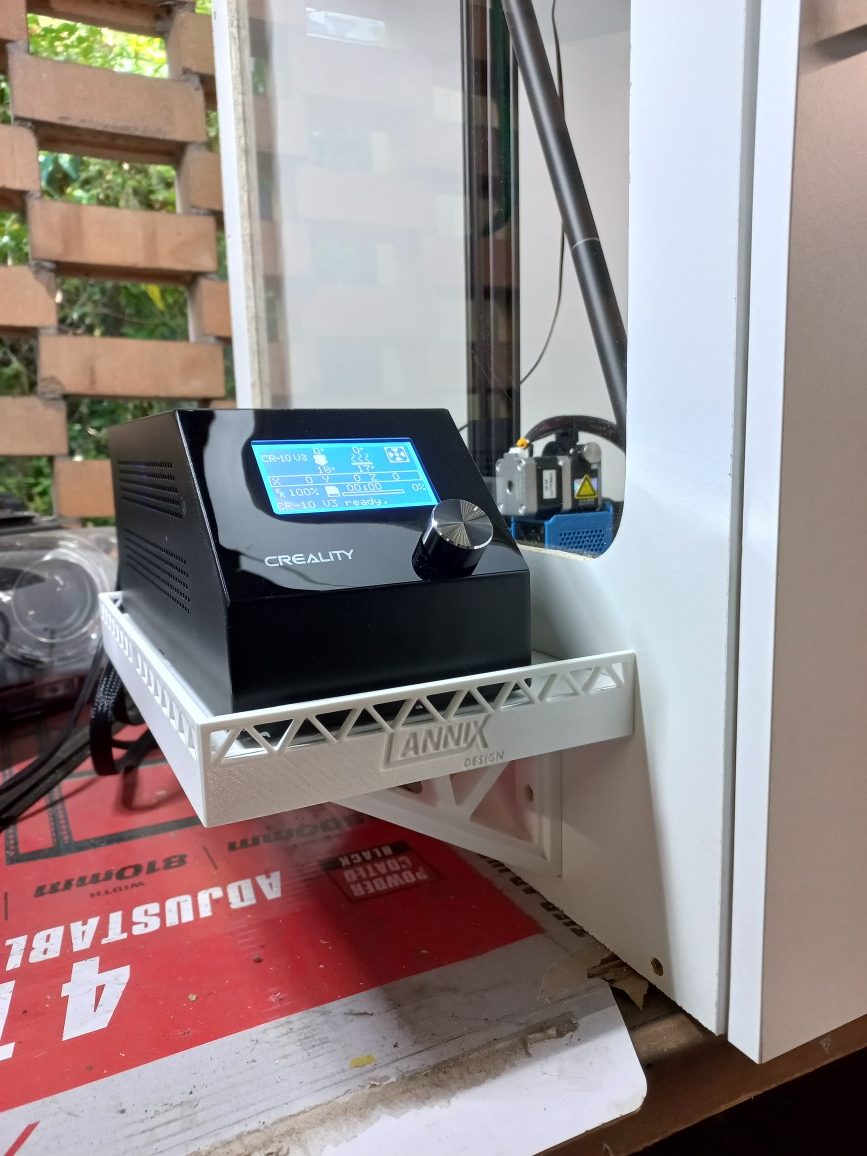
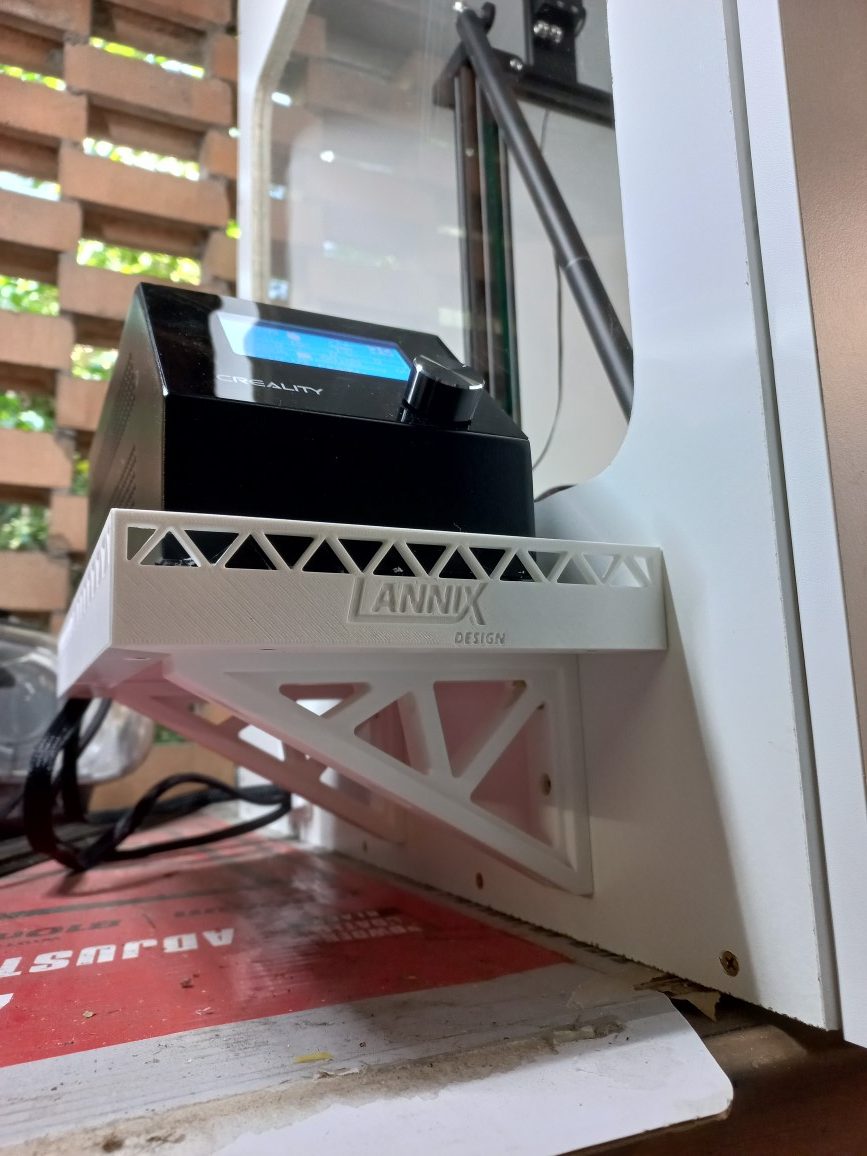
Material was mostly leftover from the other enclosure build which kept costs down. Some 3D printed parts gave an opportunity to inject some artistic flair. I wanted a shelf outside the cabinet to hold the control box in order to keep it away from the heat inside.
The use of clear acrylic for windows made it easier to work with compared to glass and has the benefit of being a better thermal insulator as well. installing the acrylic also gave me an opportunity to use the router which was nice.
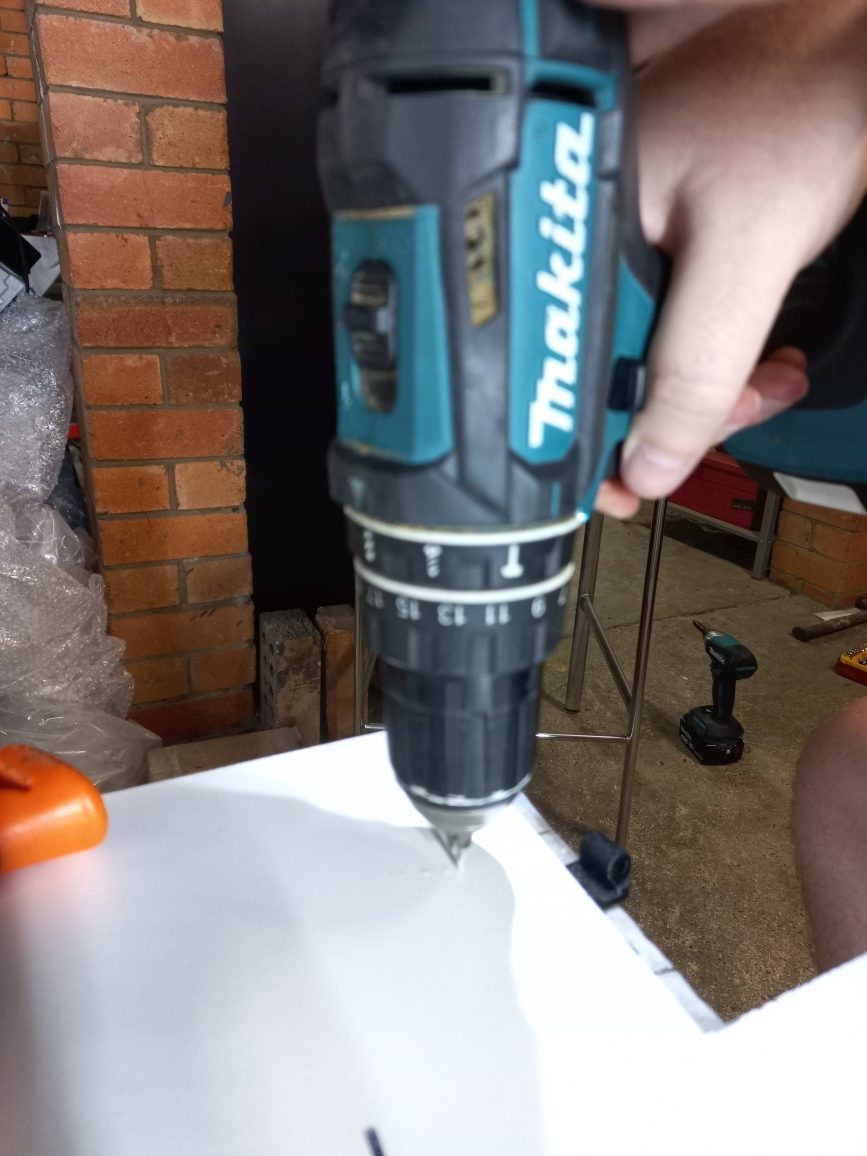
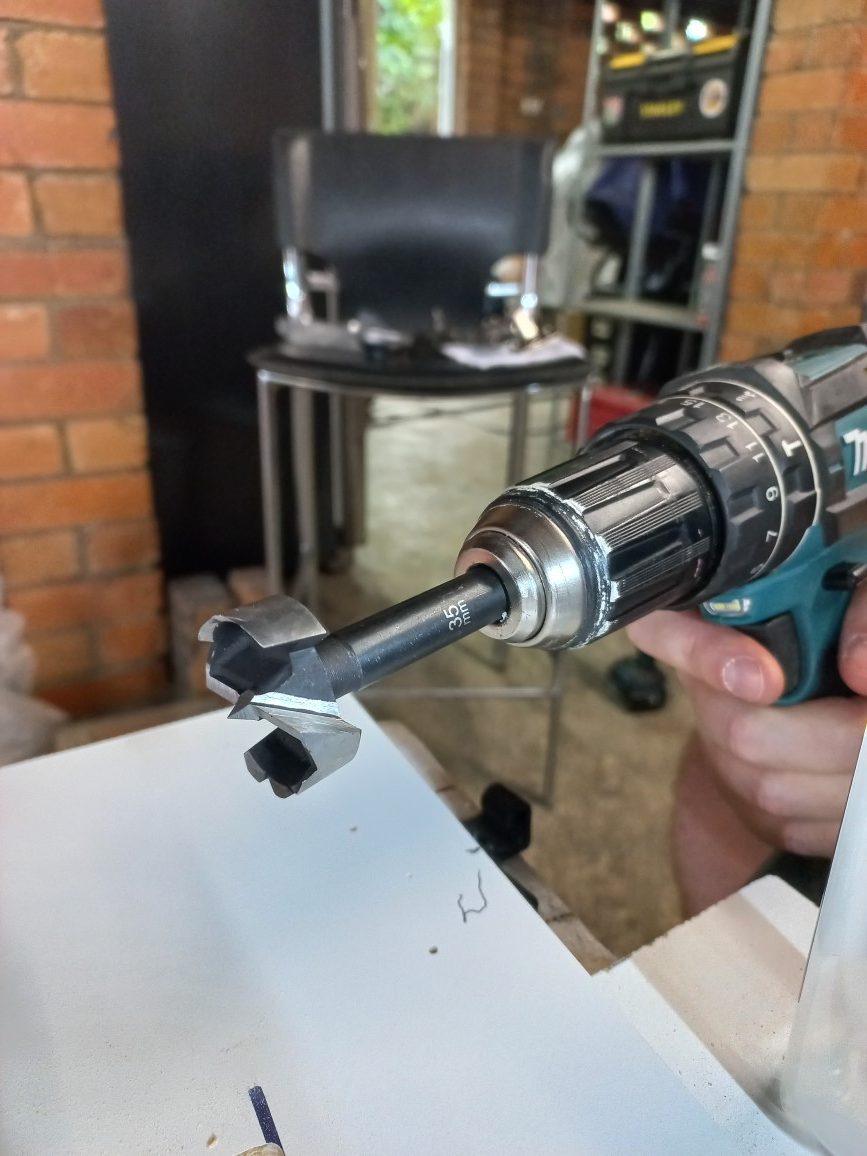
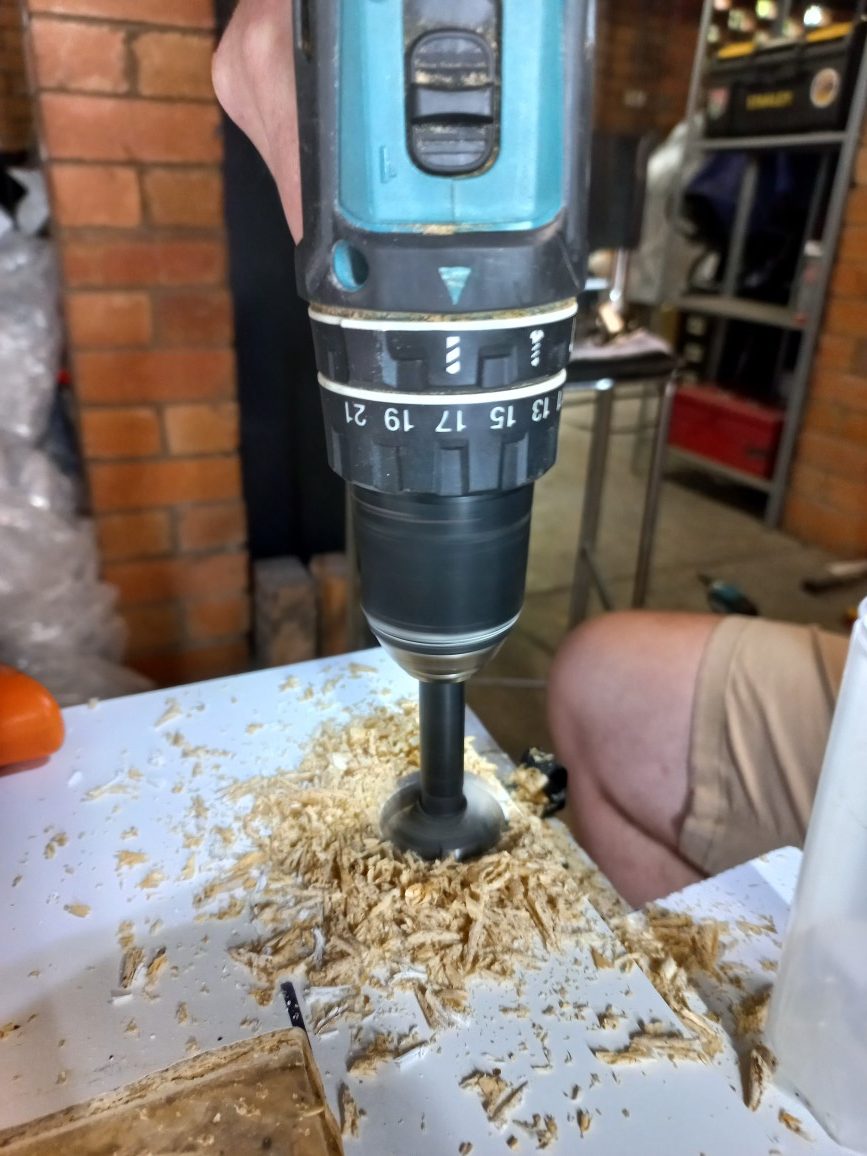
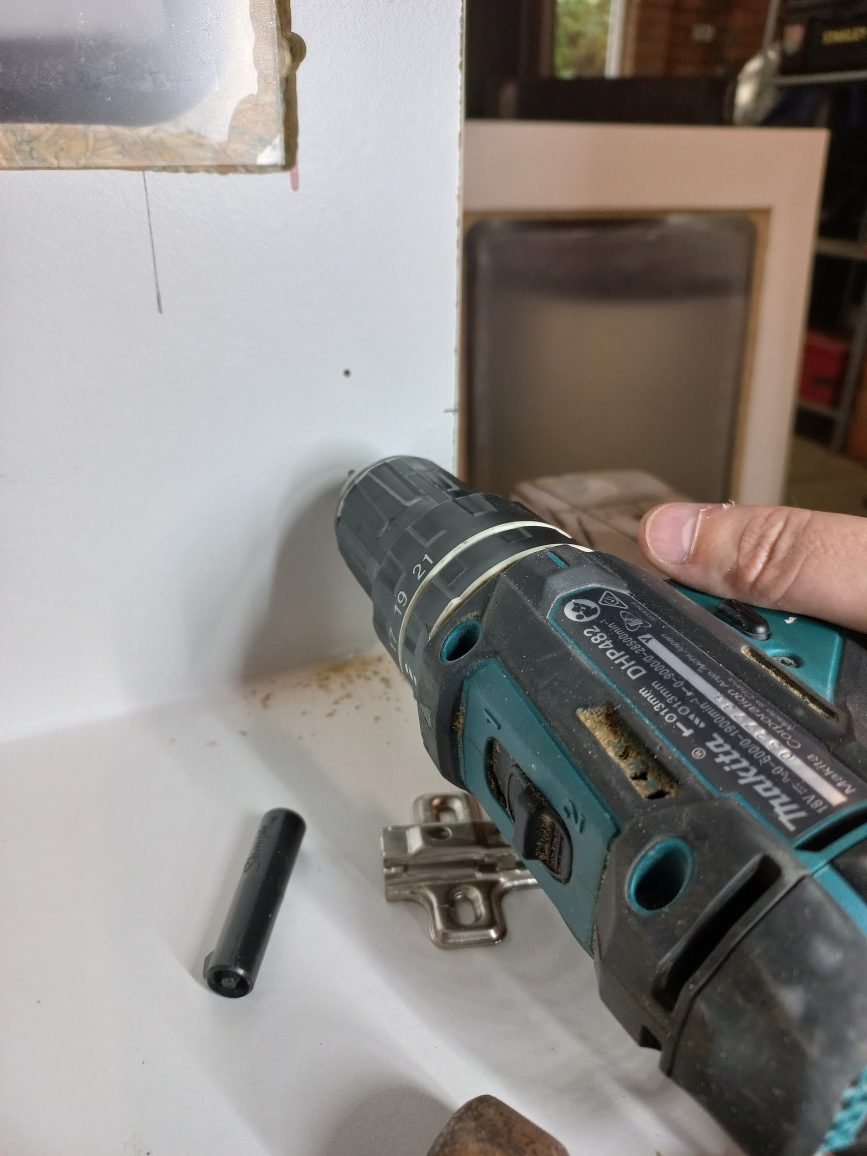
Installing the door hinges required the use of a Forstner drill bit for a 35mm hole. I’d never used one so I was keen to try it out and it worked quite well. A spayed bit would have left a hole in the side of the cabinet which was less than desirable. The templates I 3D printed also worked very nicely.
Finishing
The shelf that holds the printer control box needed brackets and a ridge to keep the box from sliding off and smashing on the floor. Bunnings didn’t have a bracket that worked for me so I ended up designing something in CAD and 3D printing. The brackets were printed with four perimeters and 50% infill for strength. What I’ve been calling a ‘balustrade’ has been designed and 3D printed for the outside edge of the shelf. See what I mean in the gallery below!
All that’s left for the build is to acquire some insulating foam strip for the door and a suitable latch.
I hope you enjoyed the blog post. Talk to ya next week!
Gallery - CR10 3D Printing Enclosure Build - Part 1 - Design

Gallery - CR10 3D Printing Enclosure Build - Part 2 - Build