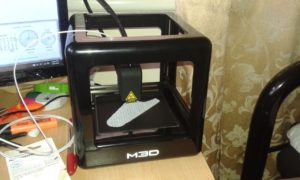
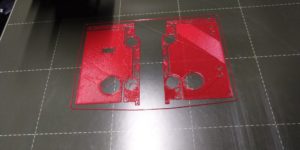
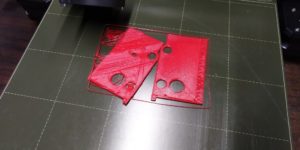
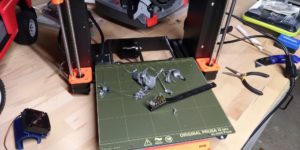
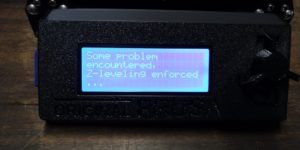
Starting out in 3D printing can be a disheartening experience for some people. The lure of the cheap 3D printer can definitely be a trap for new players. In 2016 the M3D was $500 and was one of the cheapest available. Reviews at the time were good but unfortunately it didn’t really live up to expectations.
This blog is the Lannix Design guide to 3D printing built from information I’ve acquired over time. Topics are to do with 3D printer tuning and setup which is enough for one blog post. Slicer settings are another topic which will be covered at a later date.
Choose wisely
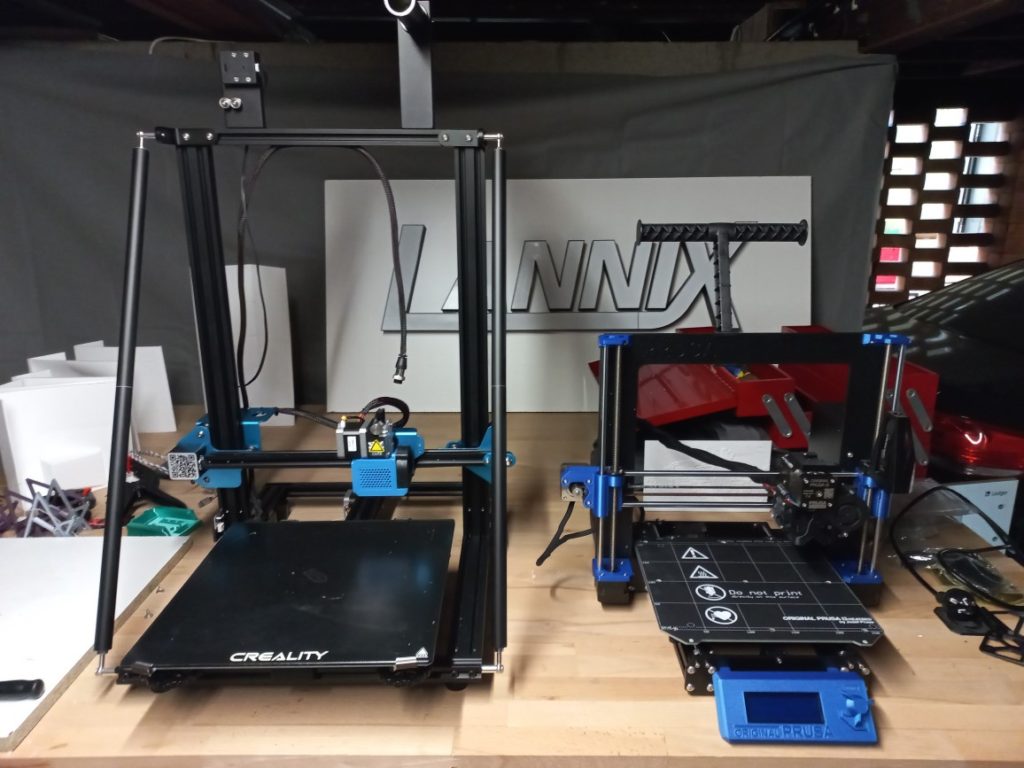
Nowadays the Creality Ender 3 can be yours for about $350 and is not a bad machine for the money but does require some fine-tuning to get it working well. I acquired some of these after getting my first Prusas and I found the user-friendly experience of owning the Prusas to be very helpful when fine tuning the Ender 3s.
Moving up to a more expensive but far more reliable machine can improve your outlook on life quite a bit. Enter the Prusa MK3S. Even in kit form it is more than three times the price of the Ender 3 but in terms of quality, design and customer experience it doesn’t come close. I’d especially recommend the kit version as it is significantly cheaper in both the initial purchase and import duty (don’t forget that!) and allows you to become more familiar with the machine itself.
I bought my first Prusa in 2019 and built it in the workshop under the house. It showed decent results straight out of the box but as the weather became cooler coming up to Autumn, I noticed that I was seeing more failures. The downstairs workshop is not fully enclosed and I realised that having the printer out in the open was likely the cause of the failures.
Get an enclosure!
Out in the open is usually where people will first set up their 3D printer. This can be ok if it’s in a room with relatively stable humidity and temperature but most people will have it in the garage or a spare room that may have drafts and require you to leave a window open to deal with the fumes.
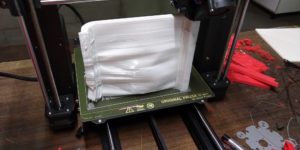
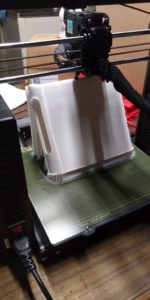
I noticed a drastic improvement in the quality and consistency of my 3D prints when I started using my custom designed and built enclosure. The advantage of an enclosure is that the humidity and temperature are able to be controlled.
All filaments benefit from a warmer environment and the small volume of air in the enclosure is able to be heated more efficiently than an entire room. Keeping temperatures in the enclosure around 40°C is optimal and also easily achievable since the 3D printer will do this while it is operating.
When using filaments like Nylon, Carbon fibre and ABS/ASA which emit toxic fumes, an enclosure is absolutely necessary. A carbon HEPA filter and supporting ducting is required to deal with these fumes.
Other add-ons like a dehumidifier and custom lighting will also make your 3D printing experience a lot better.
An enclosure doesn’t have to be a custom designed and built project like the ones we have at Lannix Design. 3D printer manufacturers such as Prusa and Creality are now starting to offer enclosures that are designed to fit their own products.
Cheaper alternatives are also available such as a converted photographic tent for around $20 or the popular Ikea Lack table conversion that is a fun and useful project when you first get your 3D printer.
Check out our enclosure blog posts here or hit the buttons below.
The prints don't stick to the plate!
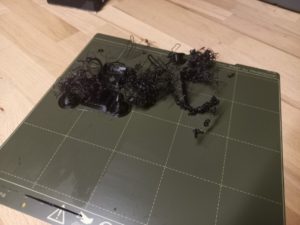
One of the most common and most catastrophic failures is when the part being printed doesn’t stick to the print plate. This is usually caused by a dirty bed plate. Most people will tell you to use isopropyl alcohol to clean the bed but I’ve found this to be unreliable. Washing the plate under hot water with dishwashing liquid will be far more effective.
Another cause of this problem is a variance in temperature in the print area. A sudden draft of cool air across the build plate can cause the part to contract and lose adhesion. An enclosure will eliminate this problem.
Part orientation is also a factor for taller prints. The momentum of the part when the Y-axis is thrusting back and forth can cause it to dislodge.
In extreme circumstances where the above solutions just don’t work for you, applying glue stick on the plate before heating will usually solve the problem.
BONUS – A glue stick is also helpful when printing with PETG which tends to stick too well to the plate. A barrier of glue stick can help since in some instances PETG will damage the plate surface when removing the part.
My part looks so ugly!
Strange looking parts with unexpected lumps and/or holes can be a less than desirable result. There are a few main causes that can be addressed to achieve a better looking part.
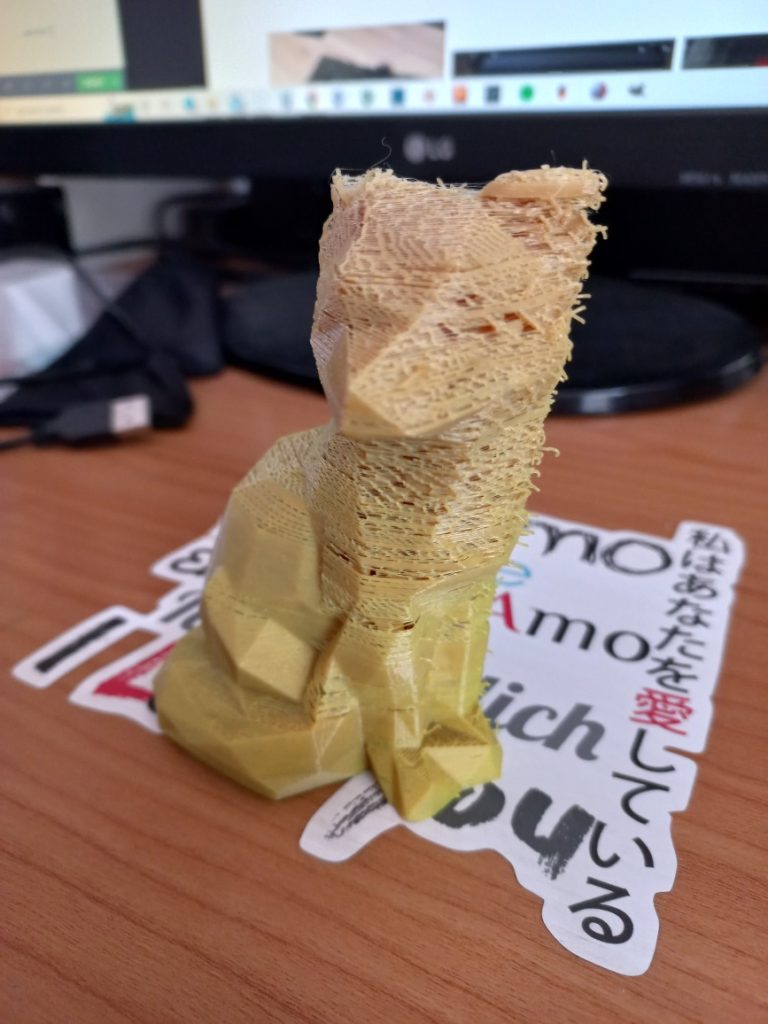
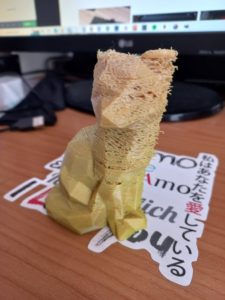
Under-extrusion may be caused by a partially blocked nozzle and will result in holes in your print as seen in the fox below. A blocked nozzle can be cleaned out using the cold-pull method. You may have received an acupuncture needle with your printer and wondered what it was for! Now’s your chance to use it.
Cold-pull
Steps to perform a cold-pull to unclog your nozzle.
- Disable the stepper motors.
- With the filament still in the extruder, heat it up to about 30°C more than the recommended temperature for your filament (ie. 250-260°C for PLA).
- Poke your acupuncture needle up into the tiny opening of the nozzle. The idea is to dislodge any debris caught in the extruder such as dirt, crusty old filament and/or metal particles.
- After 5 minutes allow the hotend to cool down to room temperature. Turn the extruder fan to full blast to speed this up.
- Once the hotend has cooled, heat the extruder back up to around 105°C for PLA.
- Allow the temperature to stabilize for about a minute and carefully use your pliers to pull the filament out of the extruder. If you go too hard and snap the filament you’ll need to pull the hotend assembly apart to get it out.
It may be necessary to repeat the process to fully remove the clog.
Other problems with the appearance of the print such as ‘zits’ and ringing can be cured in the slicer software and will be covered in a future blog post. Keep updated with our monthly newsletter.
It only printed half of the part!
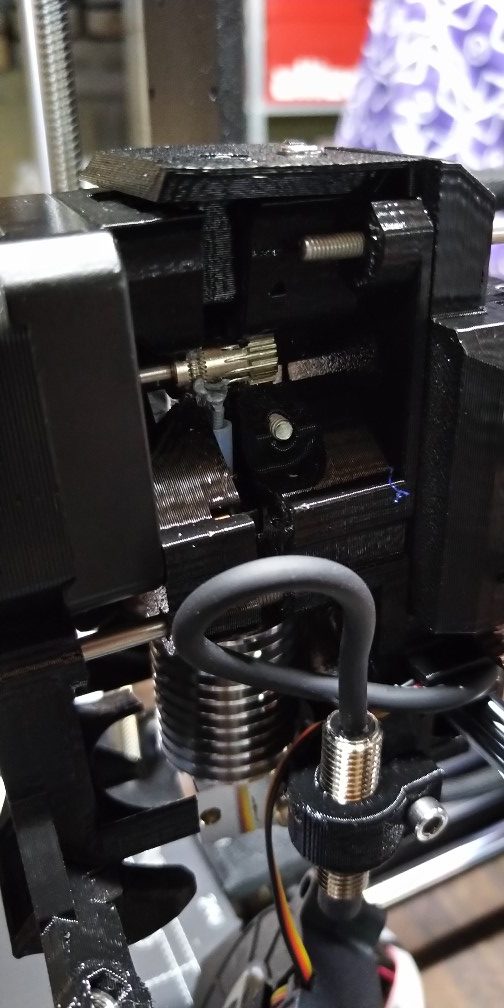
If your printer says it’s finished printing your part but it’s missing some of the top layers, it may mean that the filament has snapped off in the extruder and/or that it has become stuck when entering the extruder assembly.
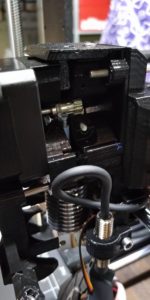
In the case of the Prusa MK3S it has a filament detector in the top of the extruder assembly. This works well for the most part but in the case that the filament becomes stuck in the lower extruder, it cannot detect anything wrong.
Snapped filament
Snapped filament happens when the extruder is fully clogged and won’t allow the gears to push any more material through. The gears wear away at the filament which eventually breaks it.
Performing a cold-pull may take the blockage away but it is likely necessary to pull the extruder assembly apart to get to the filament. Any filament particles will also need to be cleaned out using compressed air. In extreme cases it may be necessary to pull the PTFE tube out of the hotend to get the foreign particles out of the nozzle.
Stuck filament
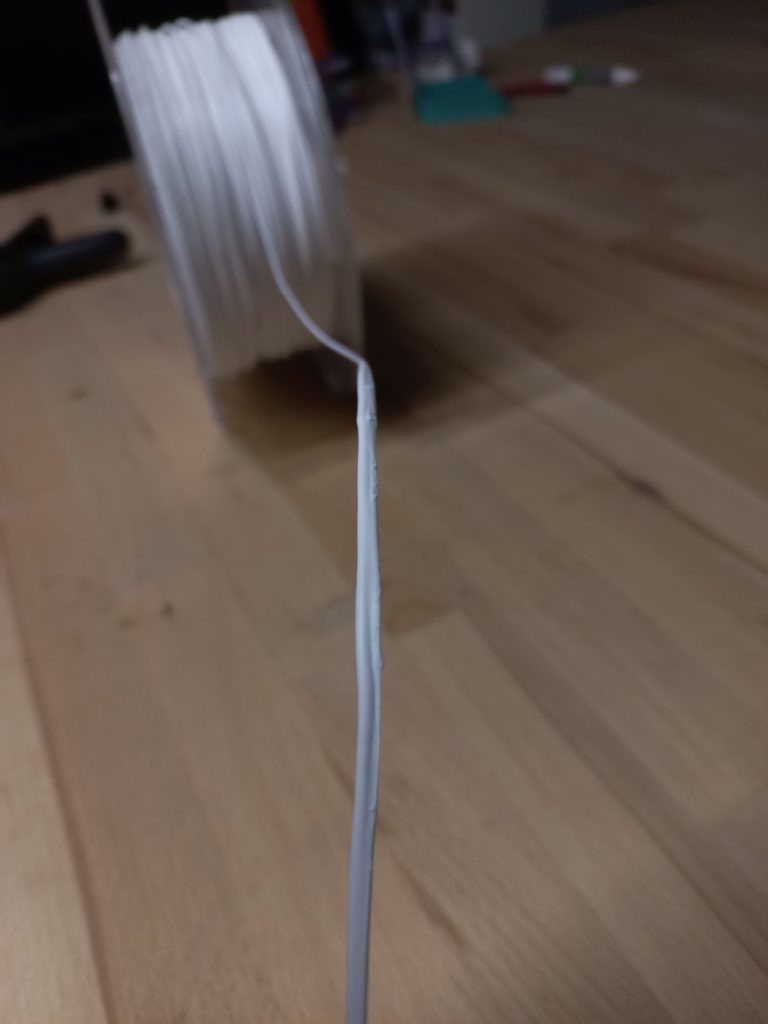
It is sometimes difficult to tell if the issue is caused by a clogged nozzle or not. In rare cases it can be a case of bad filament. It is becoming a rare occurrence these days with filament quality improving across all manufacturers but defects happen. The above photo shows an impurity that caused the printer to stop extruding because the filament was too thick to pull into the extruder.
The manufacturer has generously replaced the entire reel free of charge.
What's this huge blob on the nozzle?
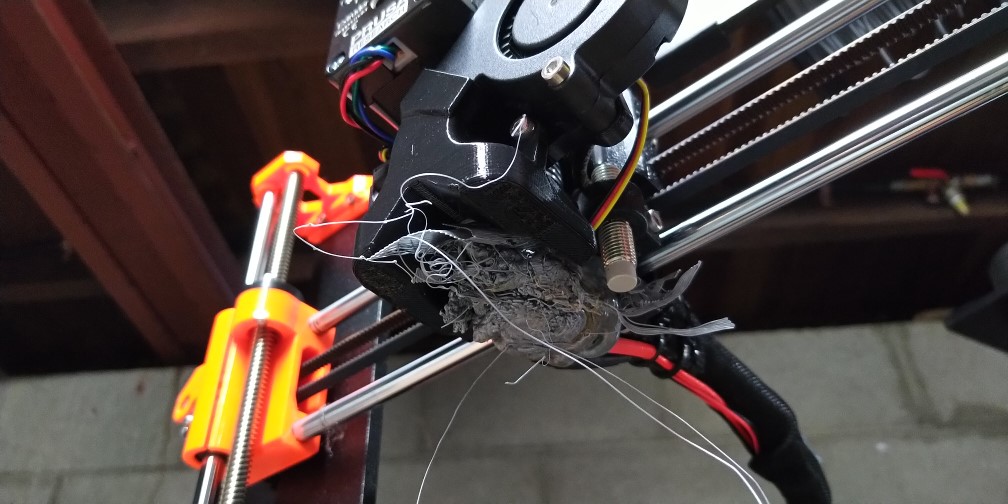
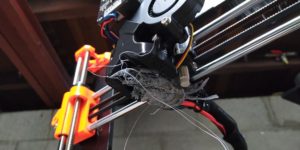
A large blob of filament on the nozzle is caused by either a buildup of schmutz on the underside of the extruder or a partially block nozzle.
If you have a blob formed on your nozzle DO NOT try to remove it while the hotend is cold! You will break the wires on your thermistor which means you will either have to rewire it or replace it! Ask me how I know… If you’ve already broken your thermistor, we have a guide to replacing it in a Crealtiy CR10 here.
Buildup
Debris will acquire on the underside of the hotend due to slight defects in the filament material and a lack of cleaning. Once the buildup becomes significant enough, it will catch the part being printed and bring it with the extruder assembly. From that point on the extruder will keep pumping filament into the part creating the dreaded blob of death.
This can be prevented by keeping the nozzle and heat block clean by lightly scrubbing with a brass brush while the hotend is heated.
Partially clogged nozzle
A partially clogged nozzle will allow filament through the opening of the nozzle but has the characteristic of curling up on the way out. The extruded filament should always come straight down out of the nozzle.
If the curling becomes too severe, the filament will eventually stick itself up under the heat block and drag all subsequent filament along with it which is when the blob starts forming. This clogging can be fixed using the cold-pull technique mentioned above.
Conclusion
Wow, this post was meant to be a short one since I have to get the newsletter out this week!
I hope this has been helpful to you if you’ve just started out or are thinking about getting into 3D printing. I enjoy putting out content like this and if you have any questions I’m happy to answer via email or Facebook messenger.
If you’d like to see more or keep informed when future blog posts come out, please subscribe to our monthly newsletter below.
Ciao!
