Sometimes you just need an end table. I can’t say that these small tables are a passion of mine. I’m not sure that anyone would say that. This one was designed and built out of a need that arose after my baby son arrived. But let’s not get into that.
I guess we could have gone to Ikea and picked up something for a quarter of the price of making this, but where’s the fun in that. This was the perfect opportunity to get creative and to dust off the old router.
Materials
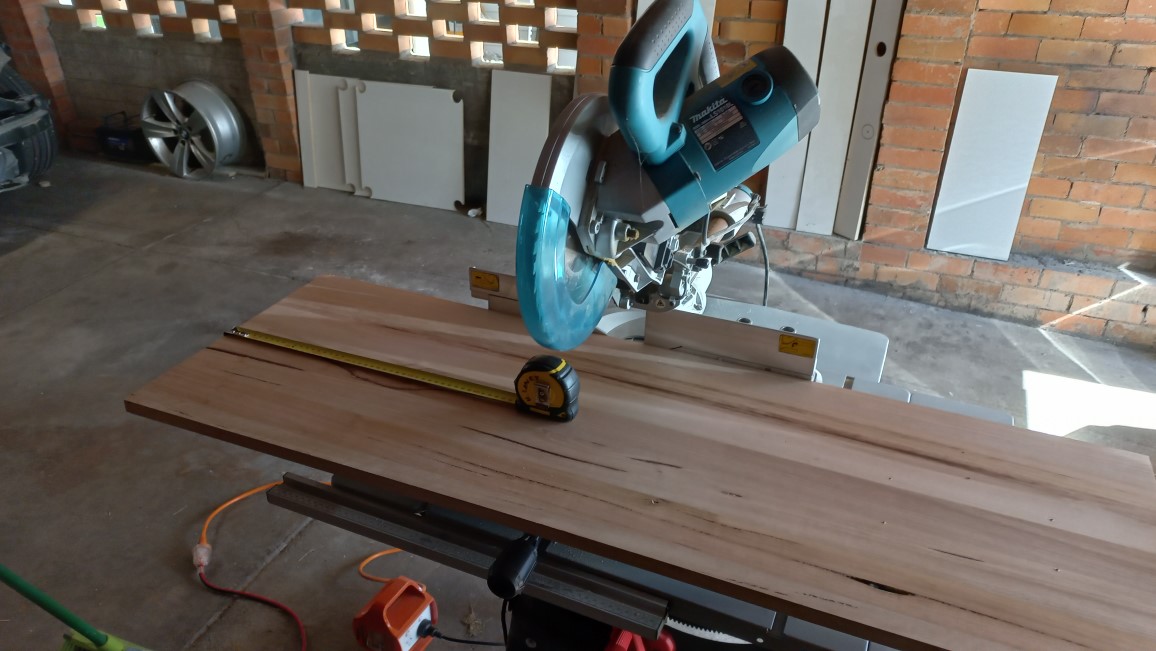
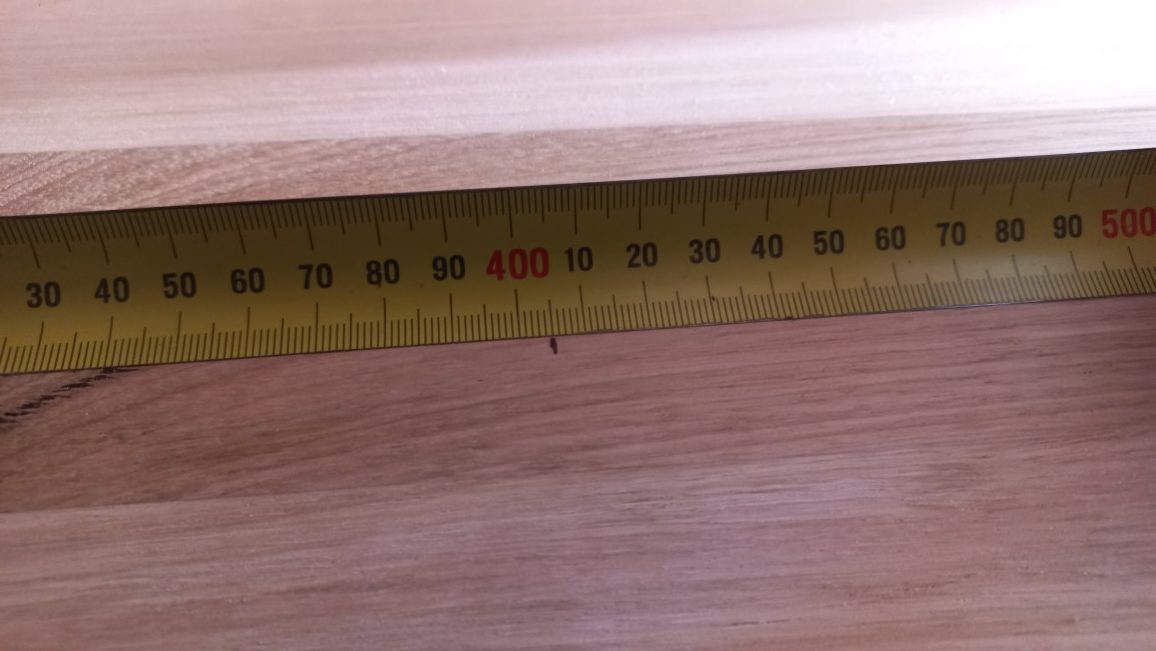
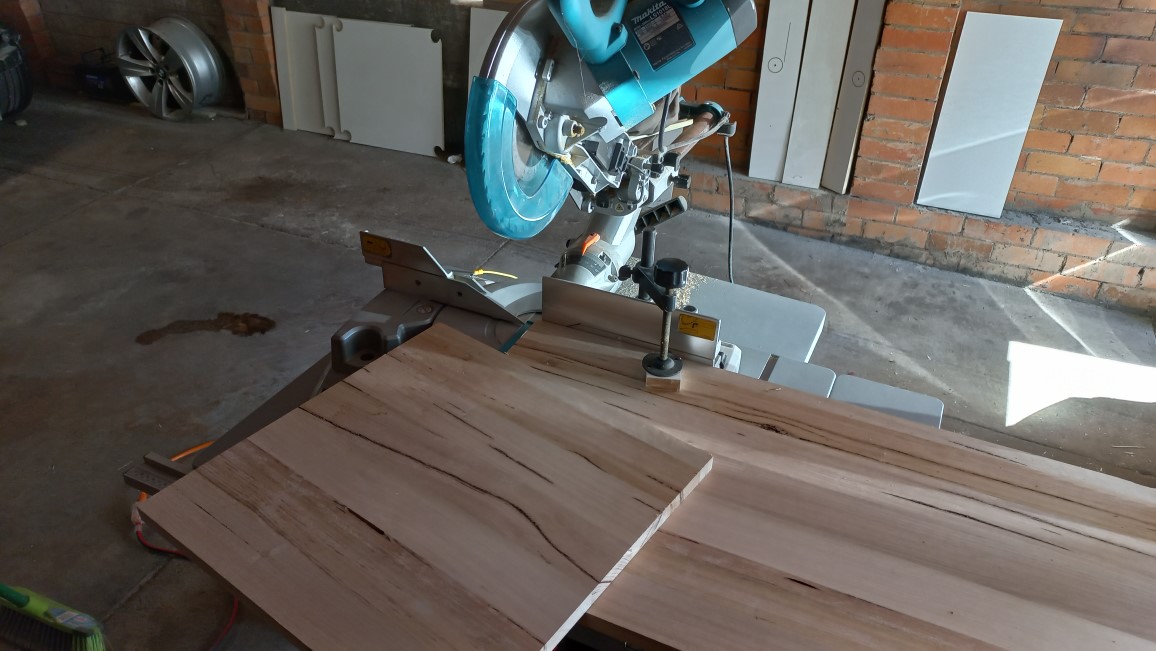
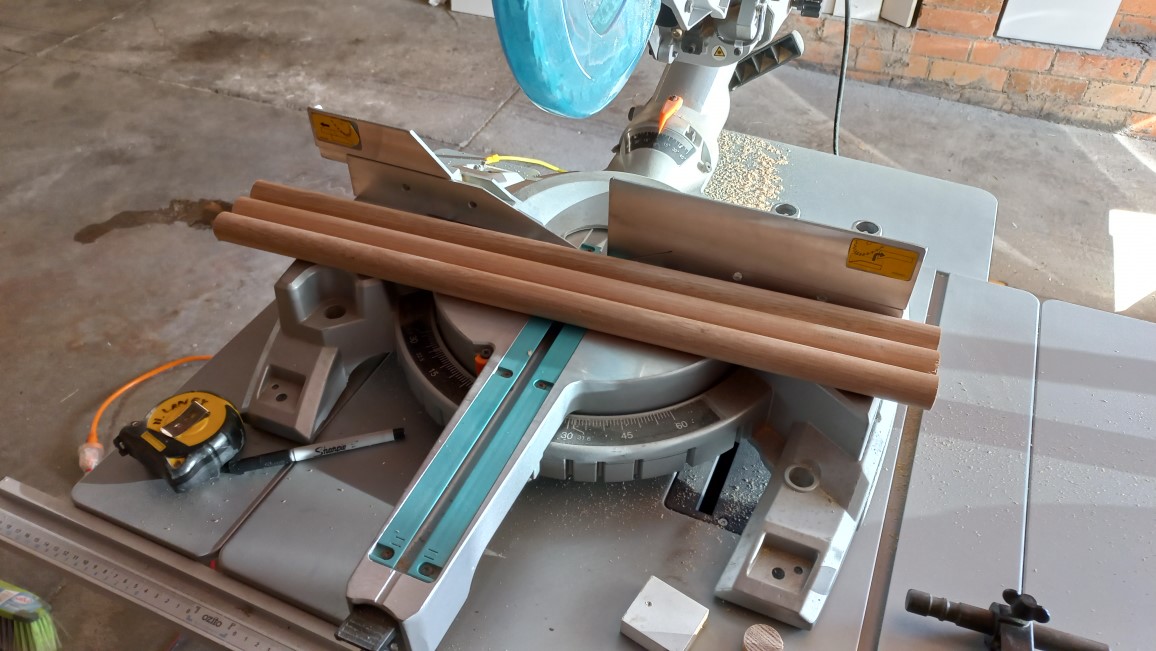
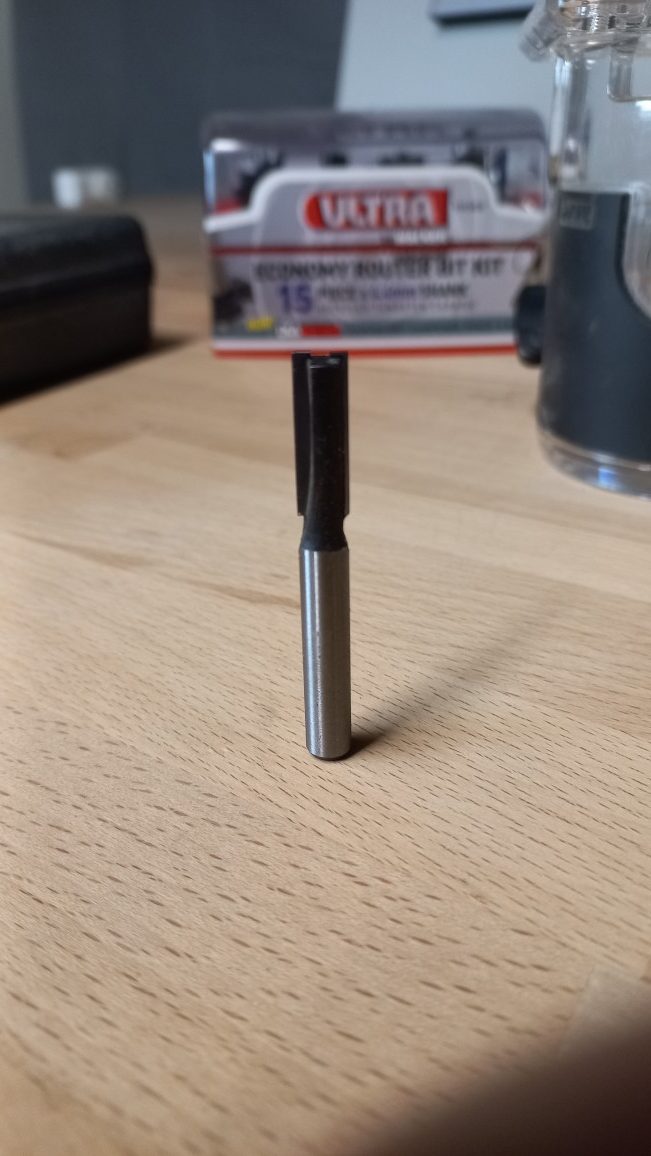
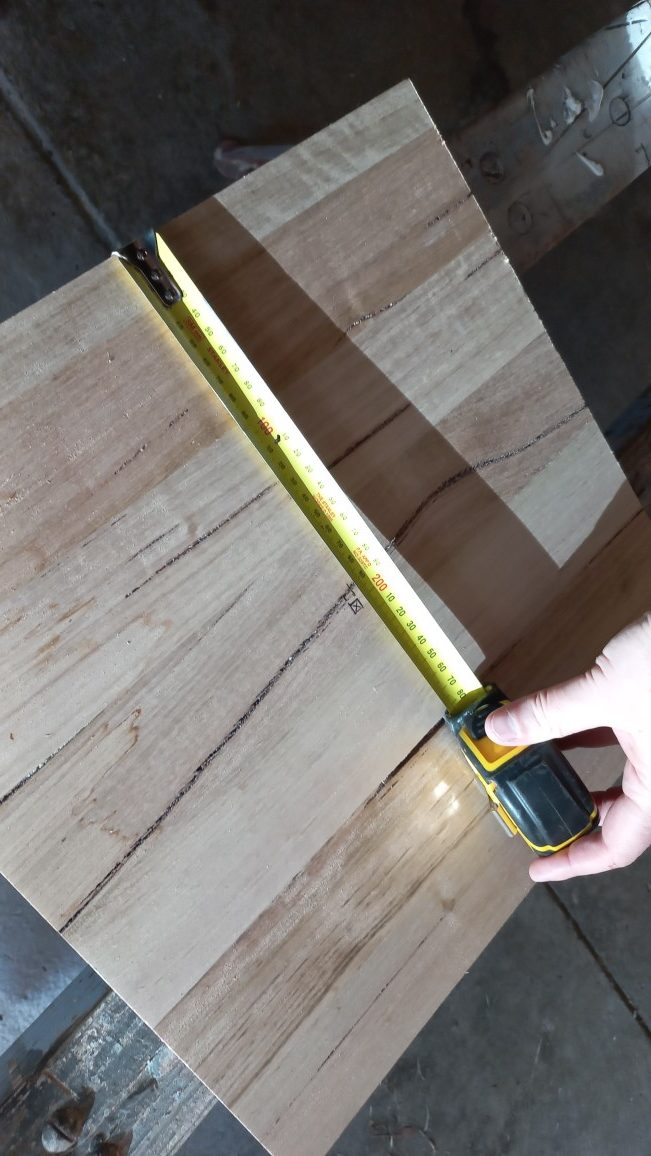
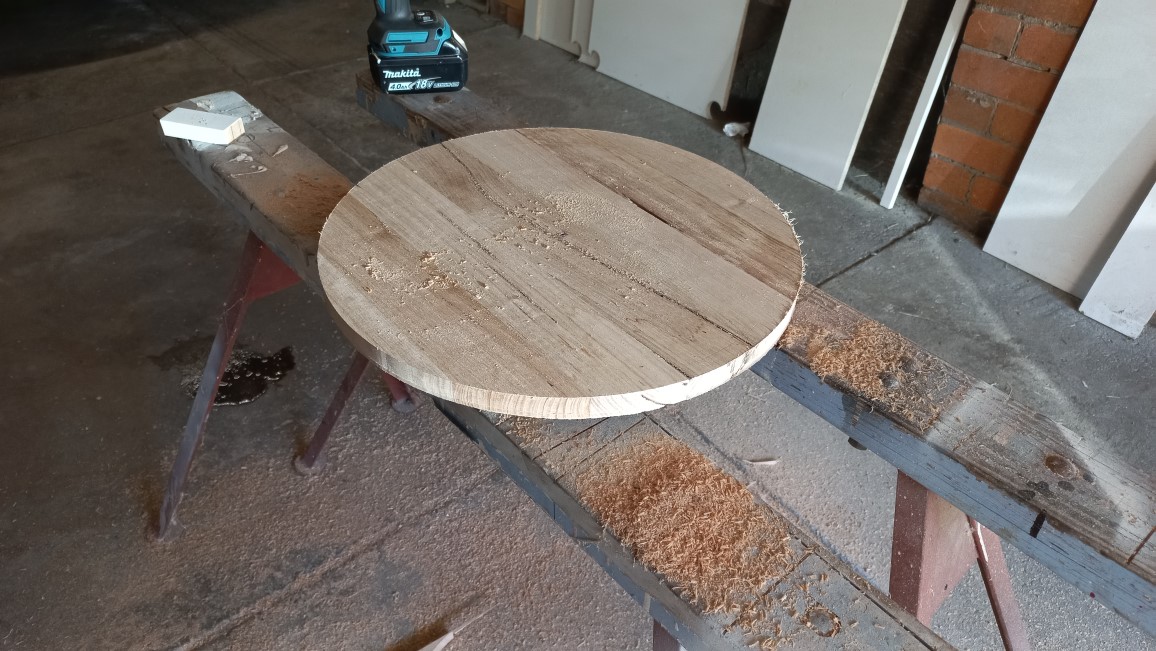
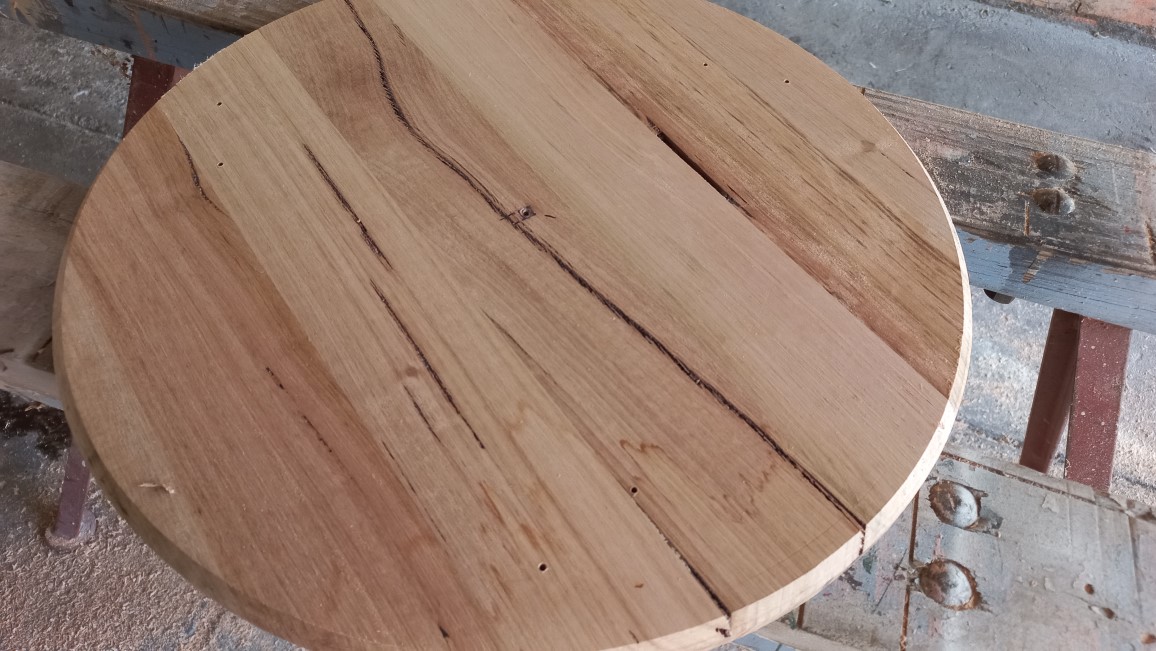
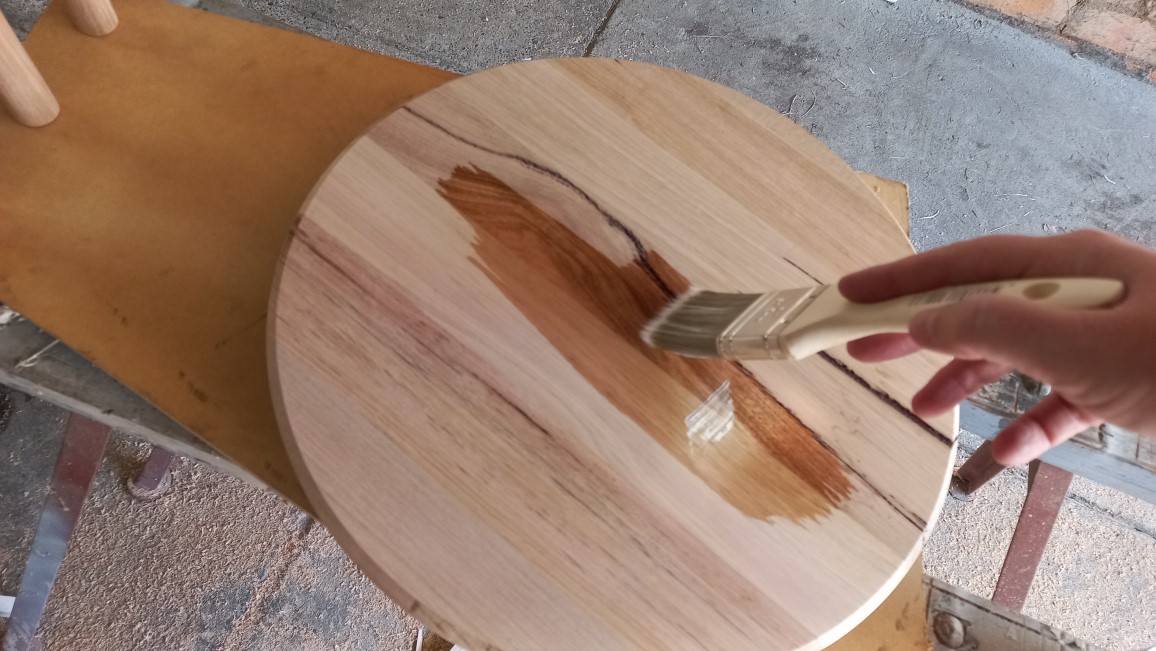
Keeping to the Lannix Design philosophy of going Australian made where possible, the timber chosen was Tasmanian oak panel for the top and 25.4mm dowel for the legs. The panel was 1200 x 405 x 17mm which would provide enough for the 400mm diameter table top with material left over for another upcoming project.
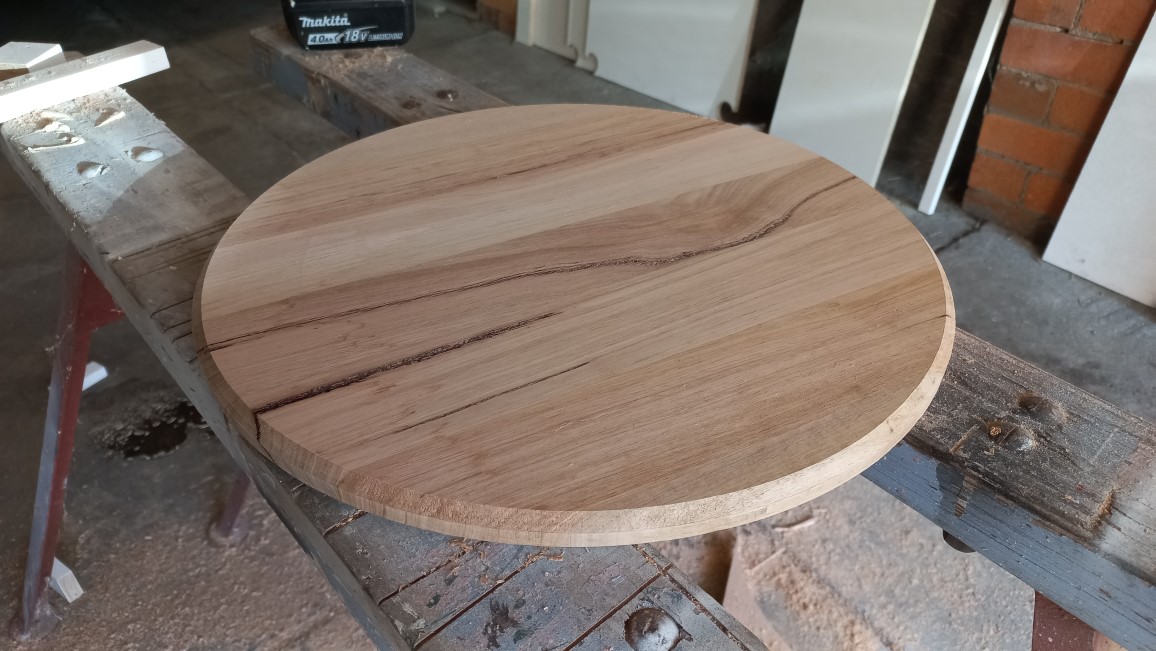
The timber has a nice dark contrasting grain through it which came out looking very nice when given a few coats of oil.
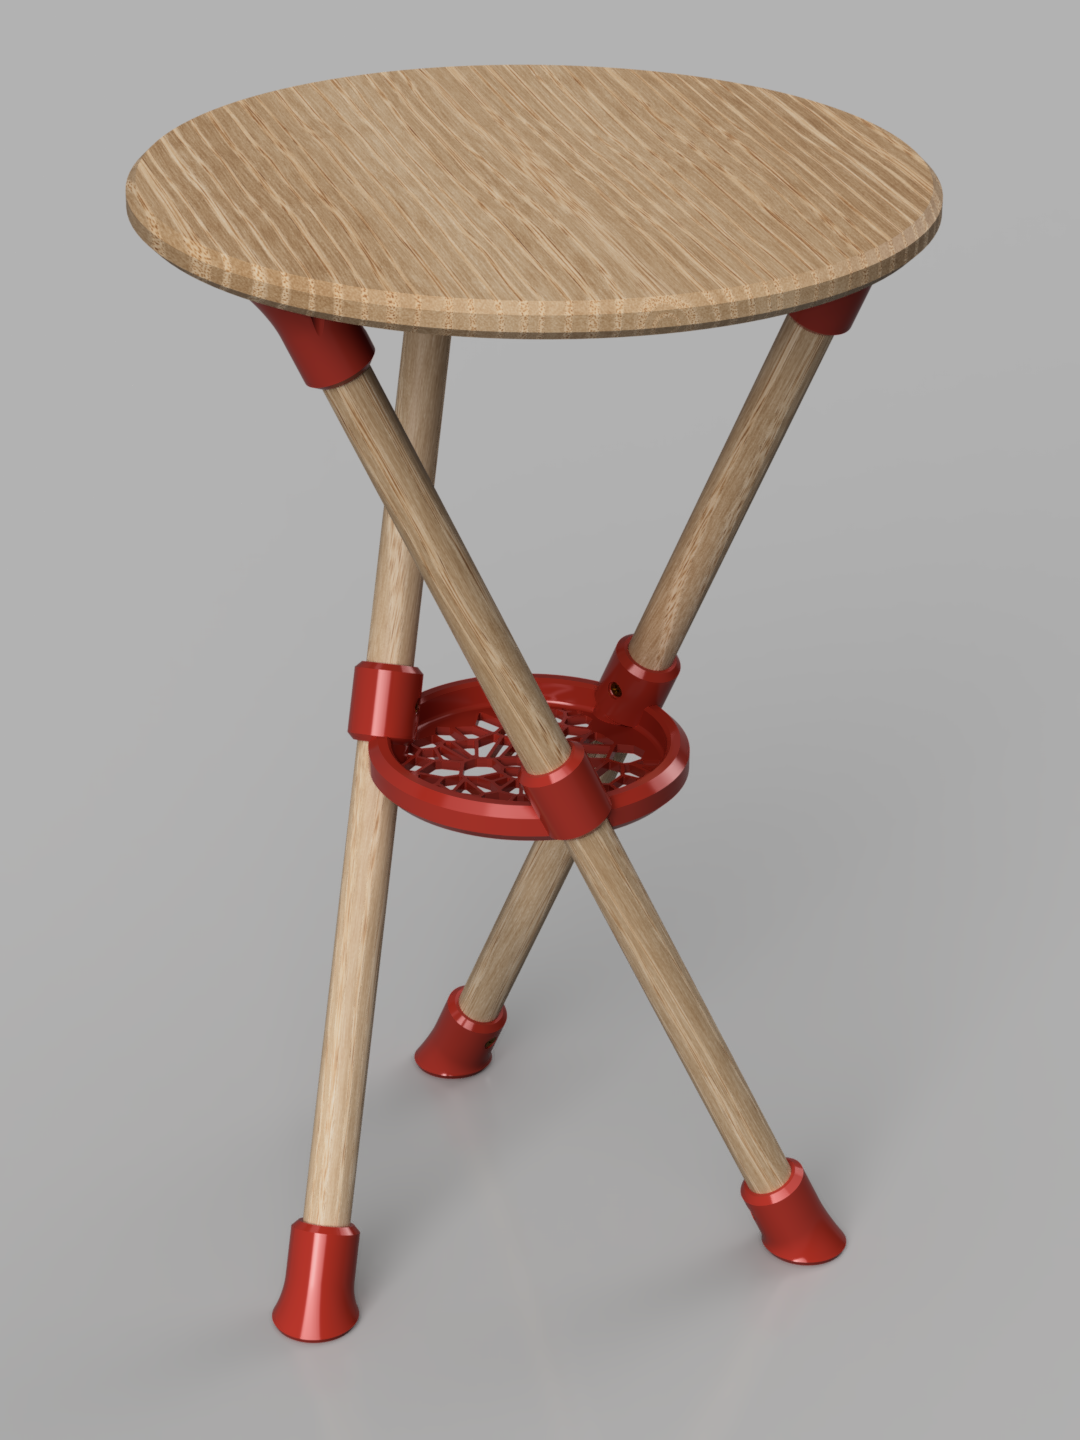
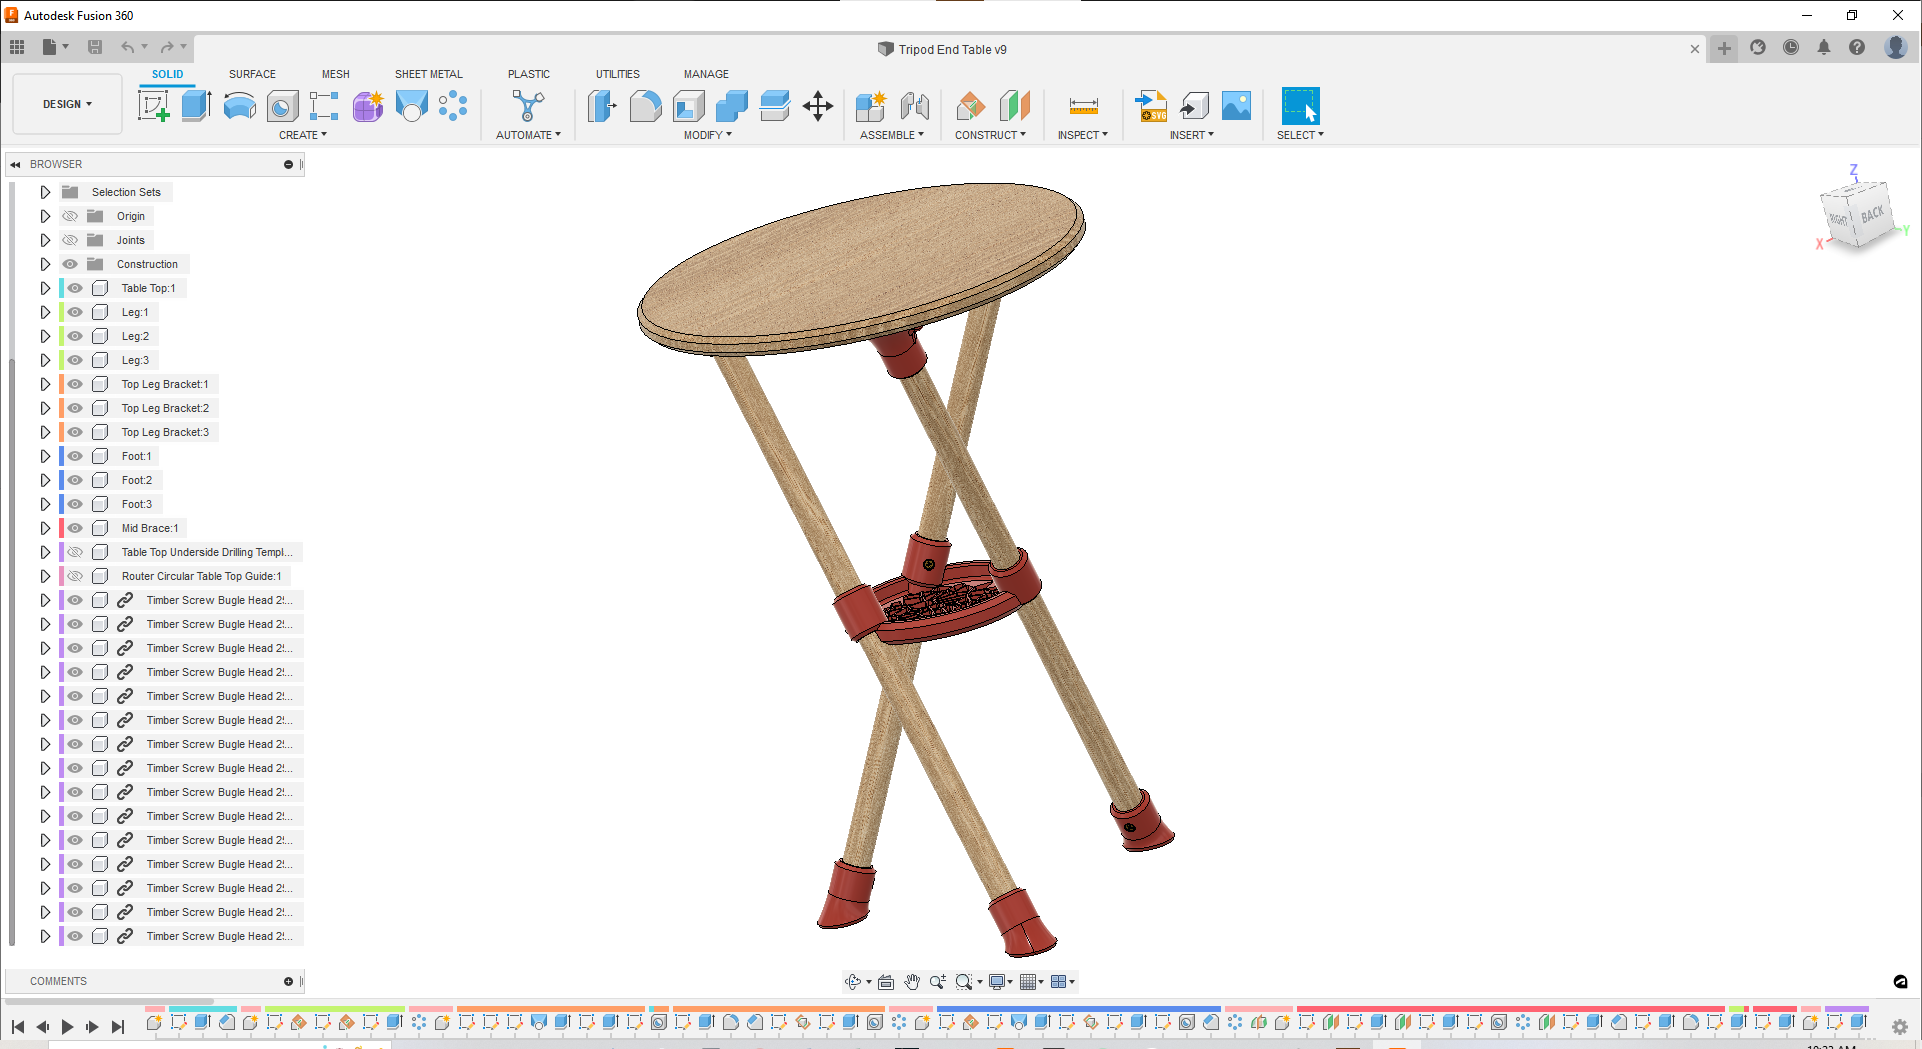
Render of the CAD model
Render of the CAD model
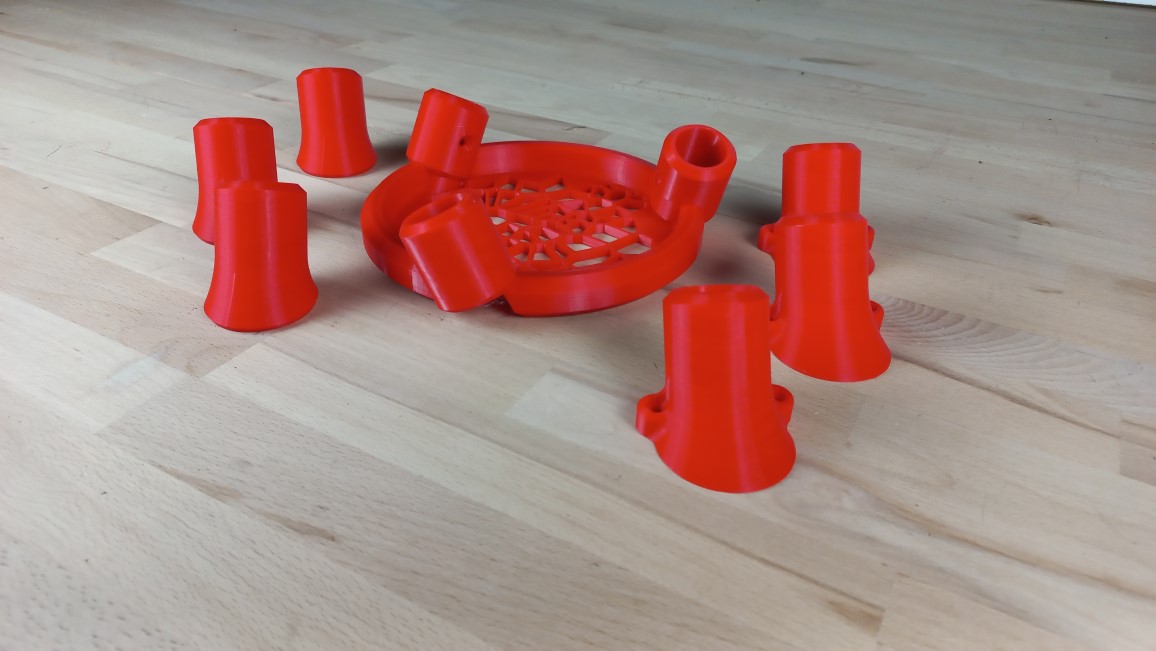
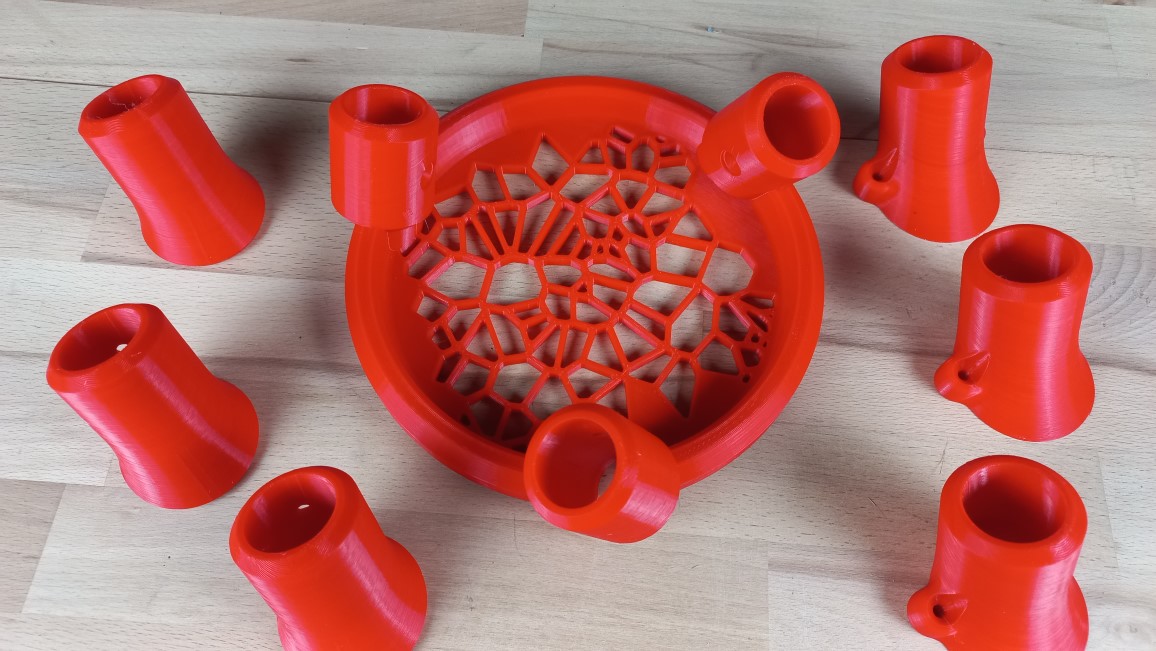
3D printed parts & tools
It’s obvious that the table brackets are 3D printed but I thought it would be fun to create 3D printed tools to assist with the build and keep some accuracy.
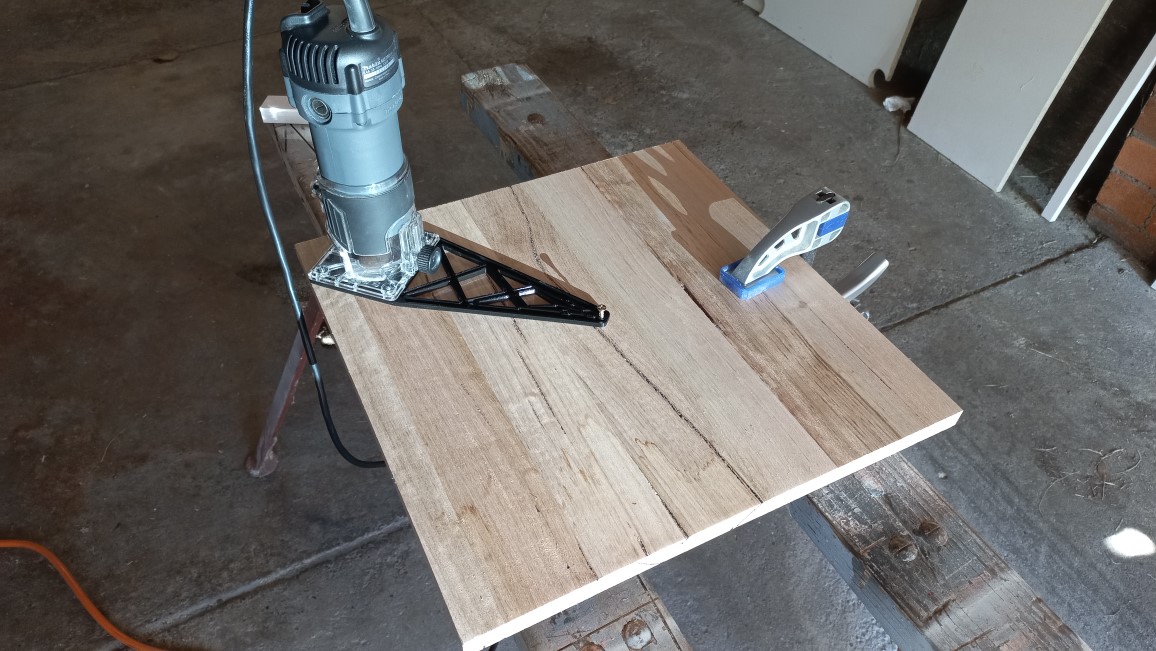
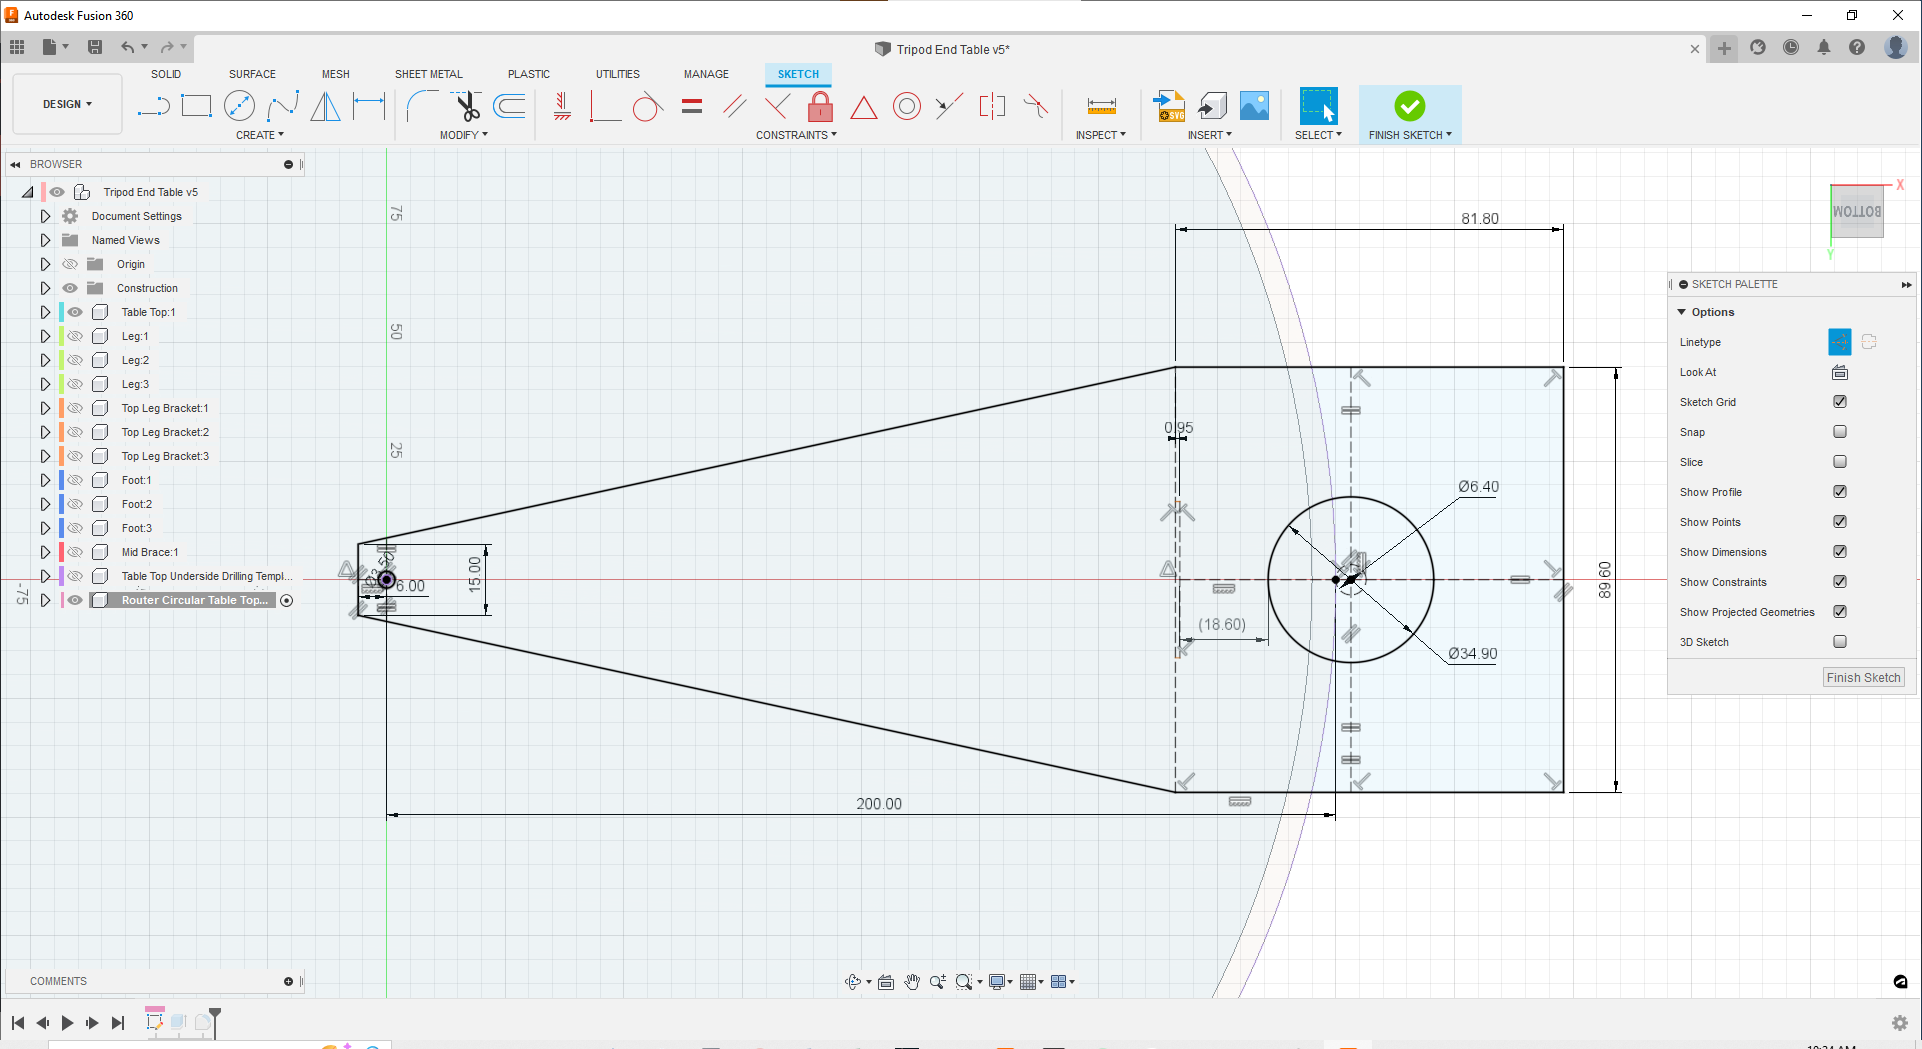
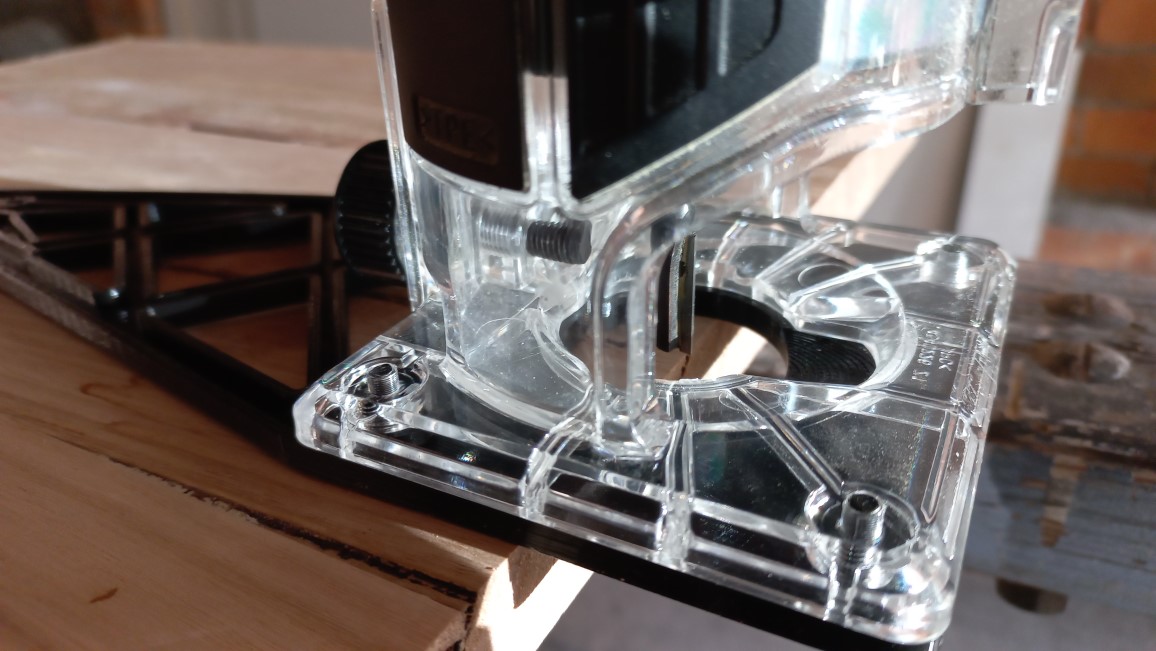
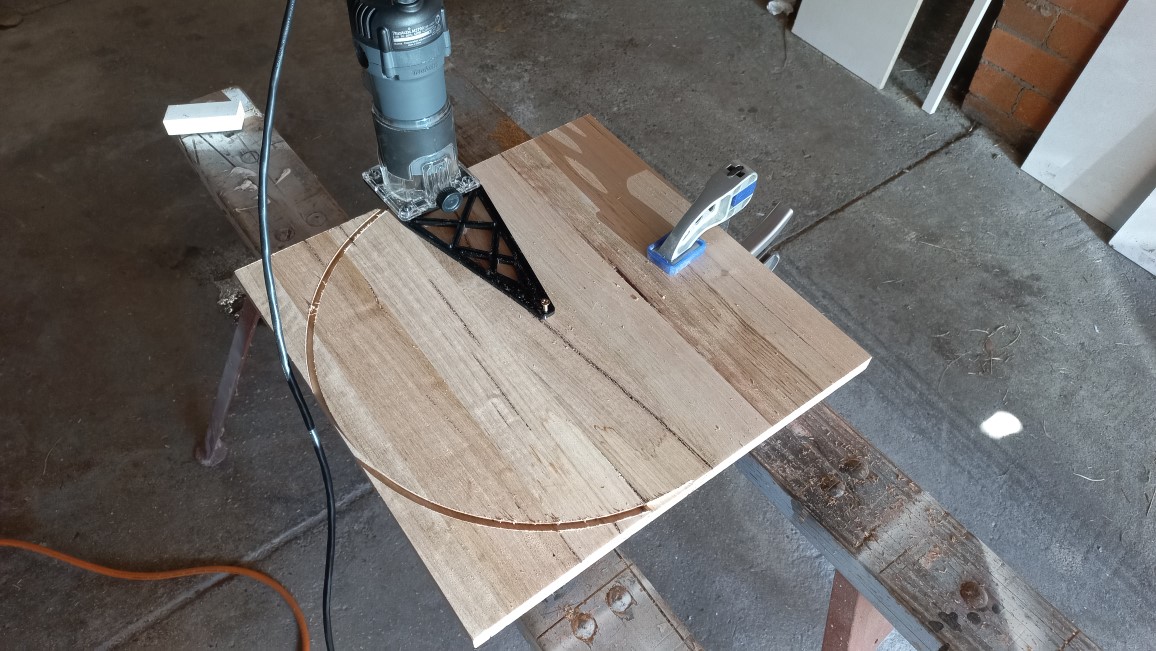
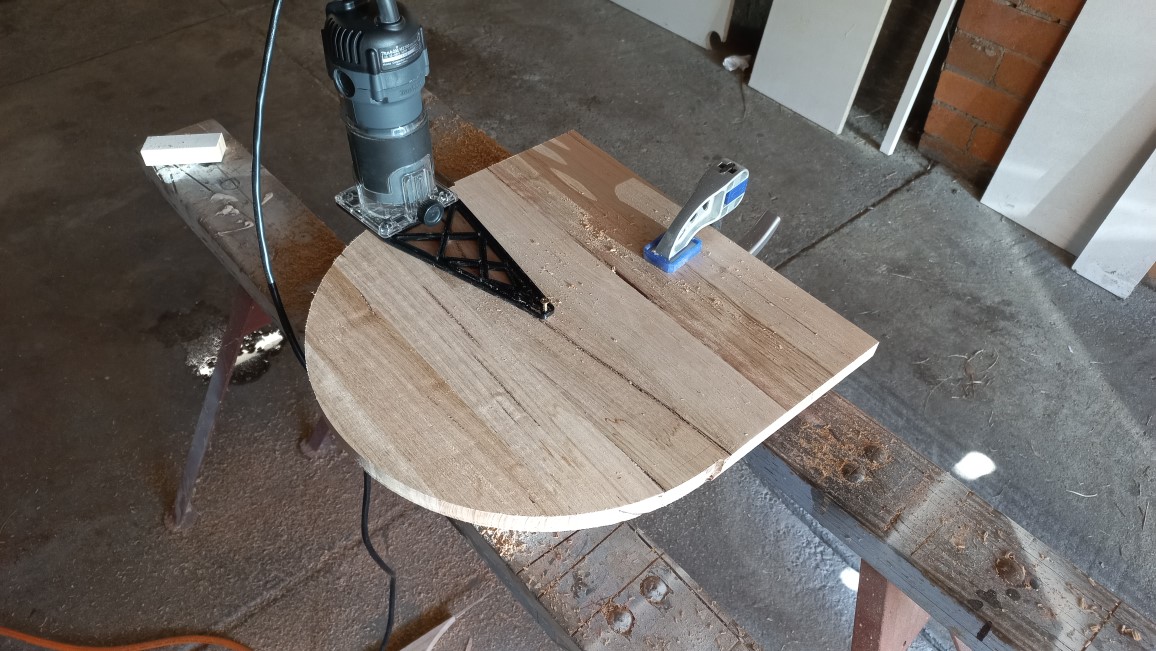
A bracket was designed and printed that would fit to the Makita trim router that my partner gifted to me for Christmas last year. It’s a fun tool to use so this was a good excuse to bring it out. The circle template worked well but was a little flexible so care was needed to keep the router vertical when cutting. The bracket pivots on a timber screw drilled into the centre of the timber panel.
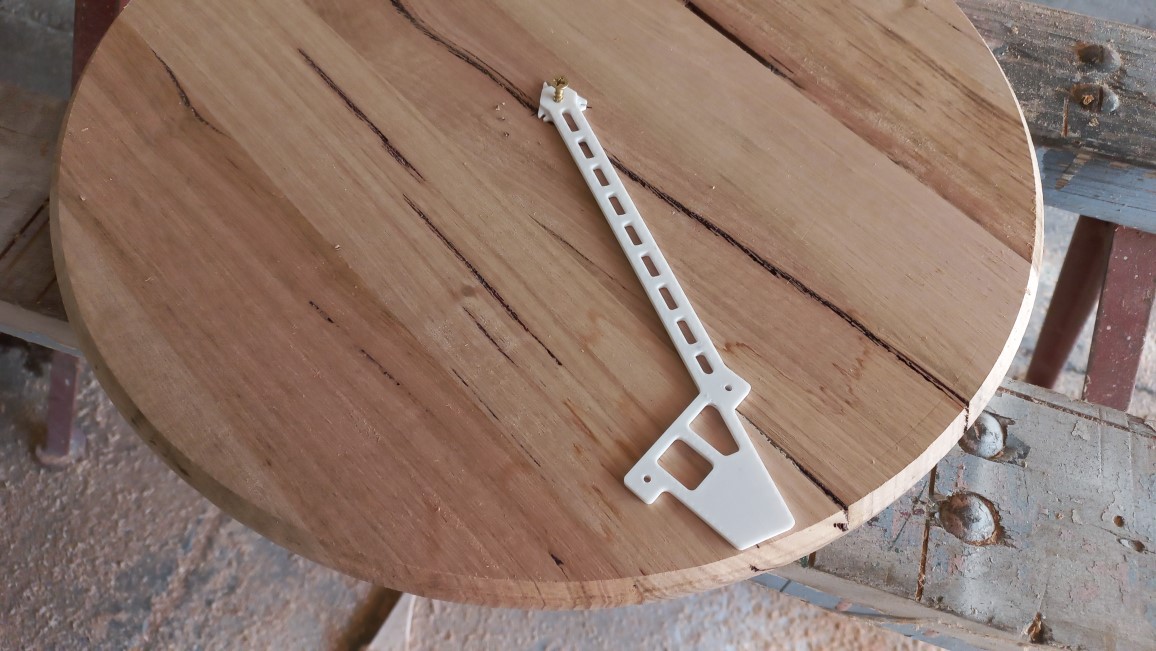
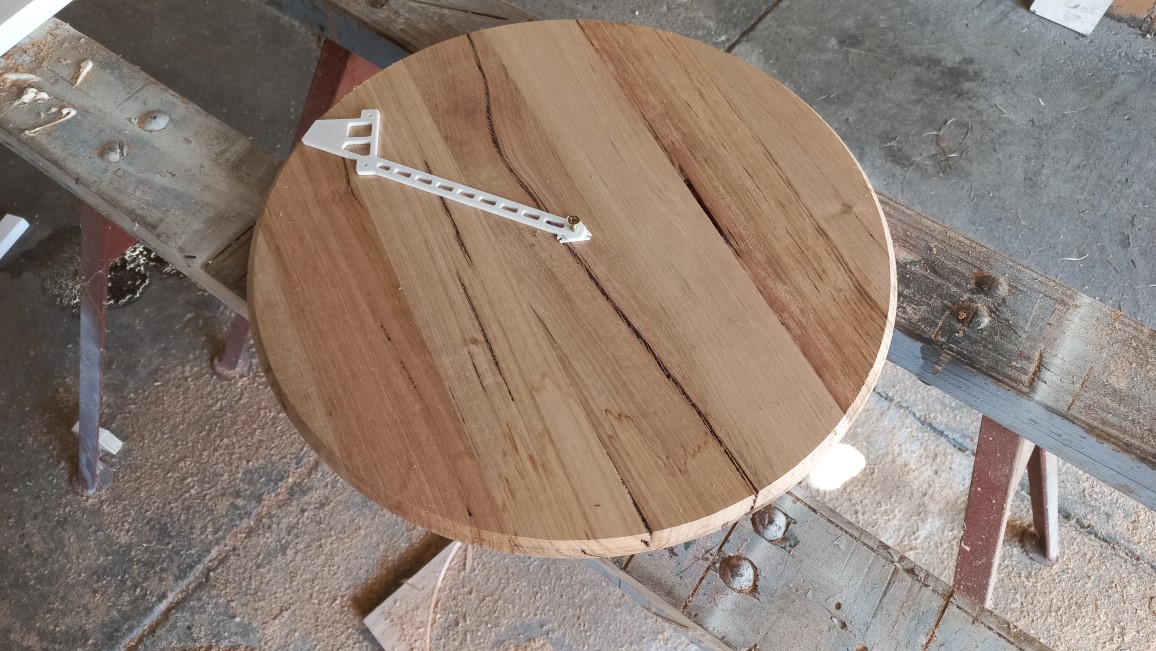
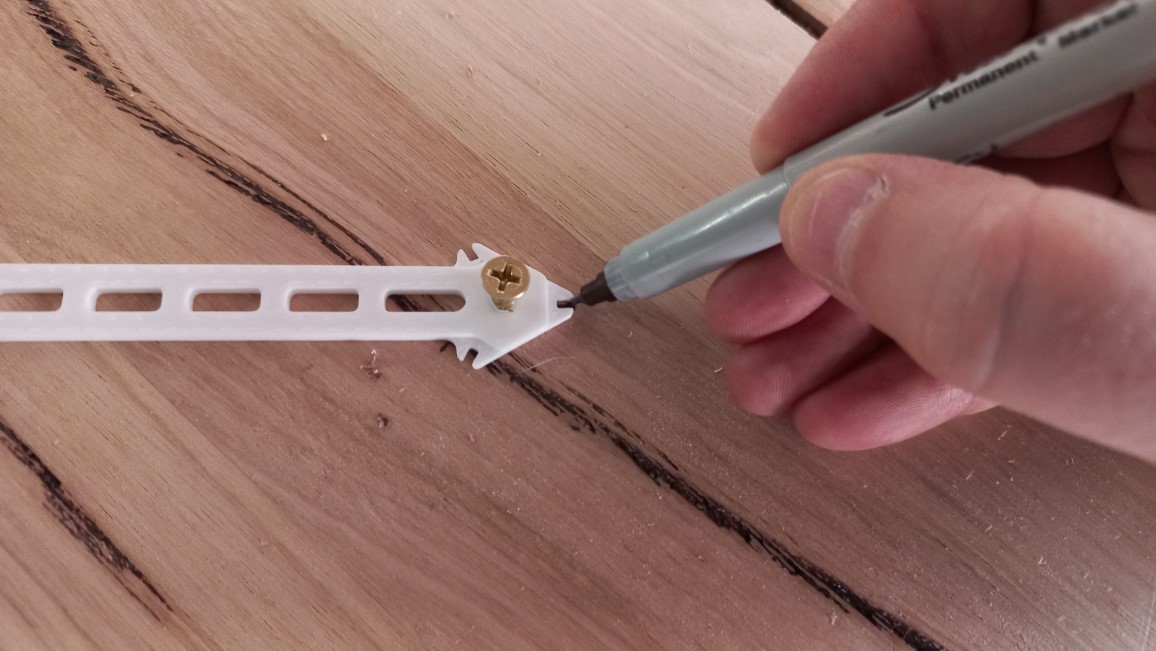
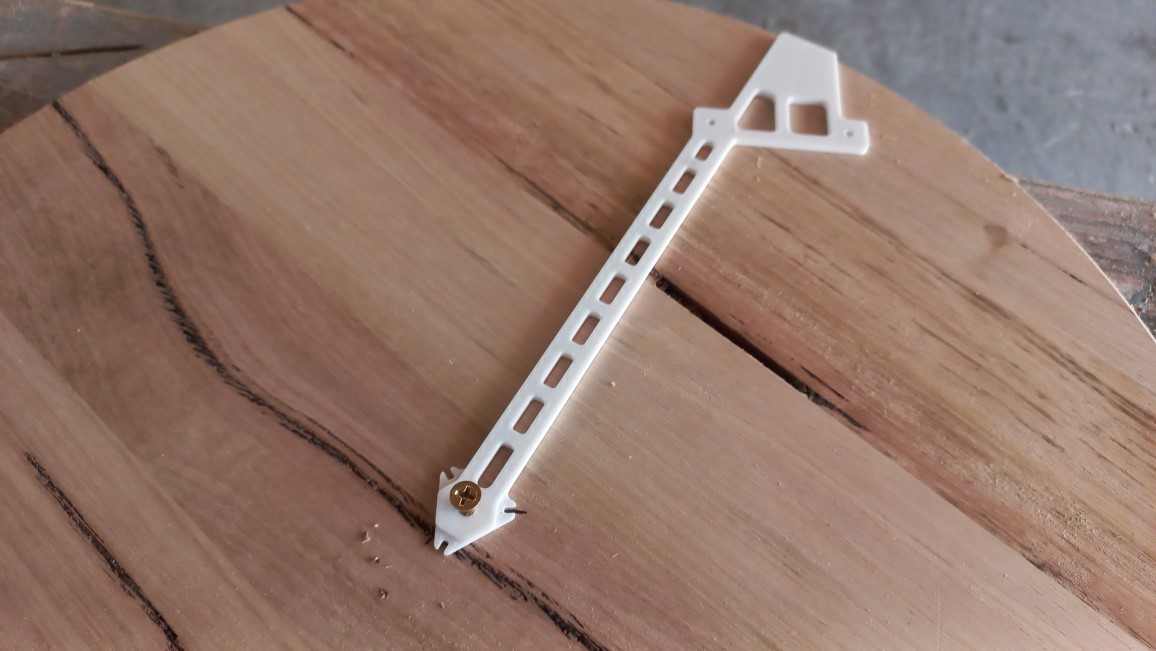
Since the table has three legs that need to be in the exact right position, a pilot hole drilling template was designed and 3D printed. Using the same pivot point as the cutting bracket, it was designed with equally spaced notches to maintain a perfect 60˚ between brackets. It proved to work perfectly and made assembly about as straight-forward as it gets.
Drilling template in place for drilling the leg bracket pilot holes
Assembly
Once the oil had dried on the timber parts and all the 3D printing was done, the table went together surprisingly smoothly. Past experience assembling furniture with angled legs proved to be tedious but with this one it was really not the case.
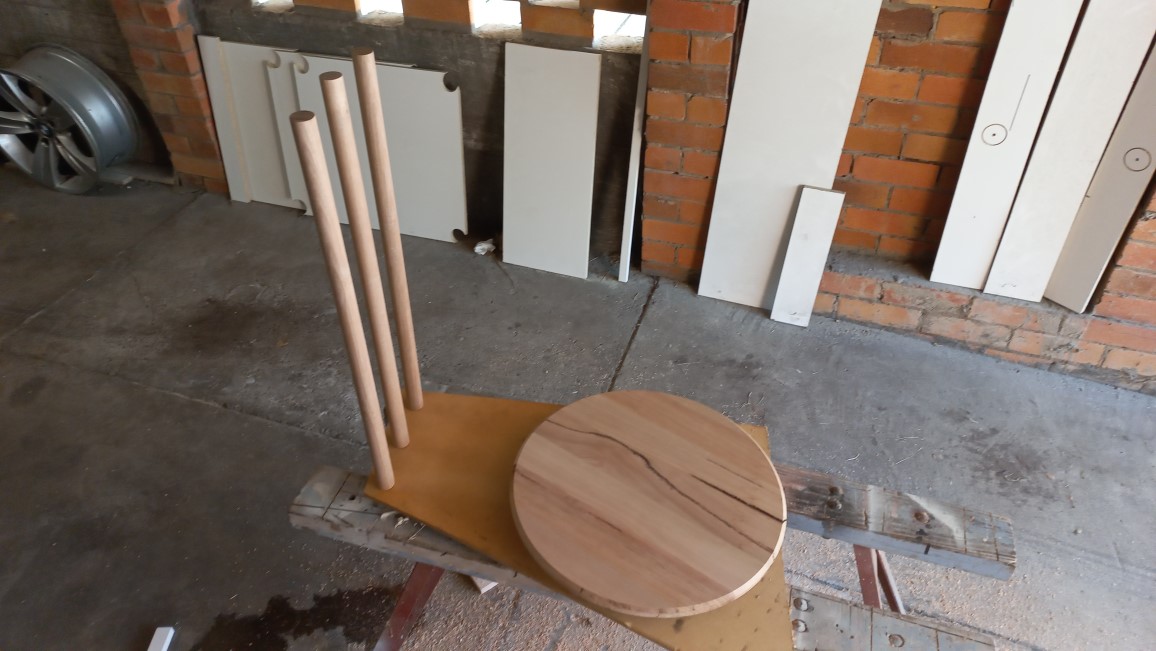
The leg top brackets went on first then all the legs were inserted through the mid brace which was temporarily set at half-way up the legs by eye. The leg assembly was then positioned upside-down on the table top and lined up with the pilot holes drilled earlier.
The table top brackets were then screwed to the table top. The mid brace was held in place by the angle of the legs which meant that it couldn’t really move even without screws. A level was used to confirm its position and it was screwed in place just to be sure.
Finally, the feet were attached. This was probably the easiest woodworking project I’ve ever done. As long as the legs are all the same length, it would be difficult to mess it up. I may have to use this as a project for my son to learn the tools when he’s old enough!
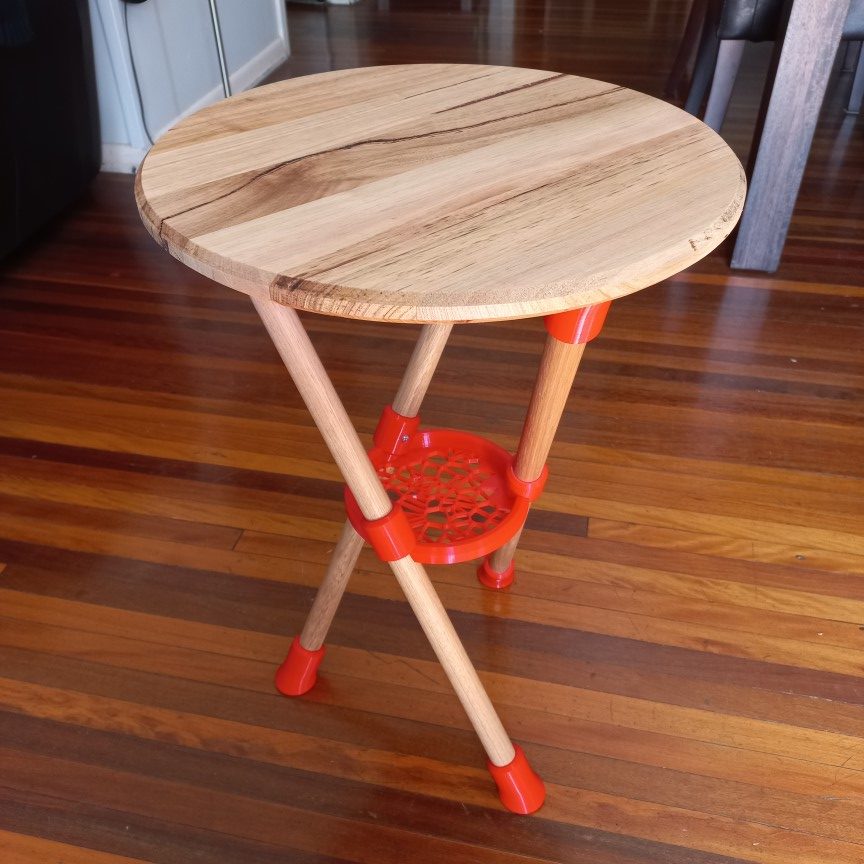
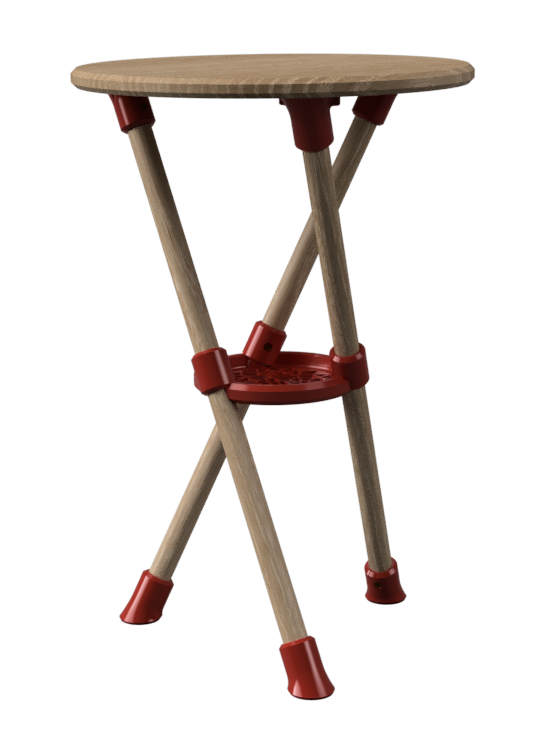
The finished table
Some changes I’d make are adding rigidity to the router template so it doesn’t flex as much. This wasn’t a huge problem or really a problem at all since the table came out great but it would probably aid in confidence!
The 3D printed parts will be made available for download on Printables.com in the near future if you’d like to try to make a table for yourself. Click the Printables icon below.