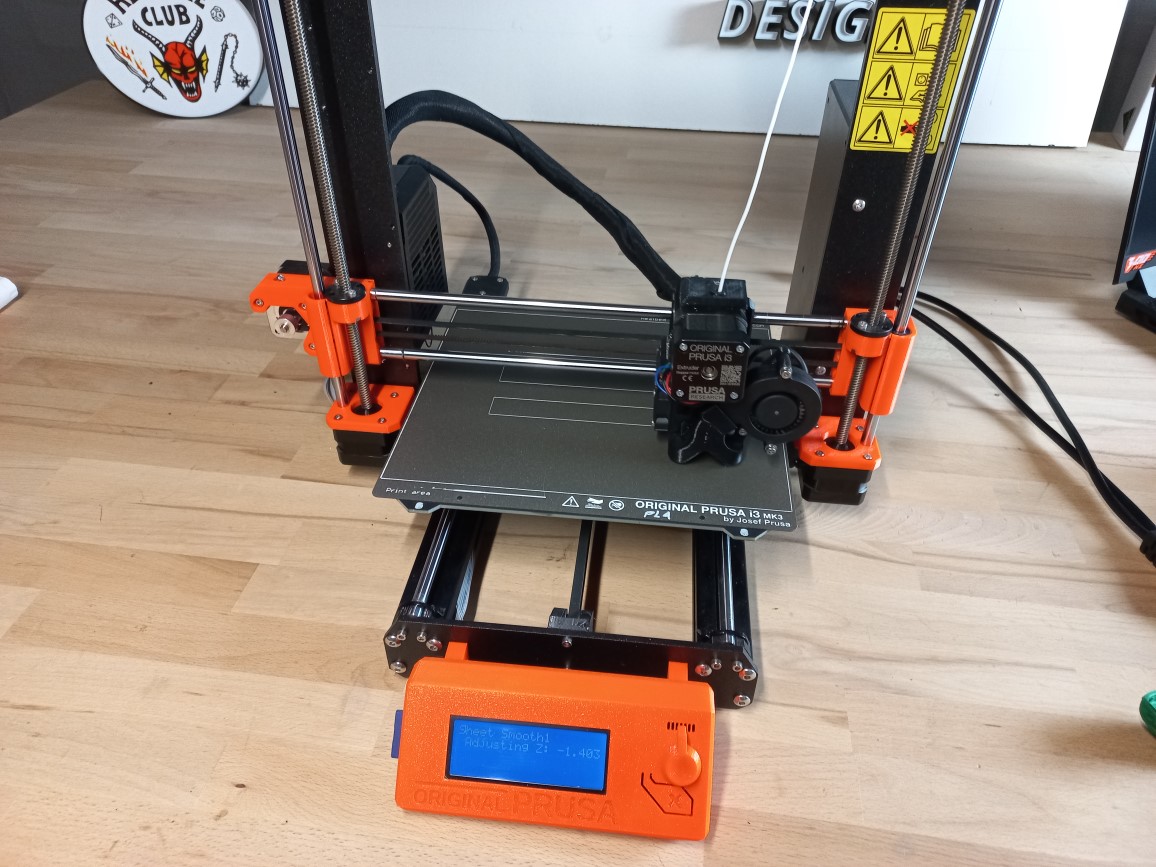
Once in a while everyone who uses a 3D printer will be faced with a clogged nozzle. It’s frustrating when you come back to a finished print and the top of your model is missing but it is a pretty simple process to unclog and start again.
Before going into the treatment, let’s touch on what causes clogs in the first place. There are a number of ways the nozzle can become clogged such as dust or contaminants from the atmosphere getting into the print head, contaminants in the filament itself or possibly parts of the 3D printer that have worn off and fallen into the mix.
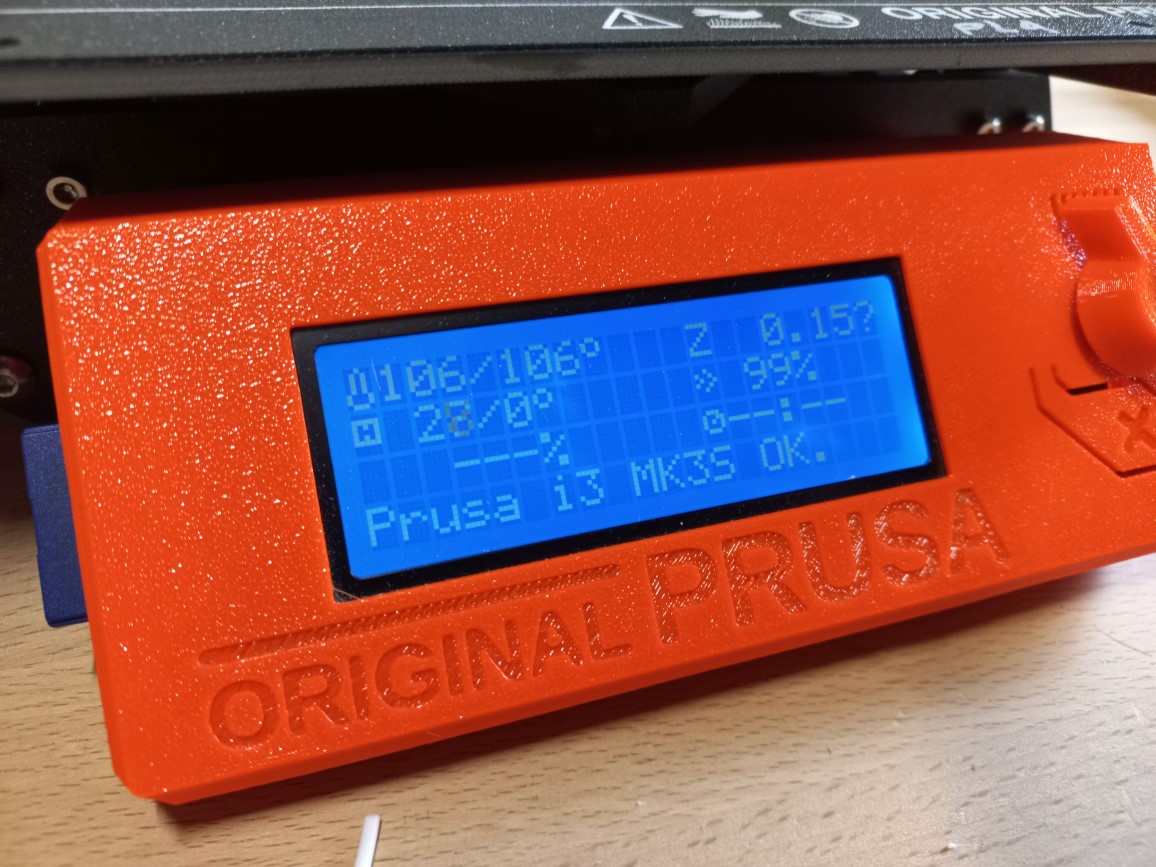
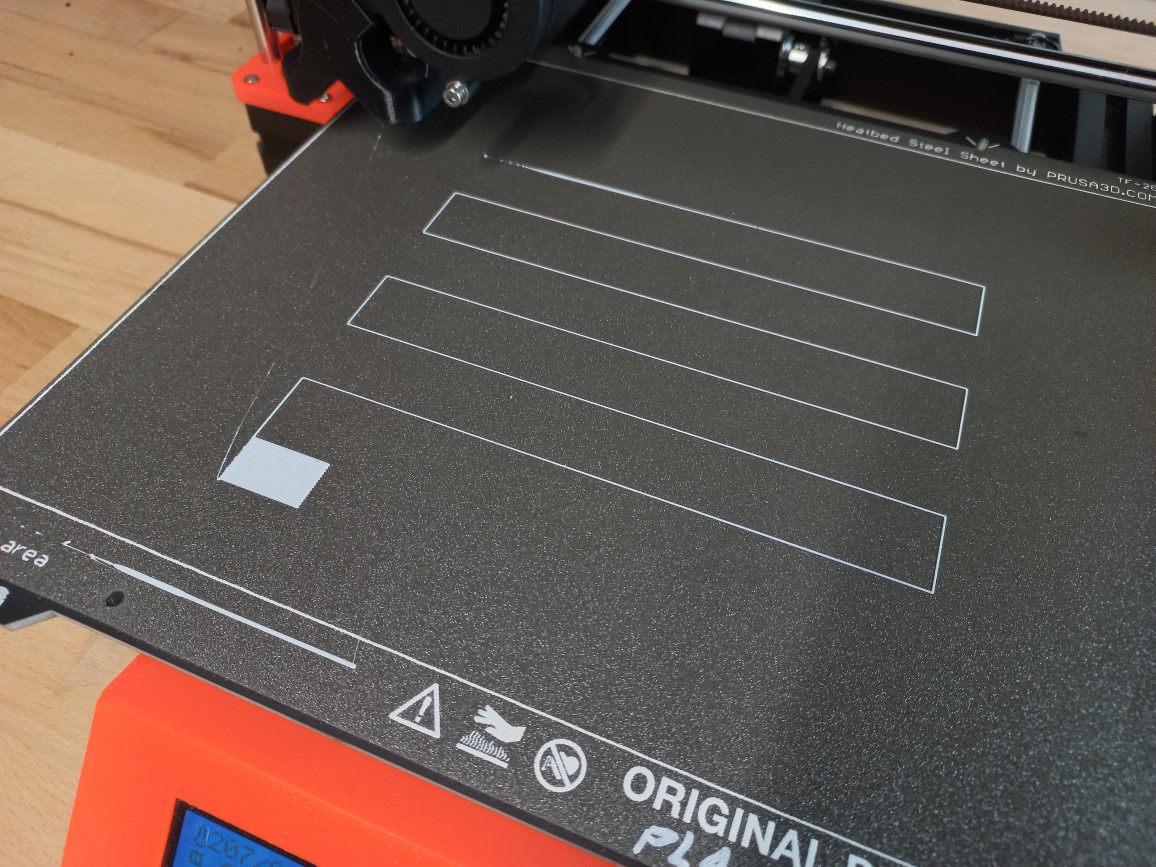
We had a clogged nozzle on one of our Prusa Mk3s recently so I thought it’d be a good opportunity to document the unclogging process to help out others in the same pickle.
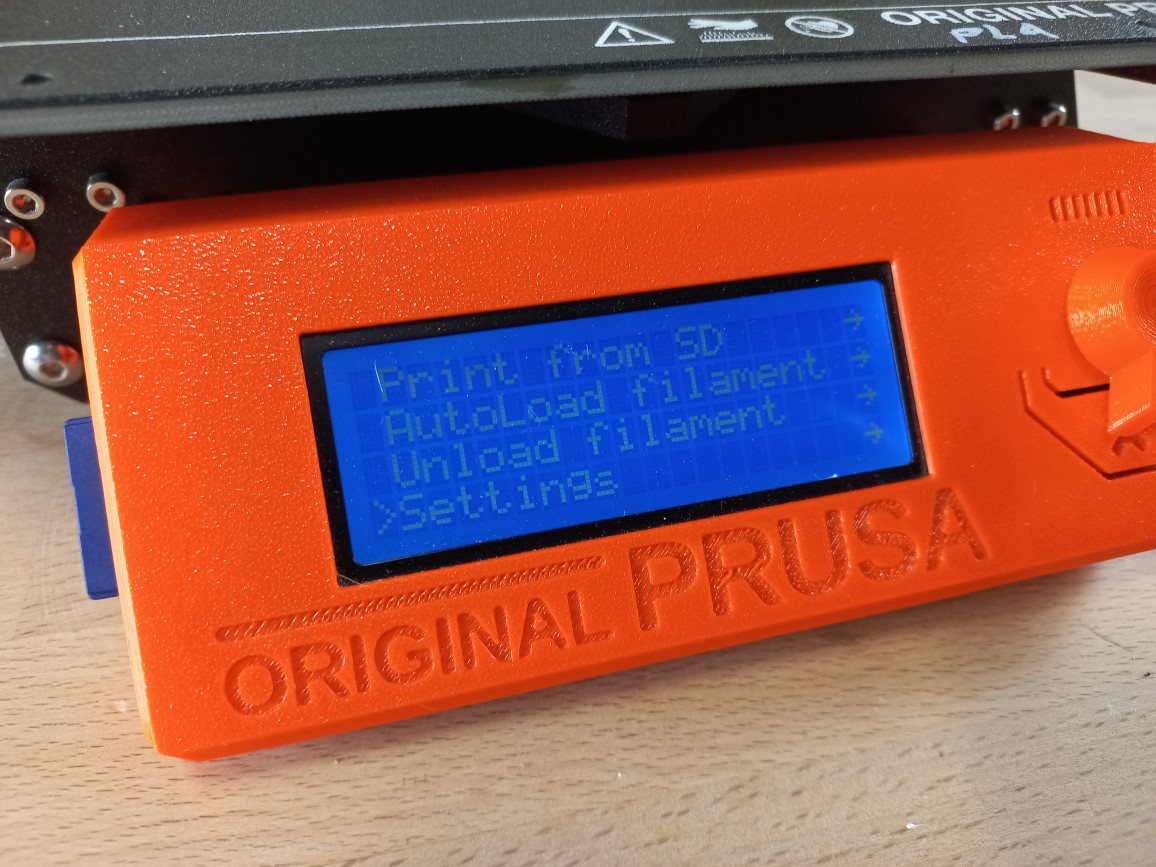
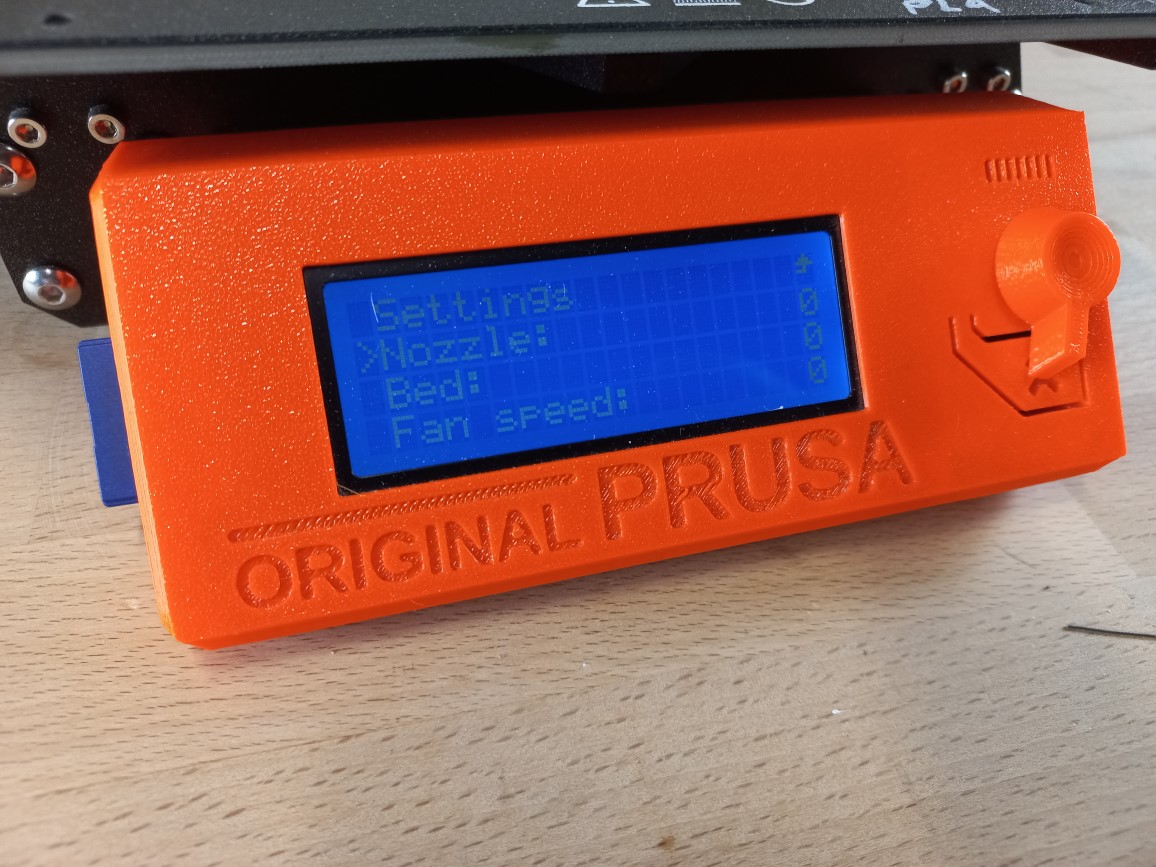
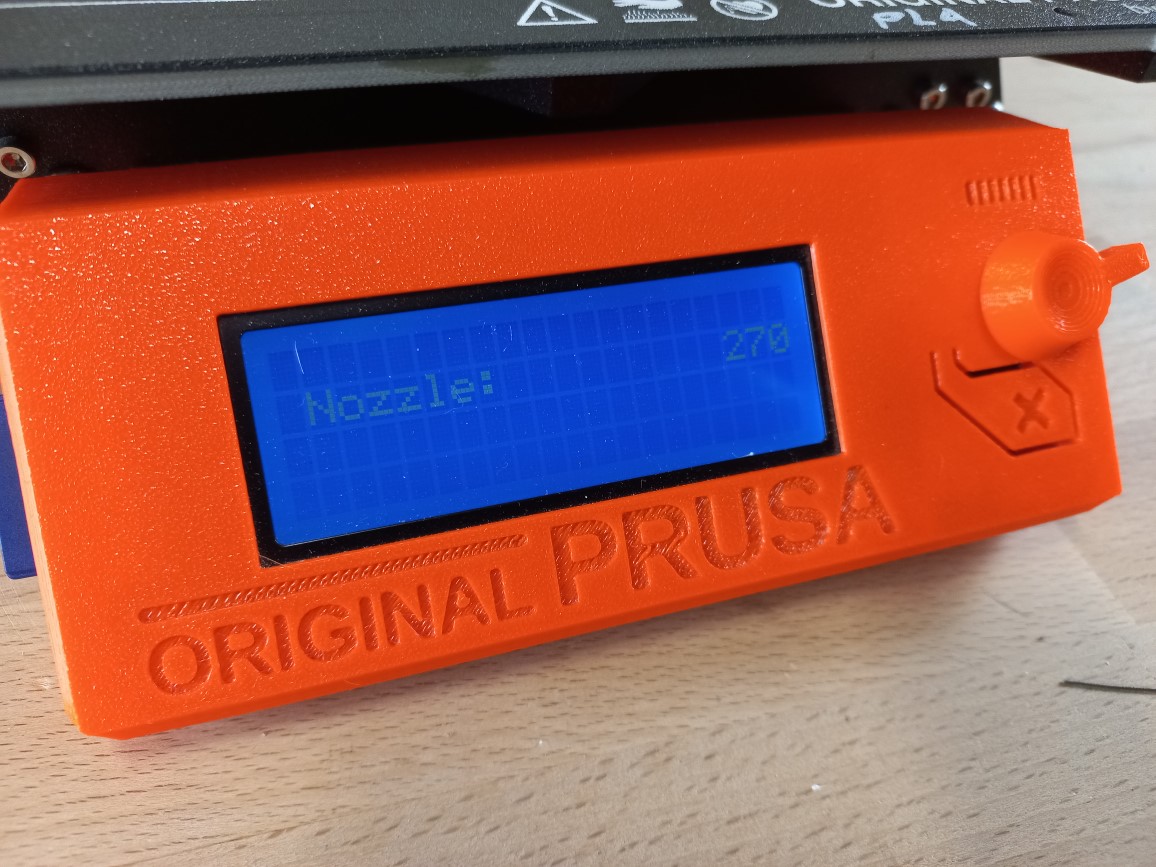
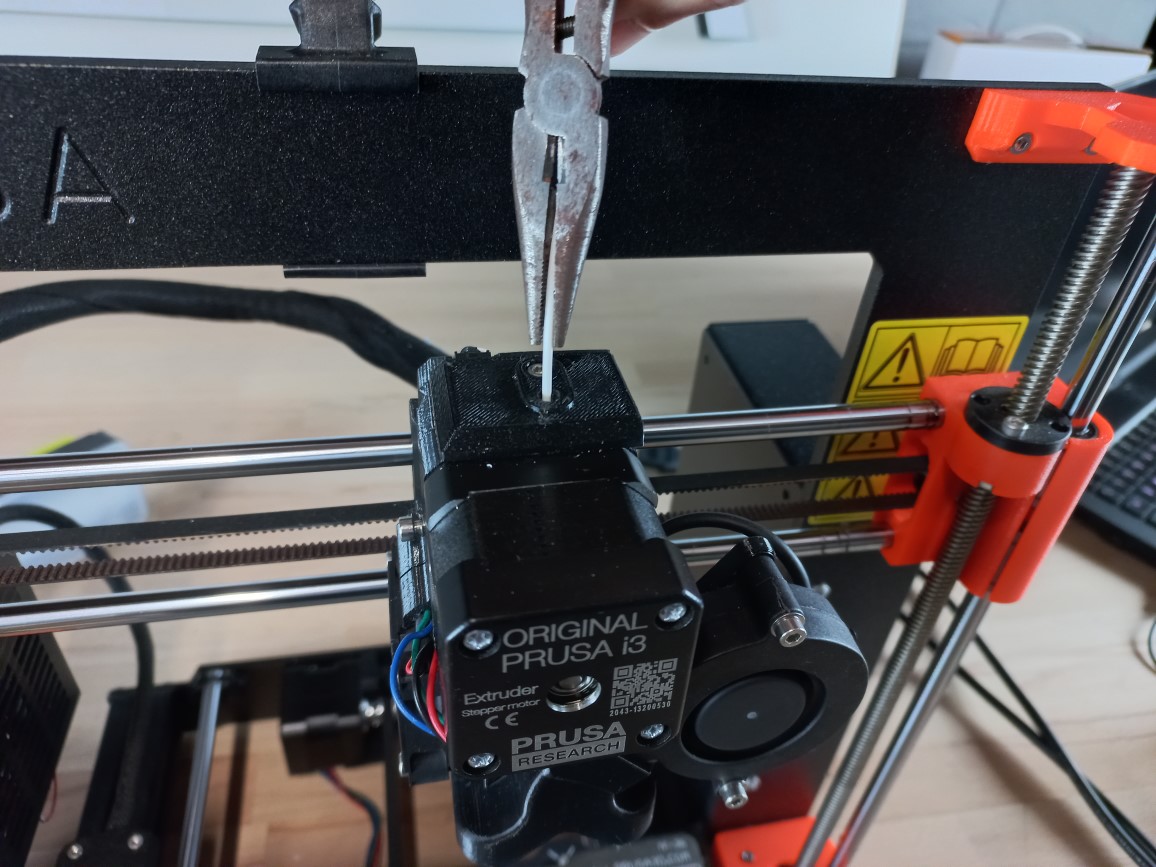
Follow the step-by-step pictorial guide to get your 3D printer back up and running.
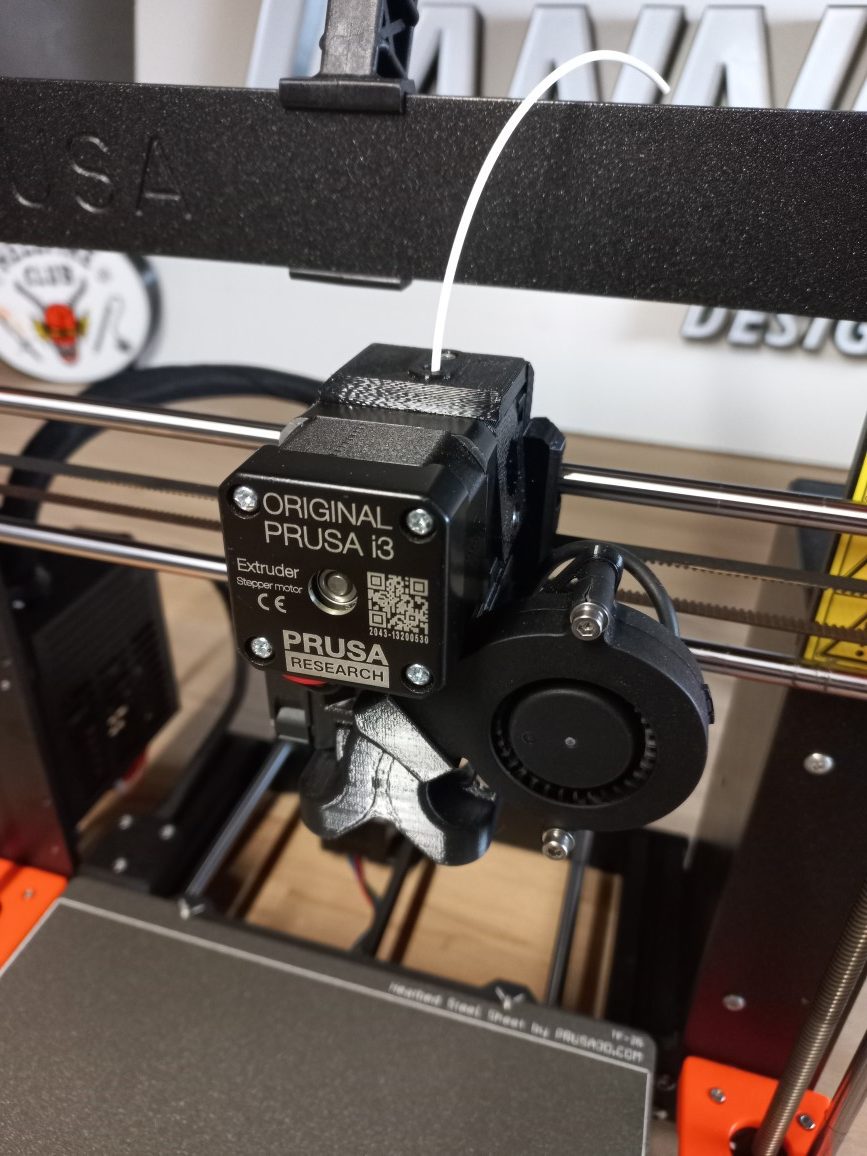
The cold pull is your friend when faced with a clogged nozzle.
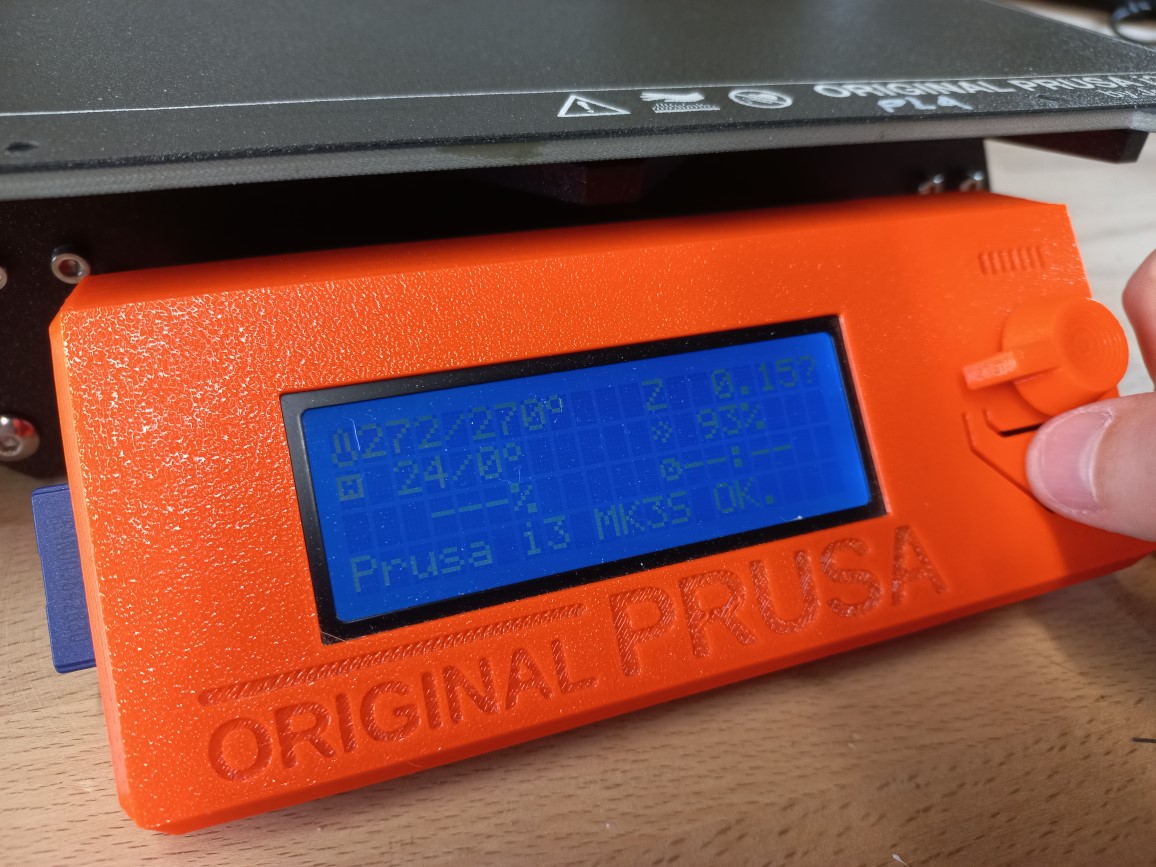
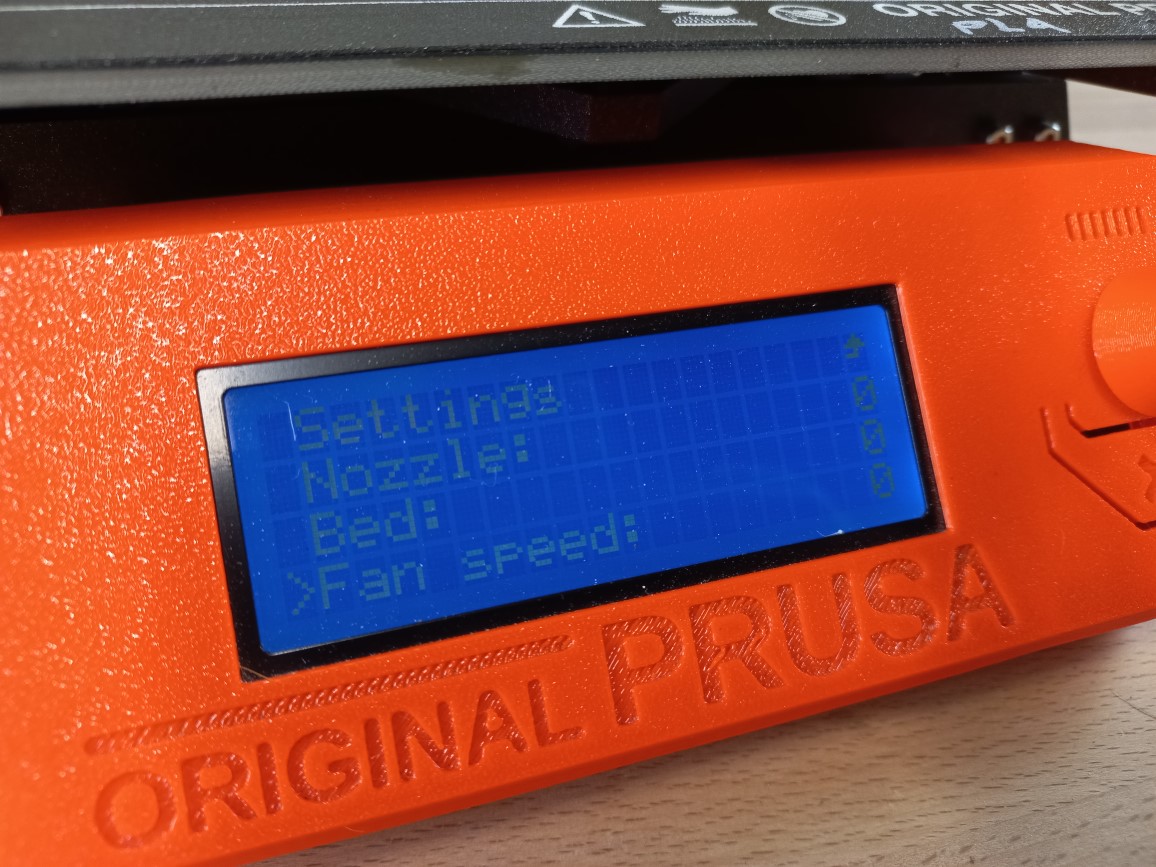
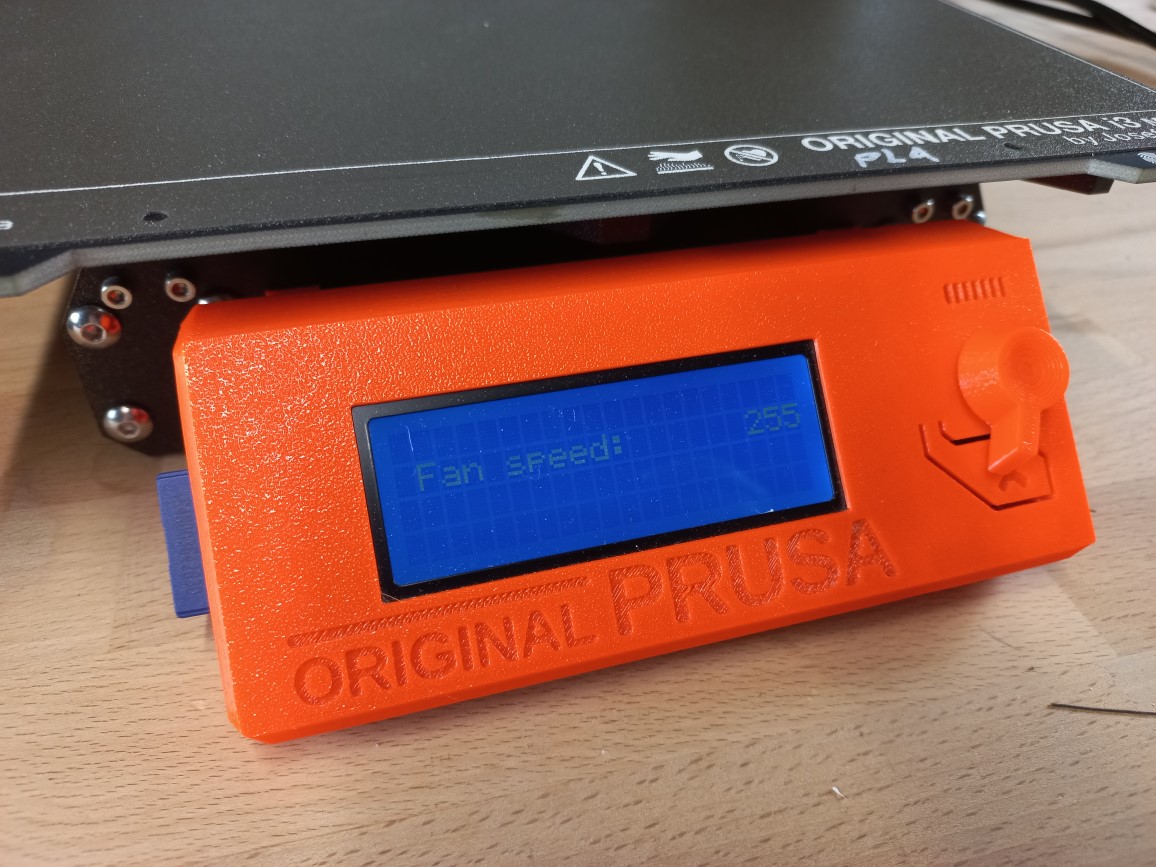
Gallery - Pictorial Guide To The Cold Pull


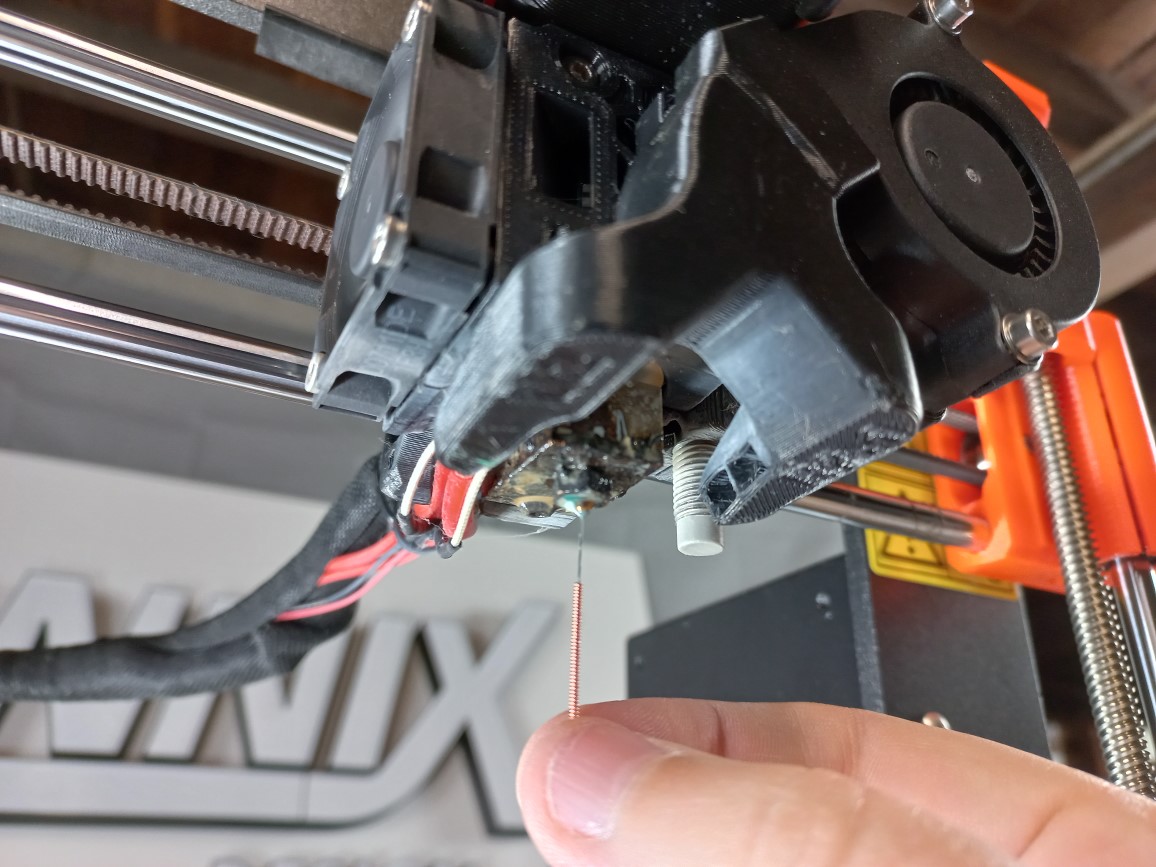
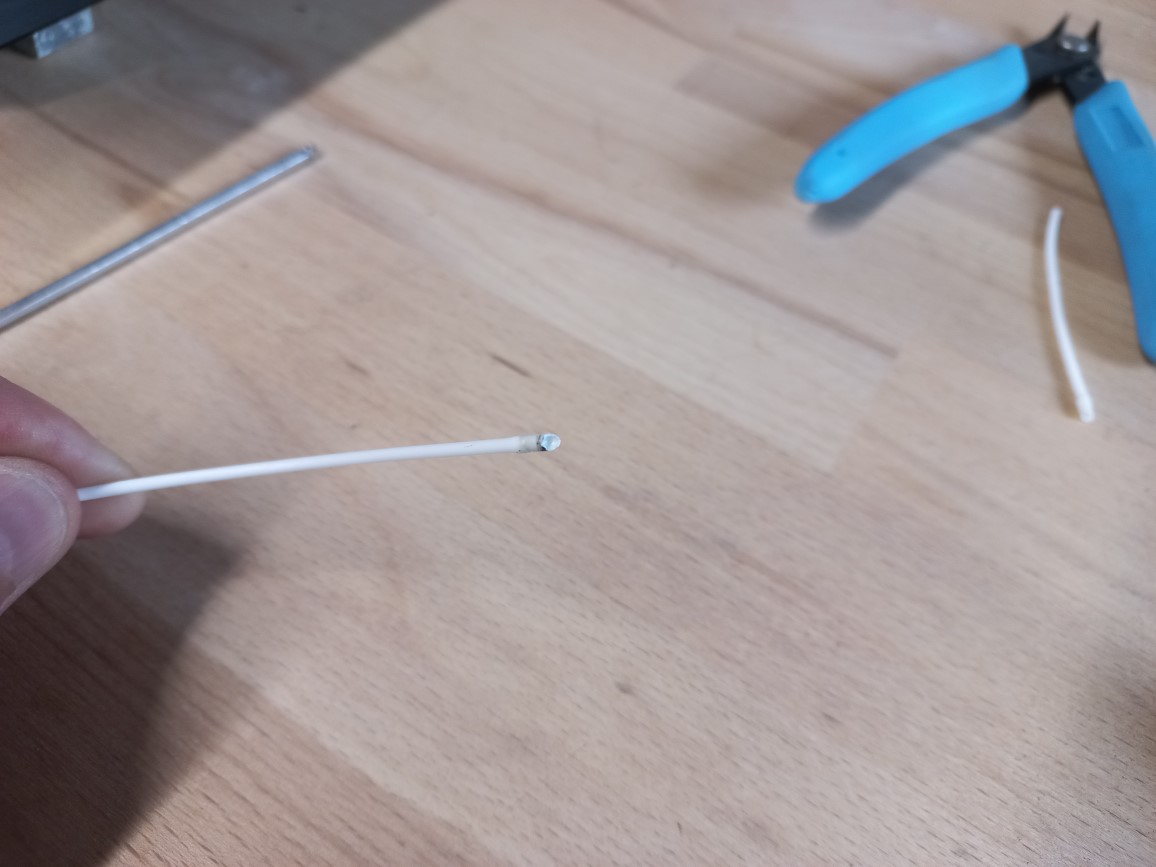
The cold pull isn’t always effective in getting rid of clogs but 95% of the time it’ll do the trick. I’ll try to document the process of dealing with more stubborn clogs if we come across one again in the future. For now, all is well with the printers.
Renovations are underway at the new house at the time of writing. The living area needs the most attention at this point so that we can move in at the end of November. The new Lannix design workshop will be the next priority after that’s done. There has been a deliberate slow-down in CAD and 3D printing jobs since my energy needs to be focused on getting the house ready. I’ll still be posting regular blogs though so until next week, happy printing!