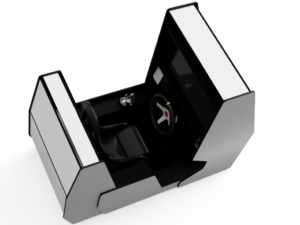
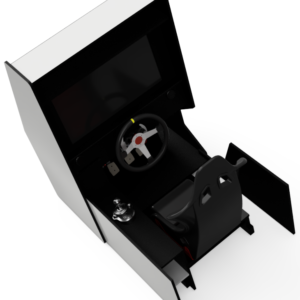
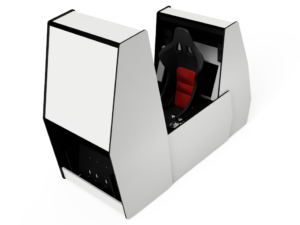
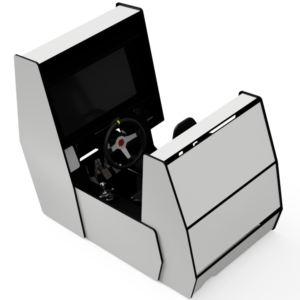
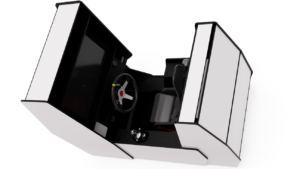
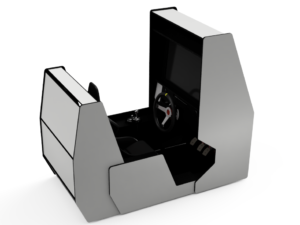
Sim racing is a hobby of mine but I haven’t had the time or the space to get involved with it for a few years. The recent house move has me thinking I should get back into it so I’ve been working on a design for a frame to house all the components necessary.
Considerations
I have a frame that I built over ten years ago that is ergonomically perfect but it just doesn’t look that pretty. I’ll use the chassis and seat setup for the new rig with some major modifications to the appearance.
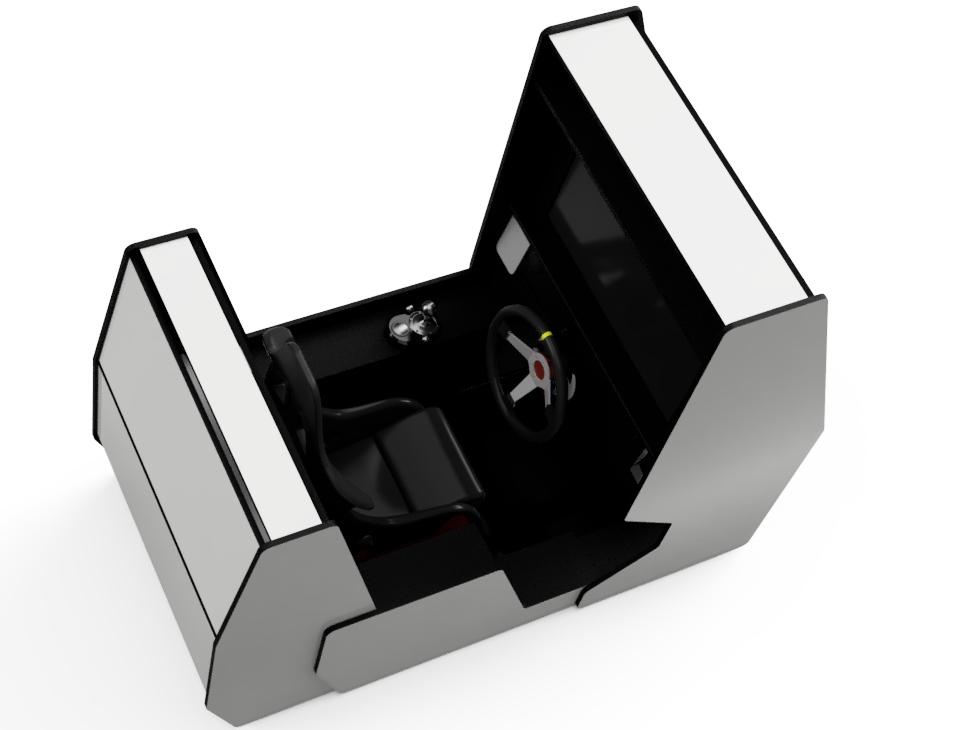
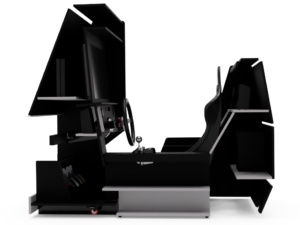
The house has an area downstairs that will become a home bar/rumpus room and so the sim rig should look like an arcade machine. The bar room will have a dive bar theme to it so the machine should look like an older style arcade game. My partner and I both agree that it needs to look cool if it’s going to live in the bar.
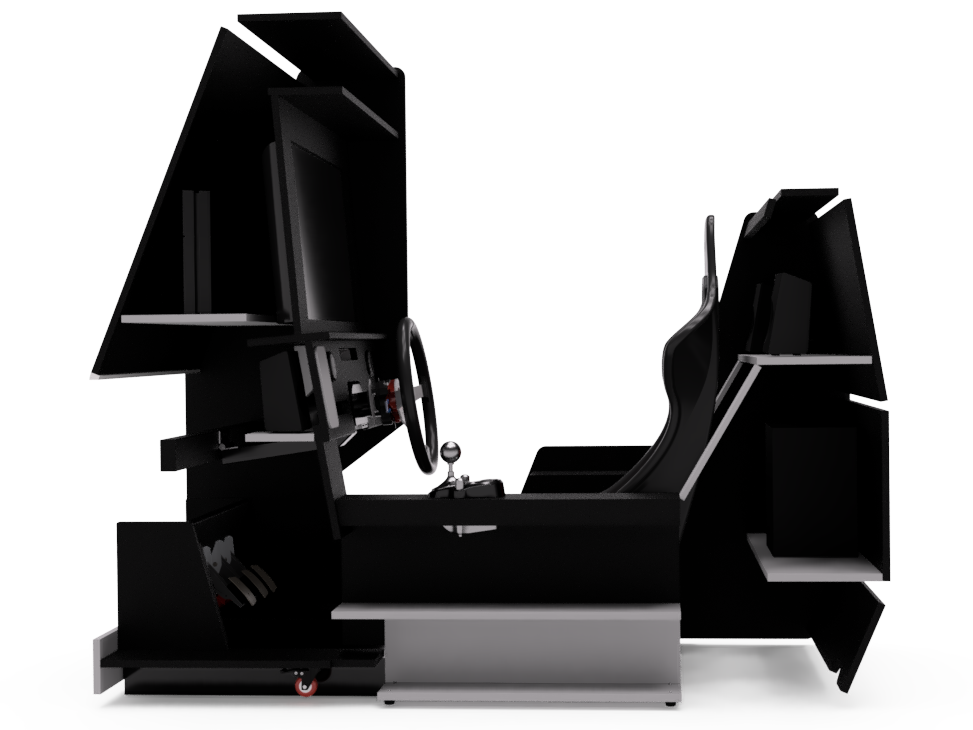
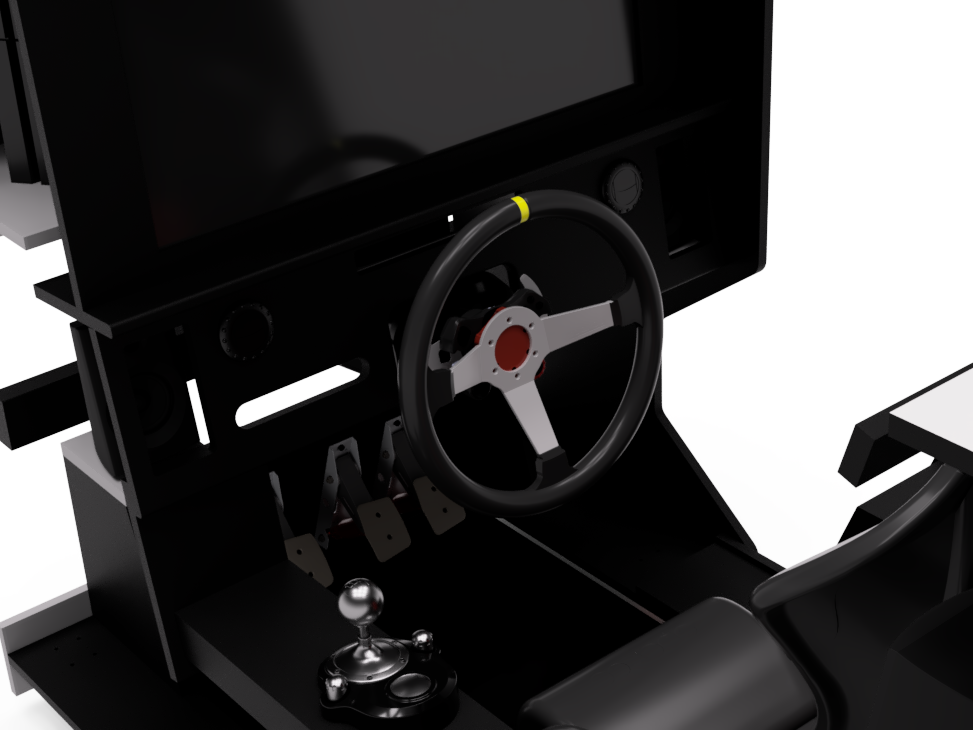
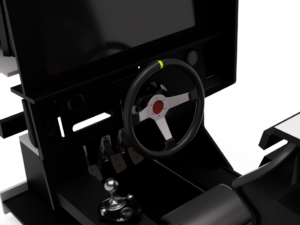
The machine will run a Sony PS4, 32 inch TV and Logitech G923 racing wheel, pedals and gearstick to start with. Ideally the cabinet/frame should be designed in a way that allows upgrading of any of the tech components later should the need arise, e.g. PS5/gaming PC, 4K monitor and a direct drive racing wheel. The cabinet needs to house a 5.1 channel speaker setup with the subwoofer preferably under the seat.
The frame should be rigid enough to withstand the torque of the force feedback racing wheel.
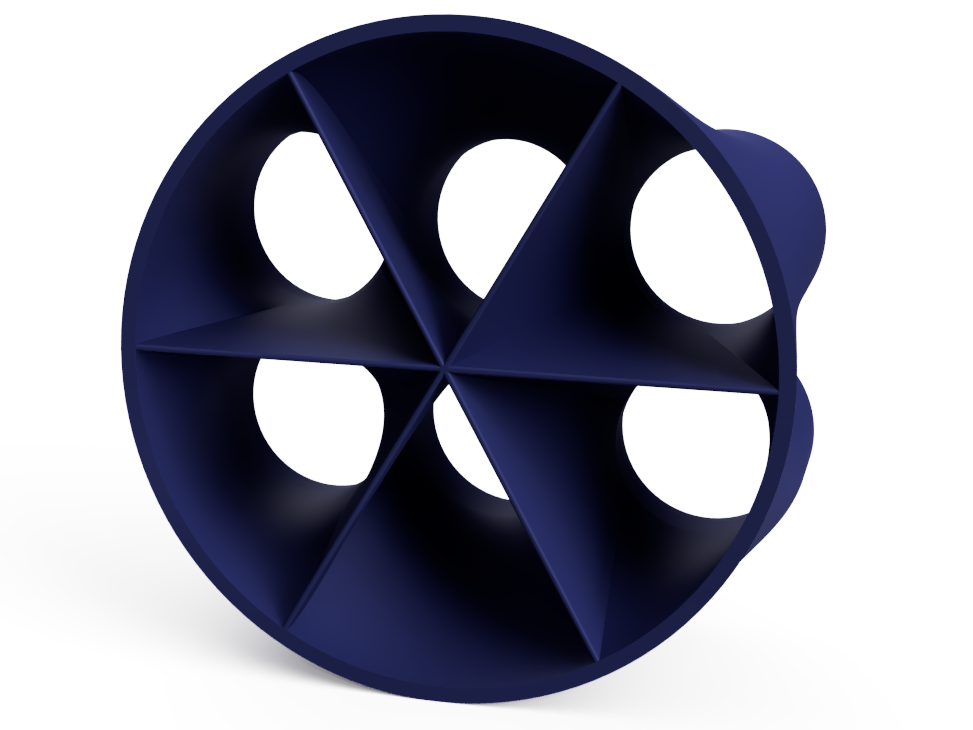
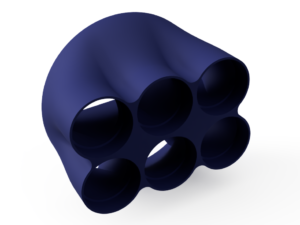
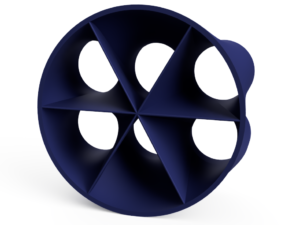
The machine needs to have a cooling fan setup for both the tech hardware and the the driver. There needs to be a ducting system like that found in a real car to direct air to the driver’s face and feet. 3D printed parts will used where possible for custom ducting.
The seat and steering wheel must be adjustable so that kids and adults can both use the machine comfortably. The original rig was built to the dimensions of a real car which worked well so this one will be too.
The cabinet should be built in modular sections to allow it to be moved easily if need be. Castors will be used on the heavier modules to assist movement.
Design
The design process has been going on whenever I have a spare hour or so although progress has slowed during the house renovation and moving process.
The cabinet itself will be made from 18mm MDF board which is perfect for this sort of application. The edges will be covered with old fashioned plastic T strip to protect it and give it the old arcade machine look.
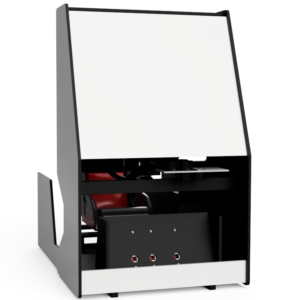
Most of the parts such as fans and speakers have been acquired so that they can be measured up and incorporated into the design. Ducting has been modelled for directing air and sound within the cabinet and will be 3D printed. I’ll go into all the finer details in a future post as it is still a work in progress.
I’m not happy with the design as it is now and I think I’ll try to integrate the side pods more into the rear pod as I think it looks a little broken up or something. It seems I have some time to get this finalized anyway since I don’t have a workshop at the moment.
As far as the paint job goes, let’s say anyone who’s a fan of historic JDM racing cars will recognise the paint scheme I have in mind for it. I’m not going to reveal it just yet but I think it will look great as long as I have the cabinet looking right first.
What Now?
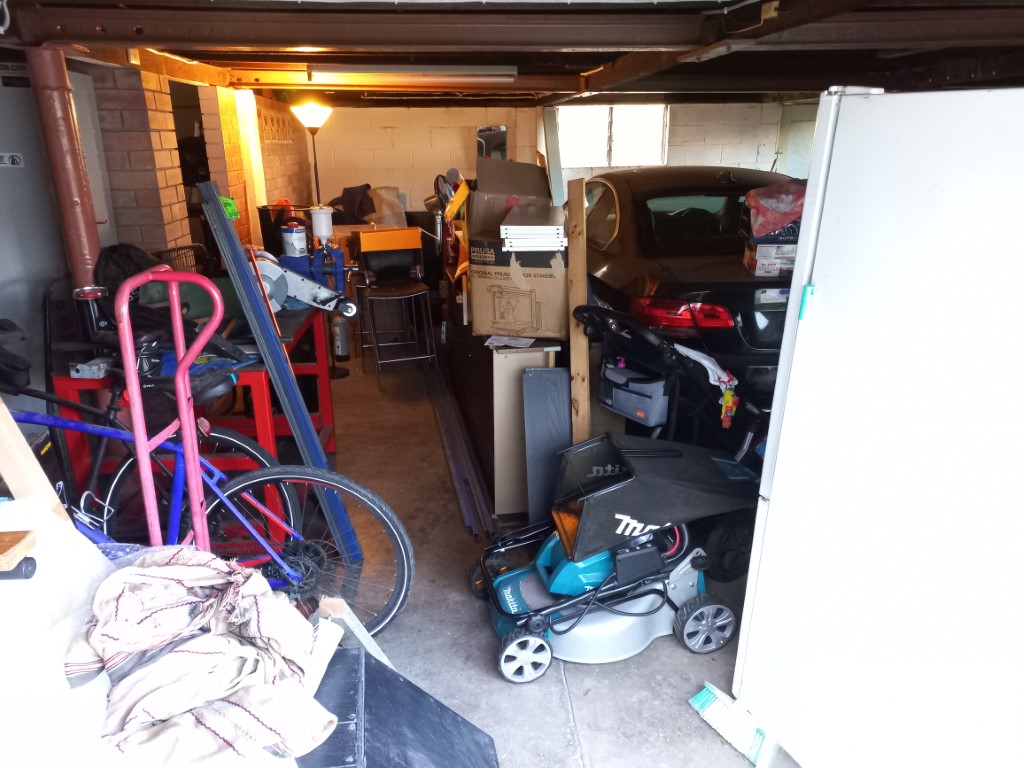
The plan was to build a shed in the backyard soon after moving in which will have a workshop and plenty of storage. It seems that everyone wants a shed at the moment so we’re told this will be a six month wait. Therefore, unfortunately all projects such as this are limited to the design phase only as the area under the house where I plan to operate the design and 3D printing business is full of furniture and moving boxes.
It’s a bit of a sad note to end the blog on but on the plus side, it gives me plenty of time to plan out the workshop layouts and acquire some of the harder to get parts for these projects. I’m back to blogging every week now so stay tuned for more articles you may be interested in. Check out our socials and subscribe to our newsletter if you want to. No pressure!
