Making graphics for a website seemed like a daunting task a couple of years ago when I jumped into the project. I had no idea what the deal is with using downloaded images and the like when you’re making a commercial website, and I actually wasn’t that keen to just use someone else’s artwork.
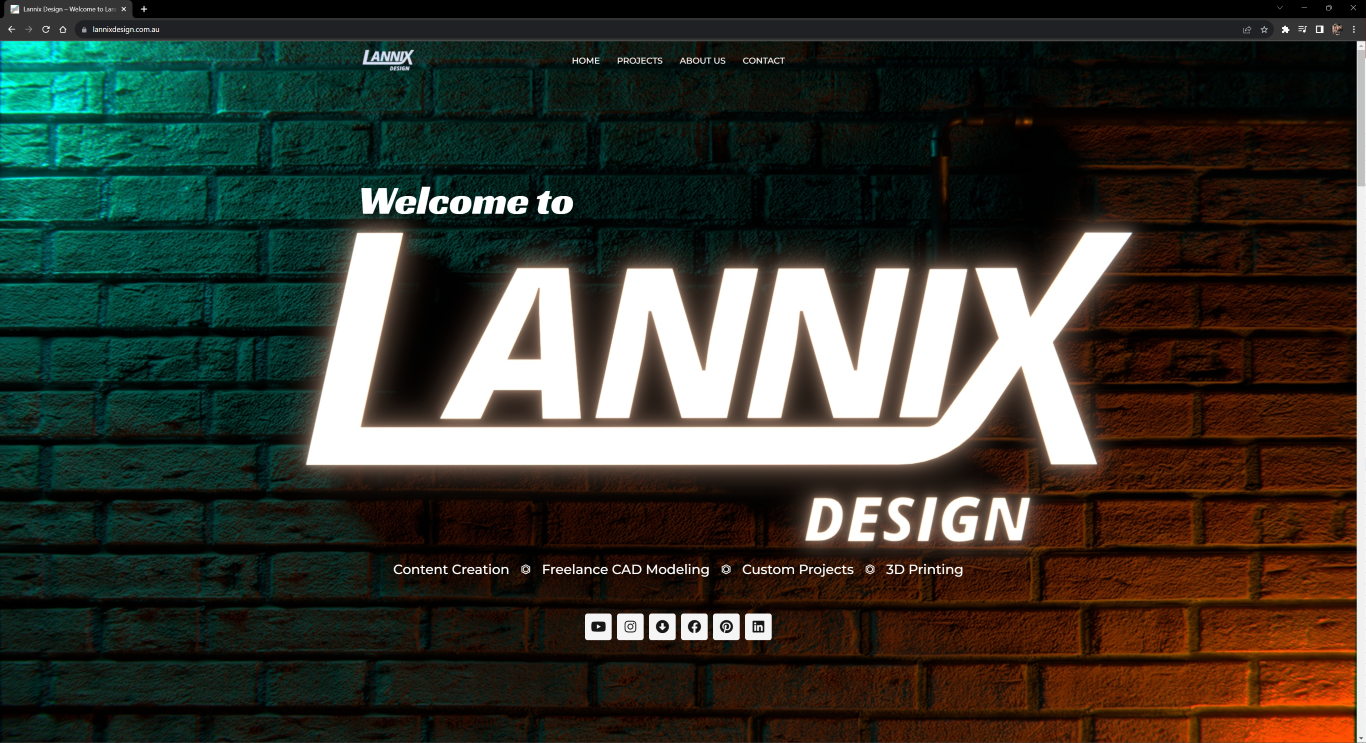
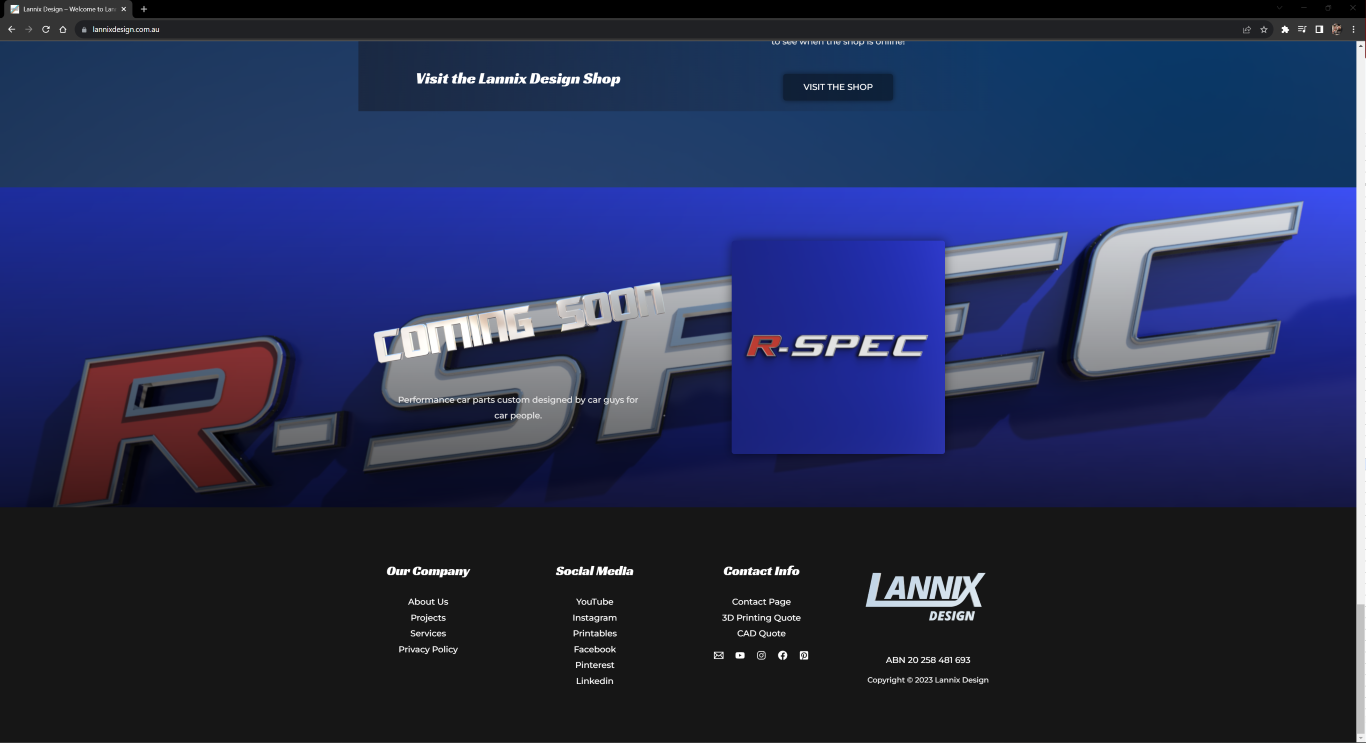
Since I’d designed the logo myself in Fusion 360, I came up with this plan to use renders with low lighting that would hopefully just fade into the background of the website and look like a nice subtle image. I was initially quite happy with this for our original website, lannix3d.com.au, but when it came time to build our new website I wanted something a little more artistic to grab people’s attention when they clicked on our home page.
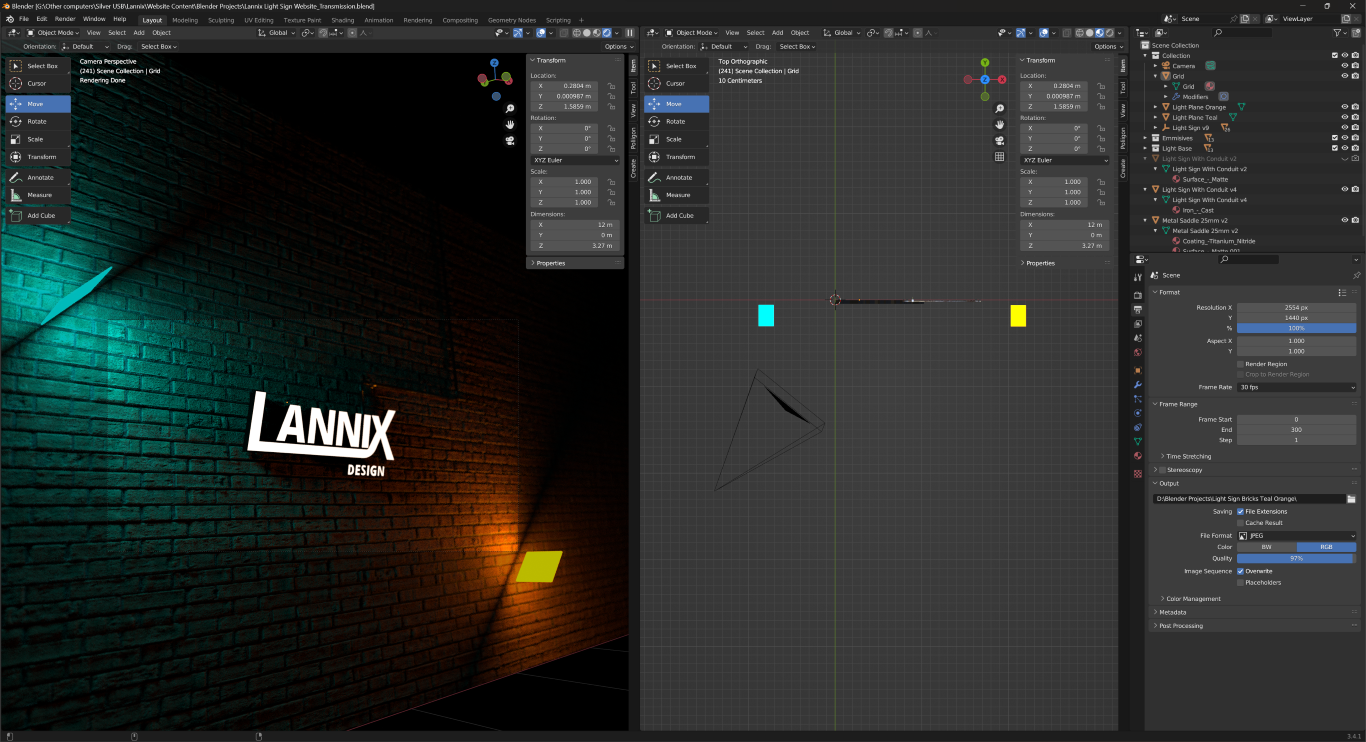
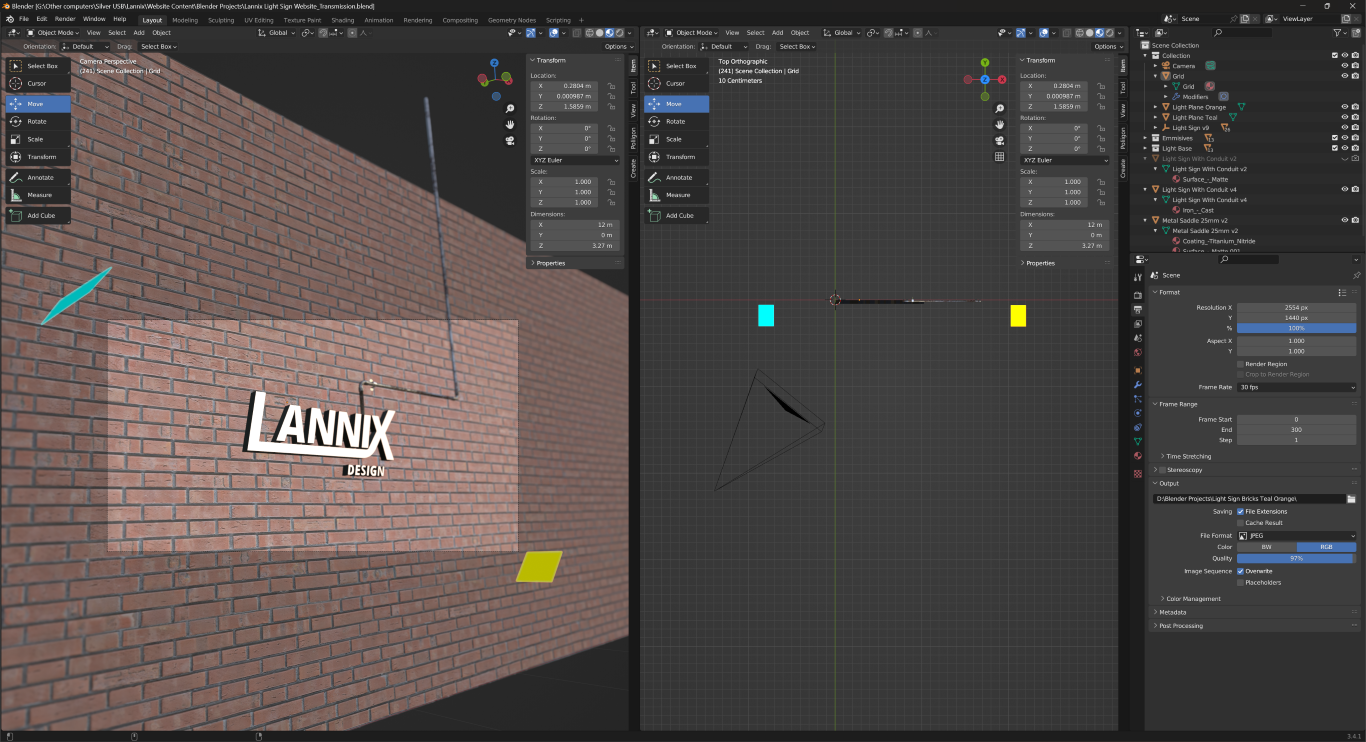
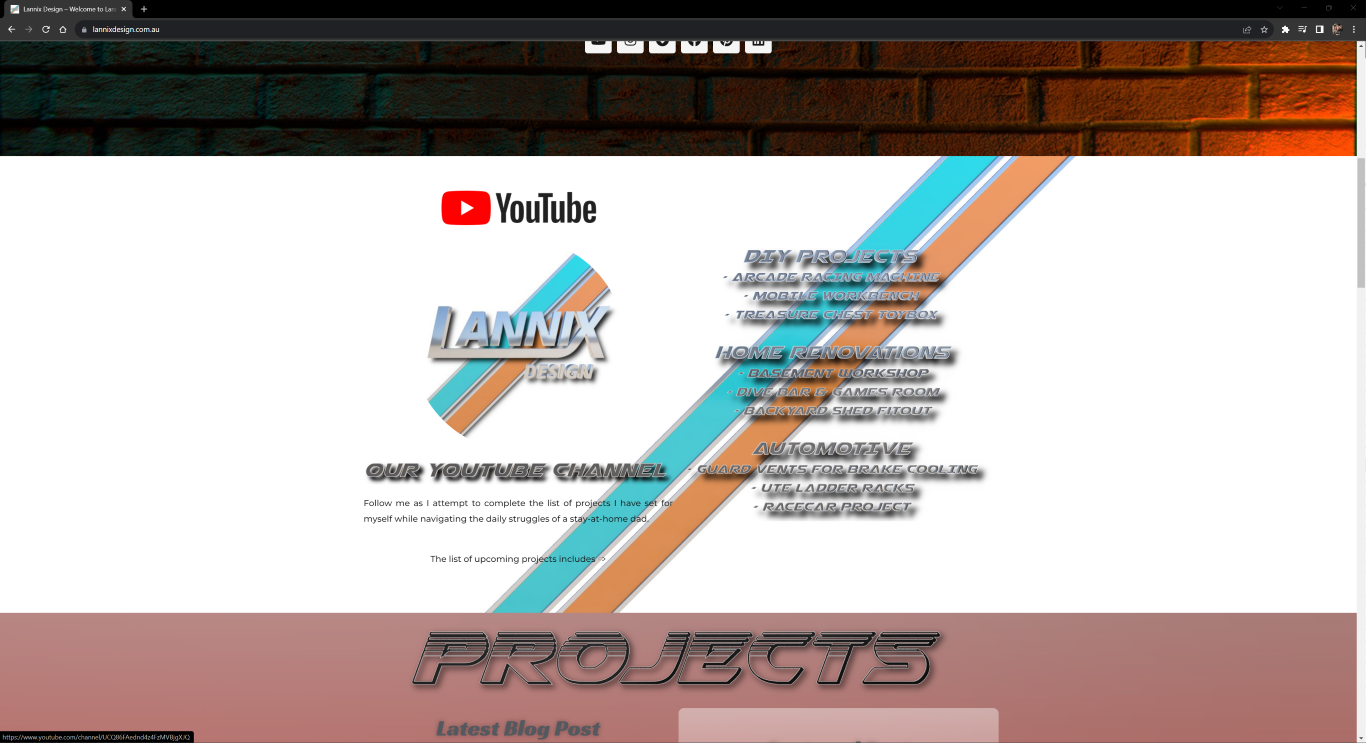
Originally, the main page background was a brick wall with our logo as an illuminated sign hanging on it. I was happy with it at first but after looking at it closely I realised the brick texture wasn’t as high-res as I’d like and I felt it was looking a bit uninteresting. The light didn’t seem to stand out as much as I’d hoped so I went back and gave it some more attention.
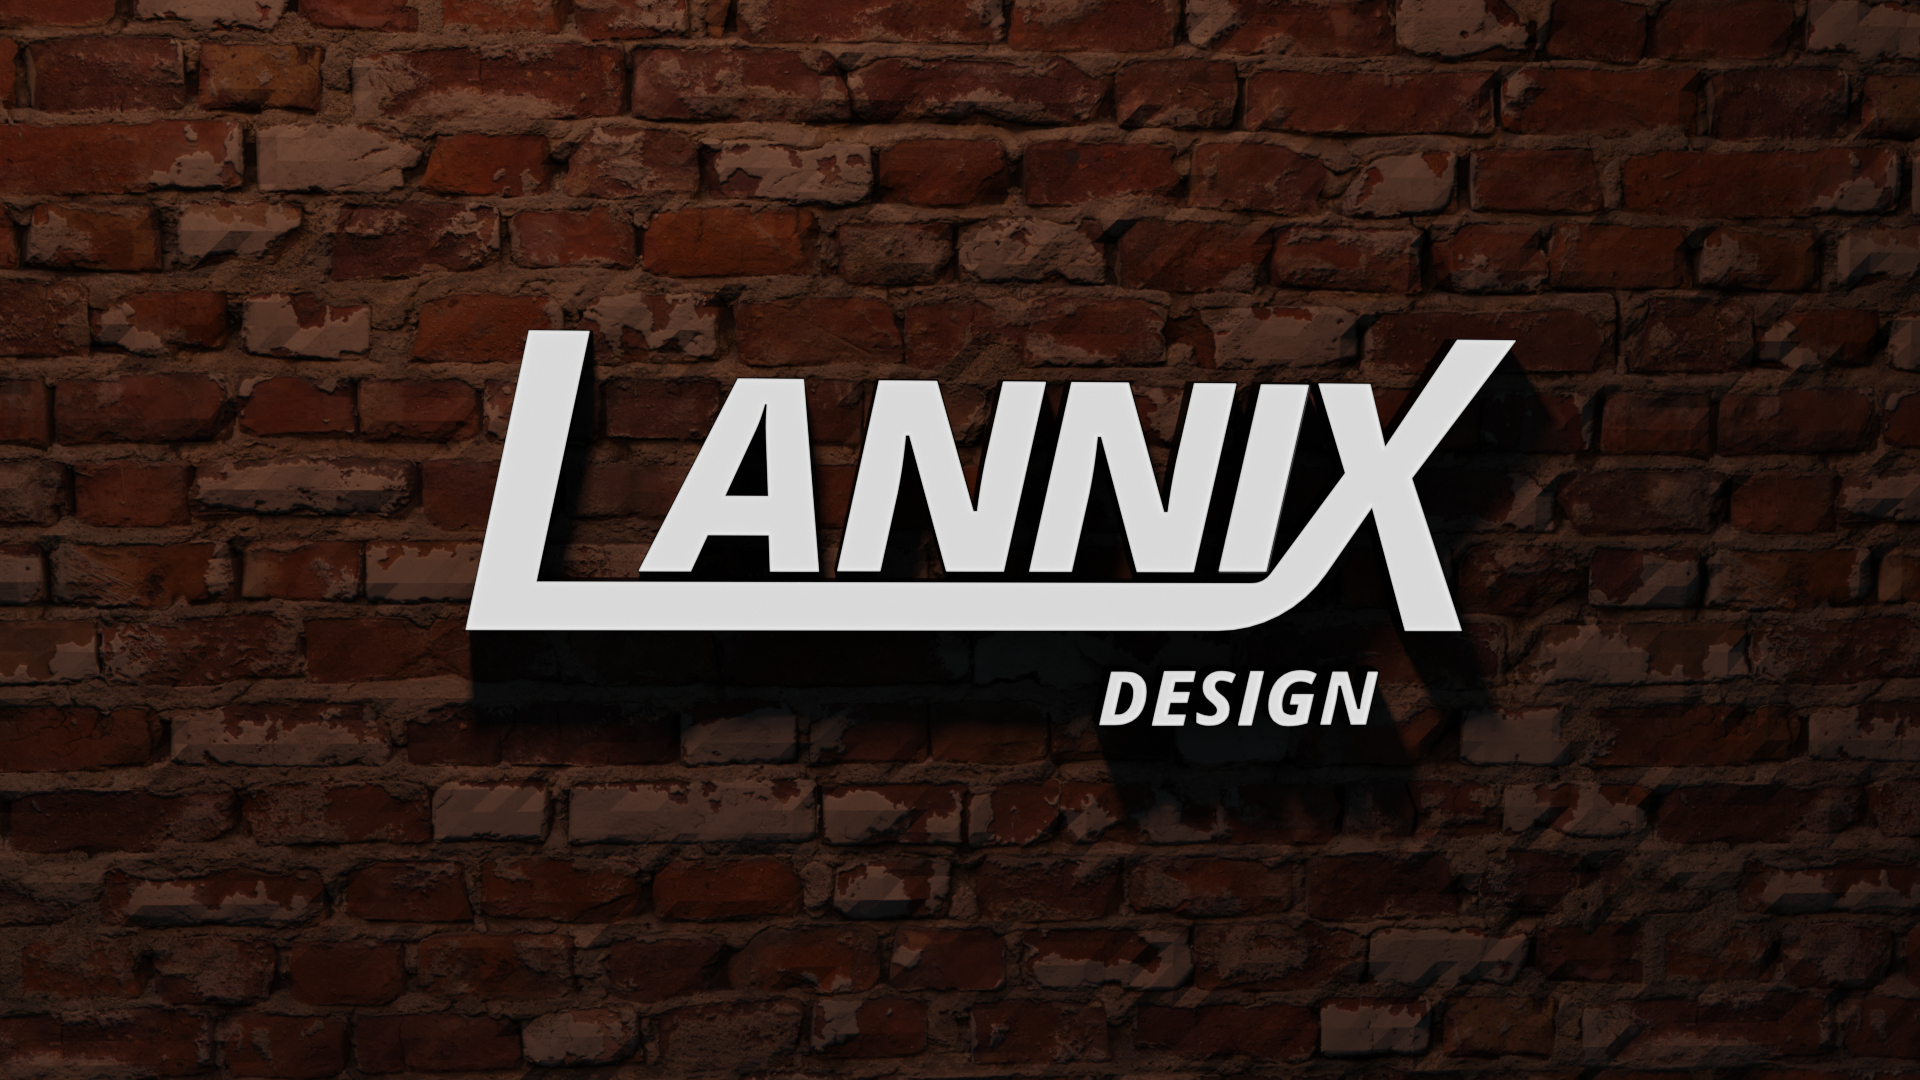
Our home page graphic made in Fusion 360 and Blender.
The original background that I decided to evolve.
In the mean time I’d revamped our YouTube channel graphics with a teal & orange theme which I really loved. So I thought I’d incorporate those colours into the brick image somehow. I’d also been watching tutorials on how to light a scene for making videos so that gave me the idea of having the coloured lights illuminate the scene from either side. I thought opposite corners would look good and I’m happy with that part of it.
Our logo sign needed to glow and stand out more so I used some techniques I learned from Blender Guru on how to get a nice glow from your rendered emission textures.
Lastly, I wanted to add some more subtle detail to give a sense of realism so I modelled up an electrical conduit in real scale and stuck it in the top right corner. It’s barely noticeable but that’s exactly what I was going for.
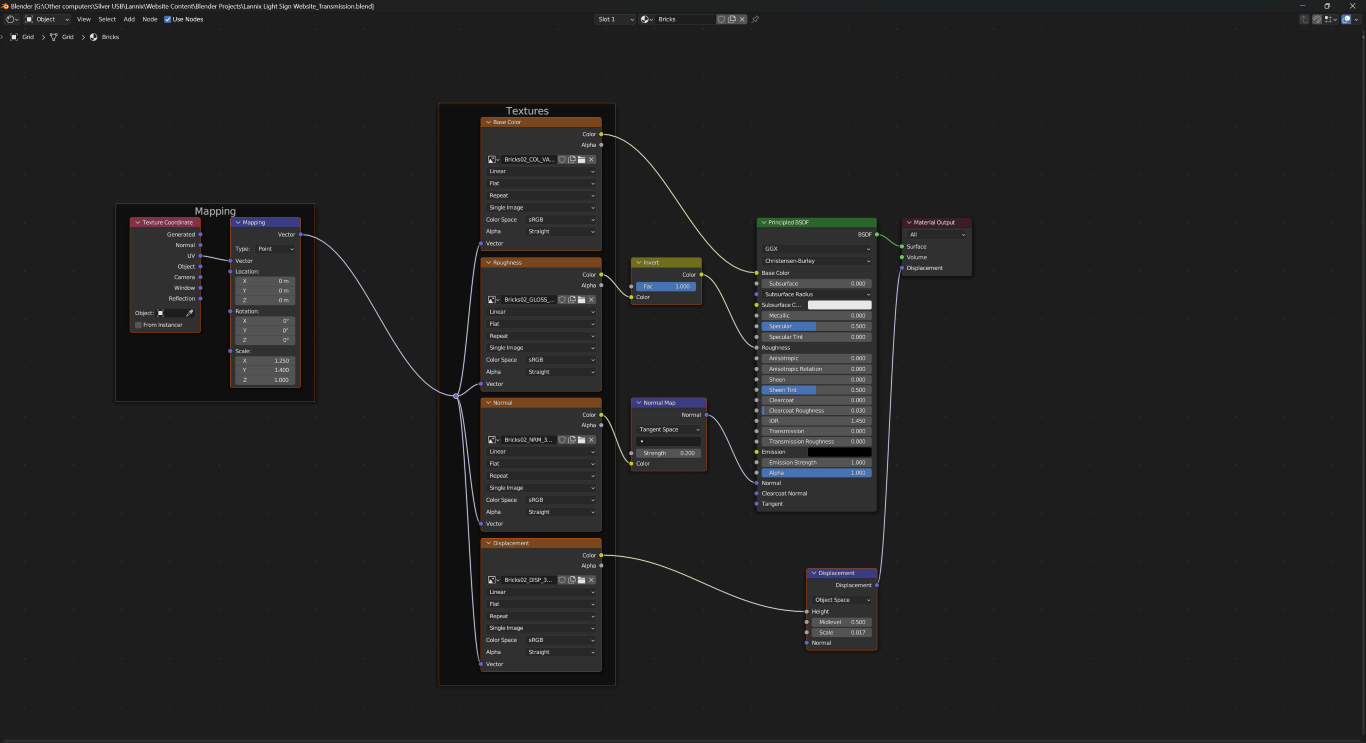
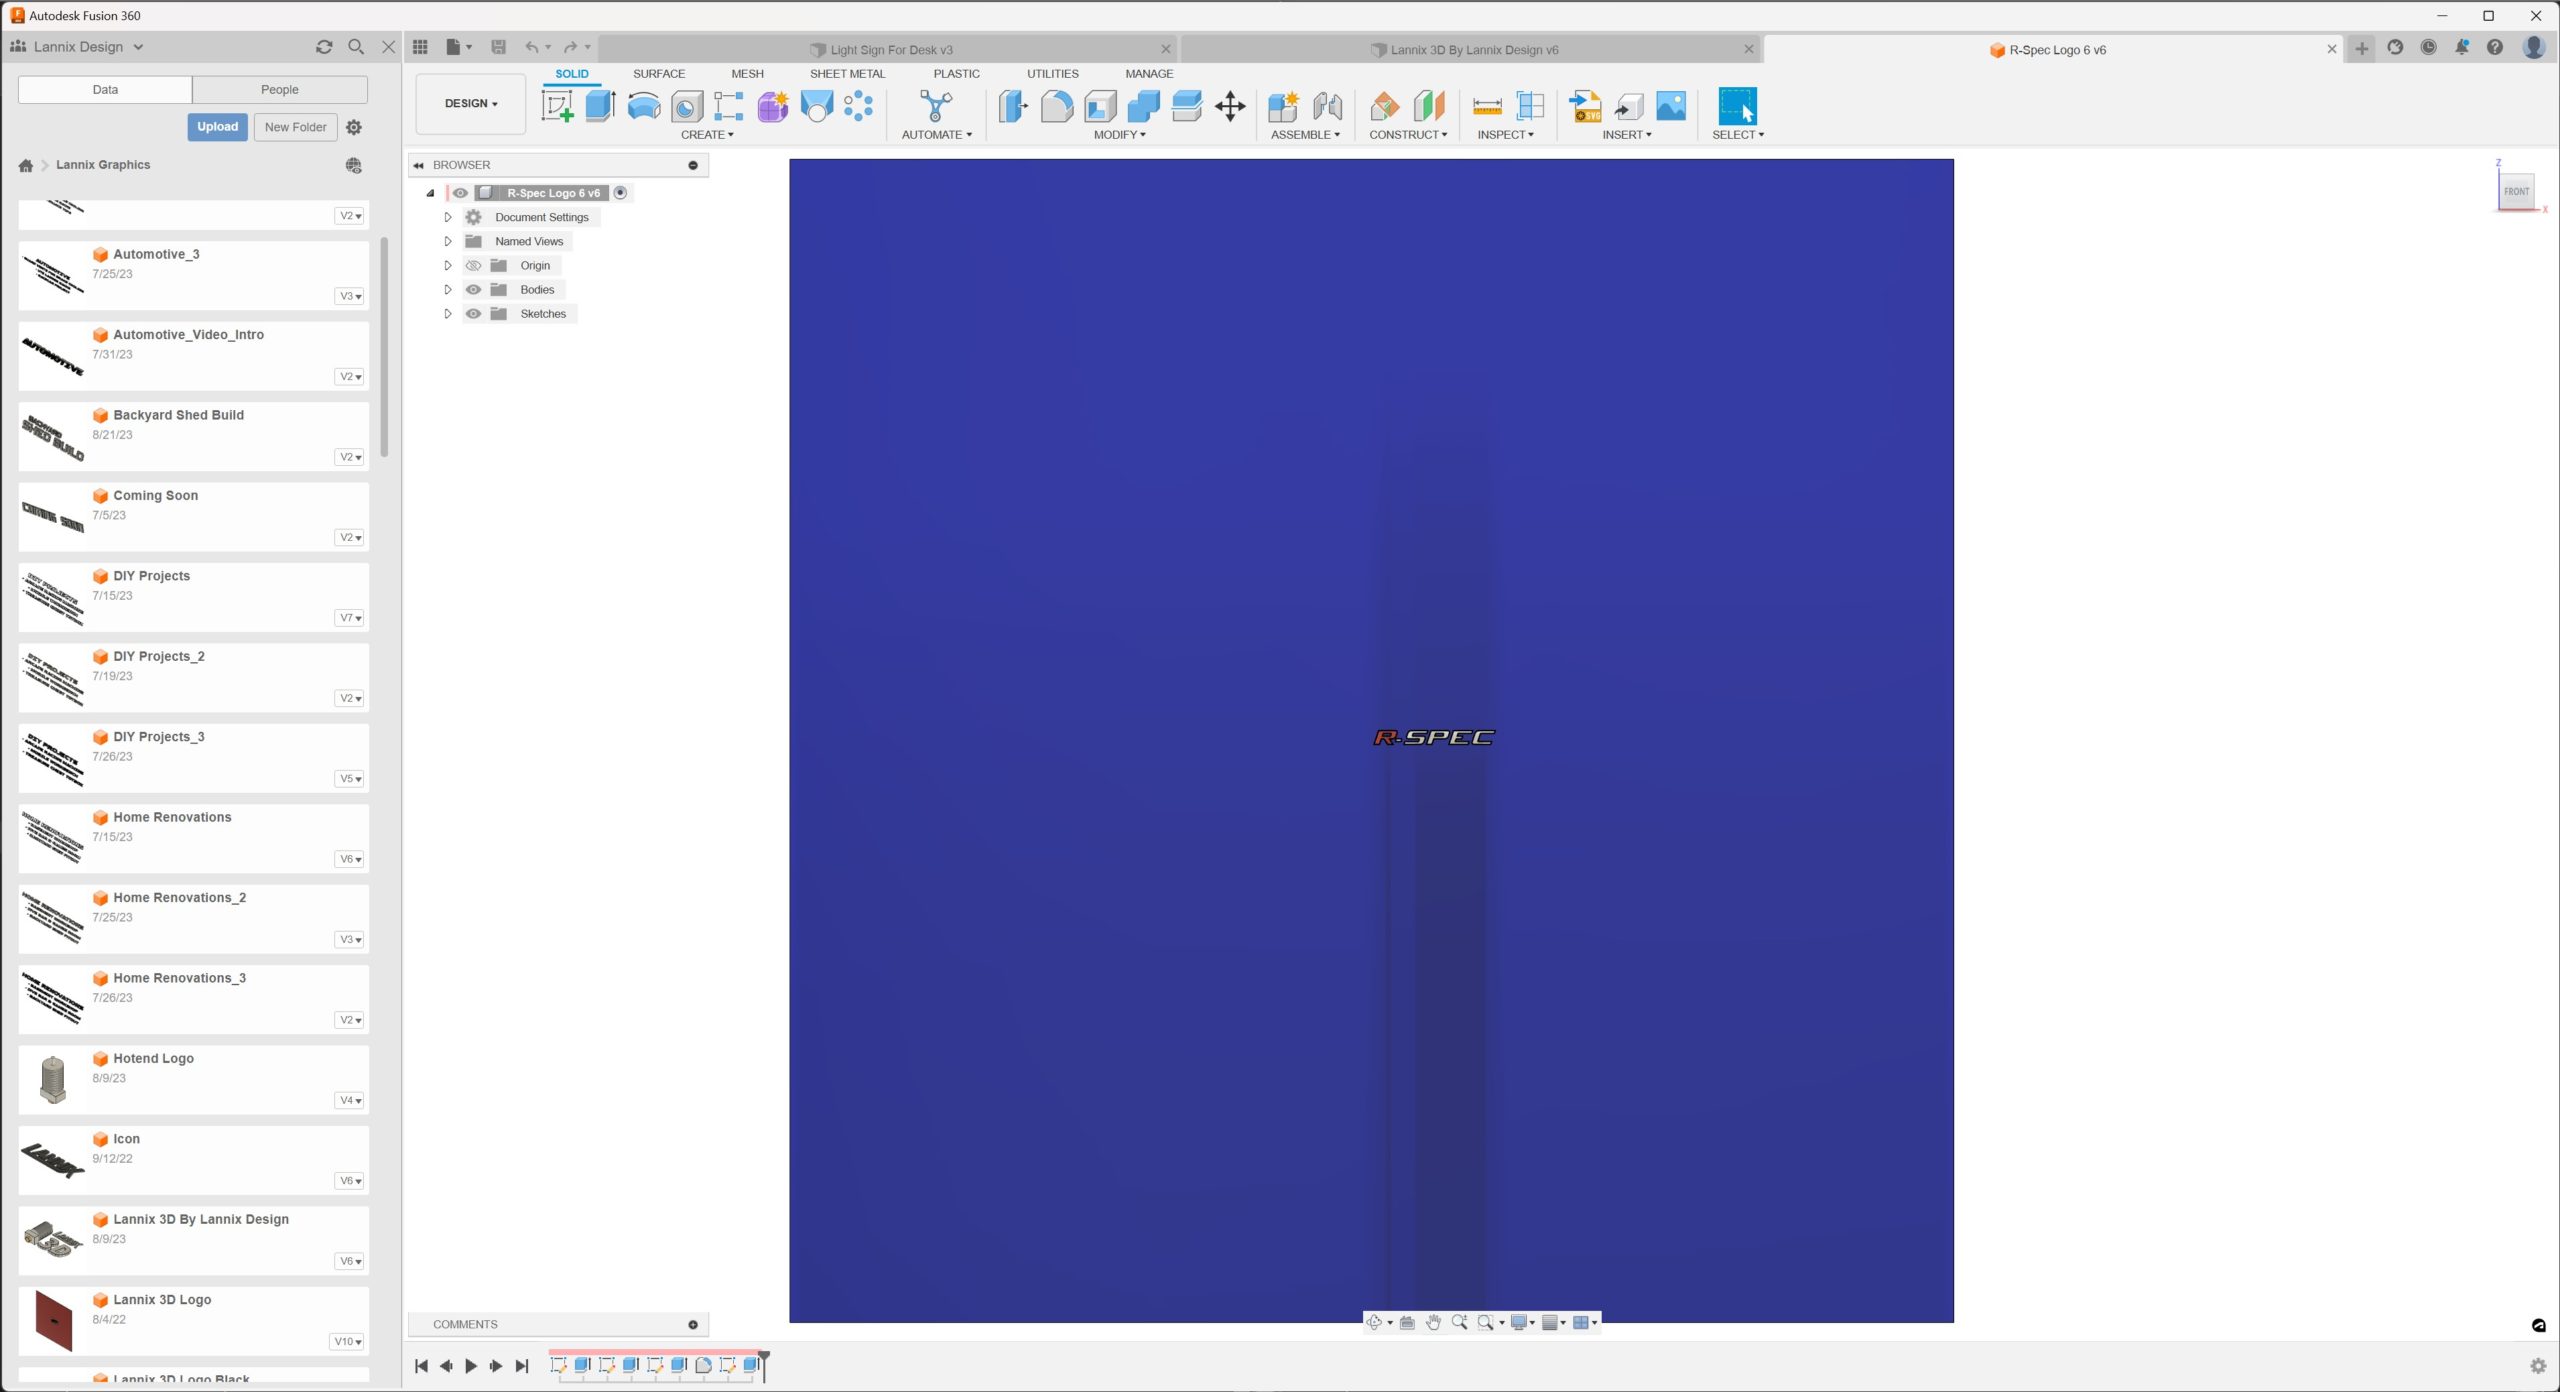
Check out the screenshots of the Blender layout in the gallery below to get an idea of how the image was made.
Gallery - Making Graphics For Our Website
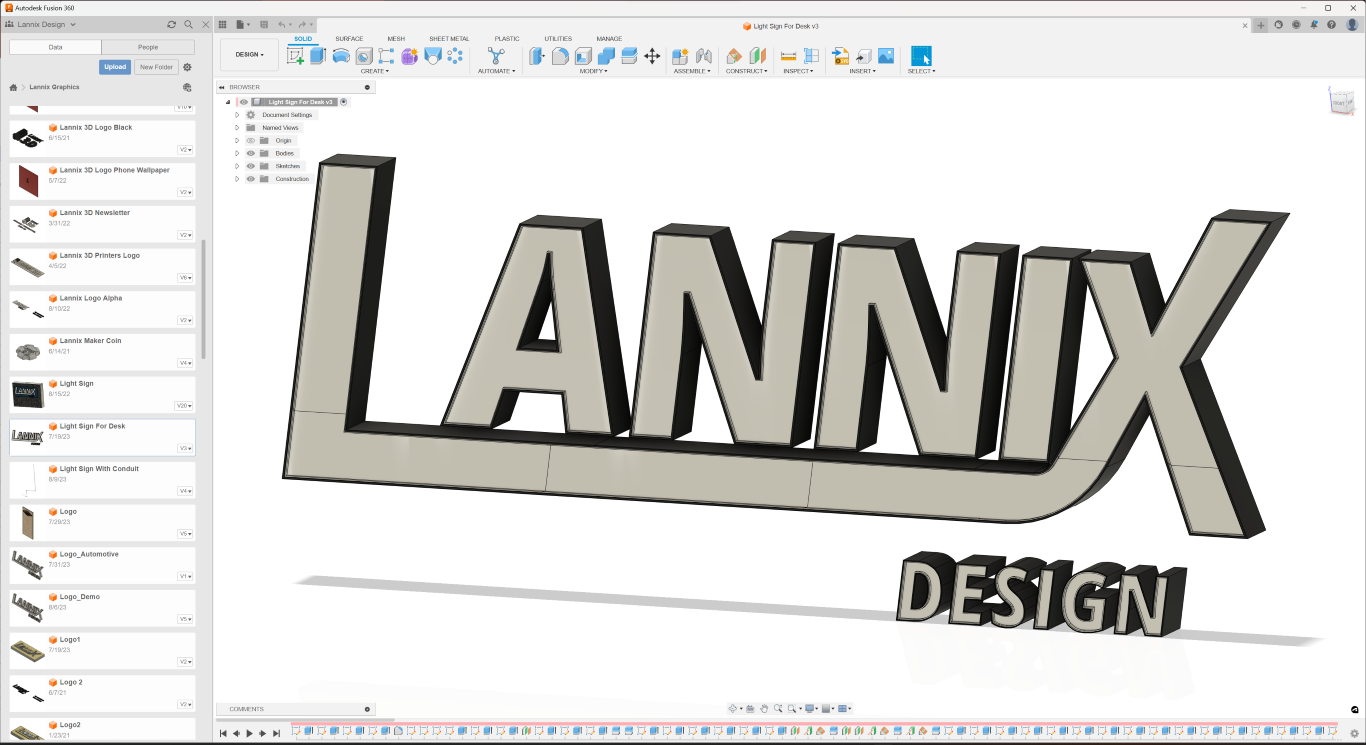
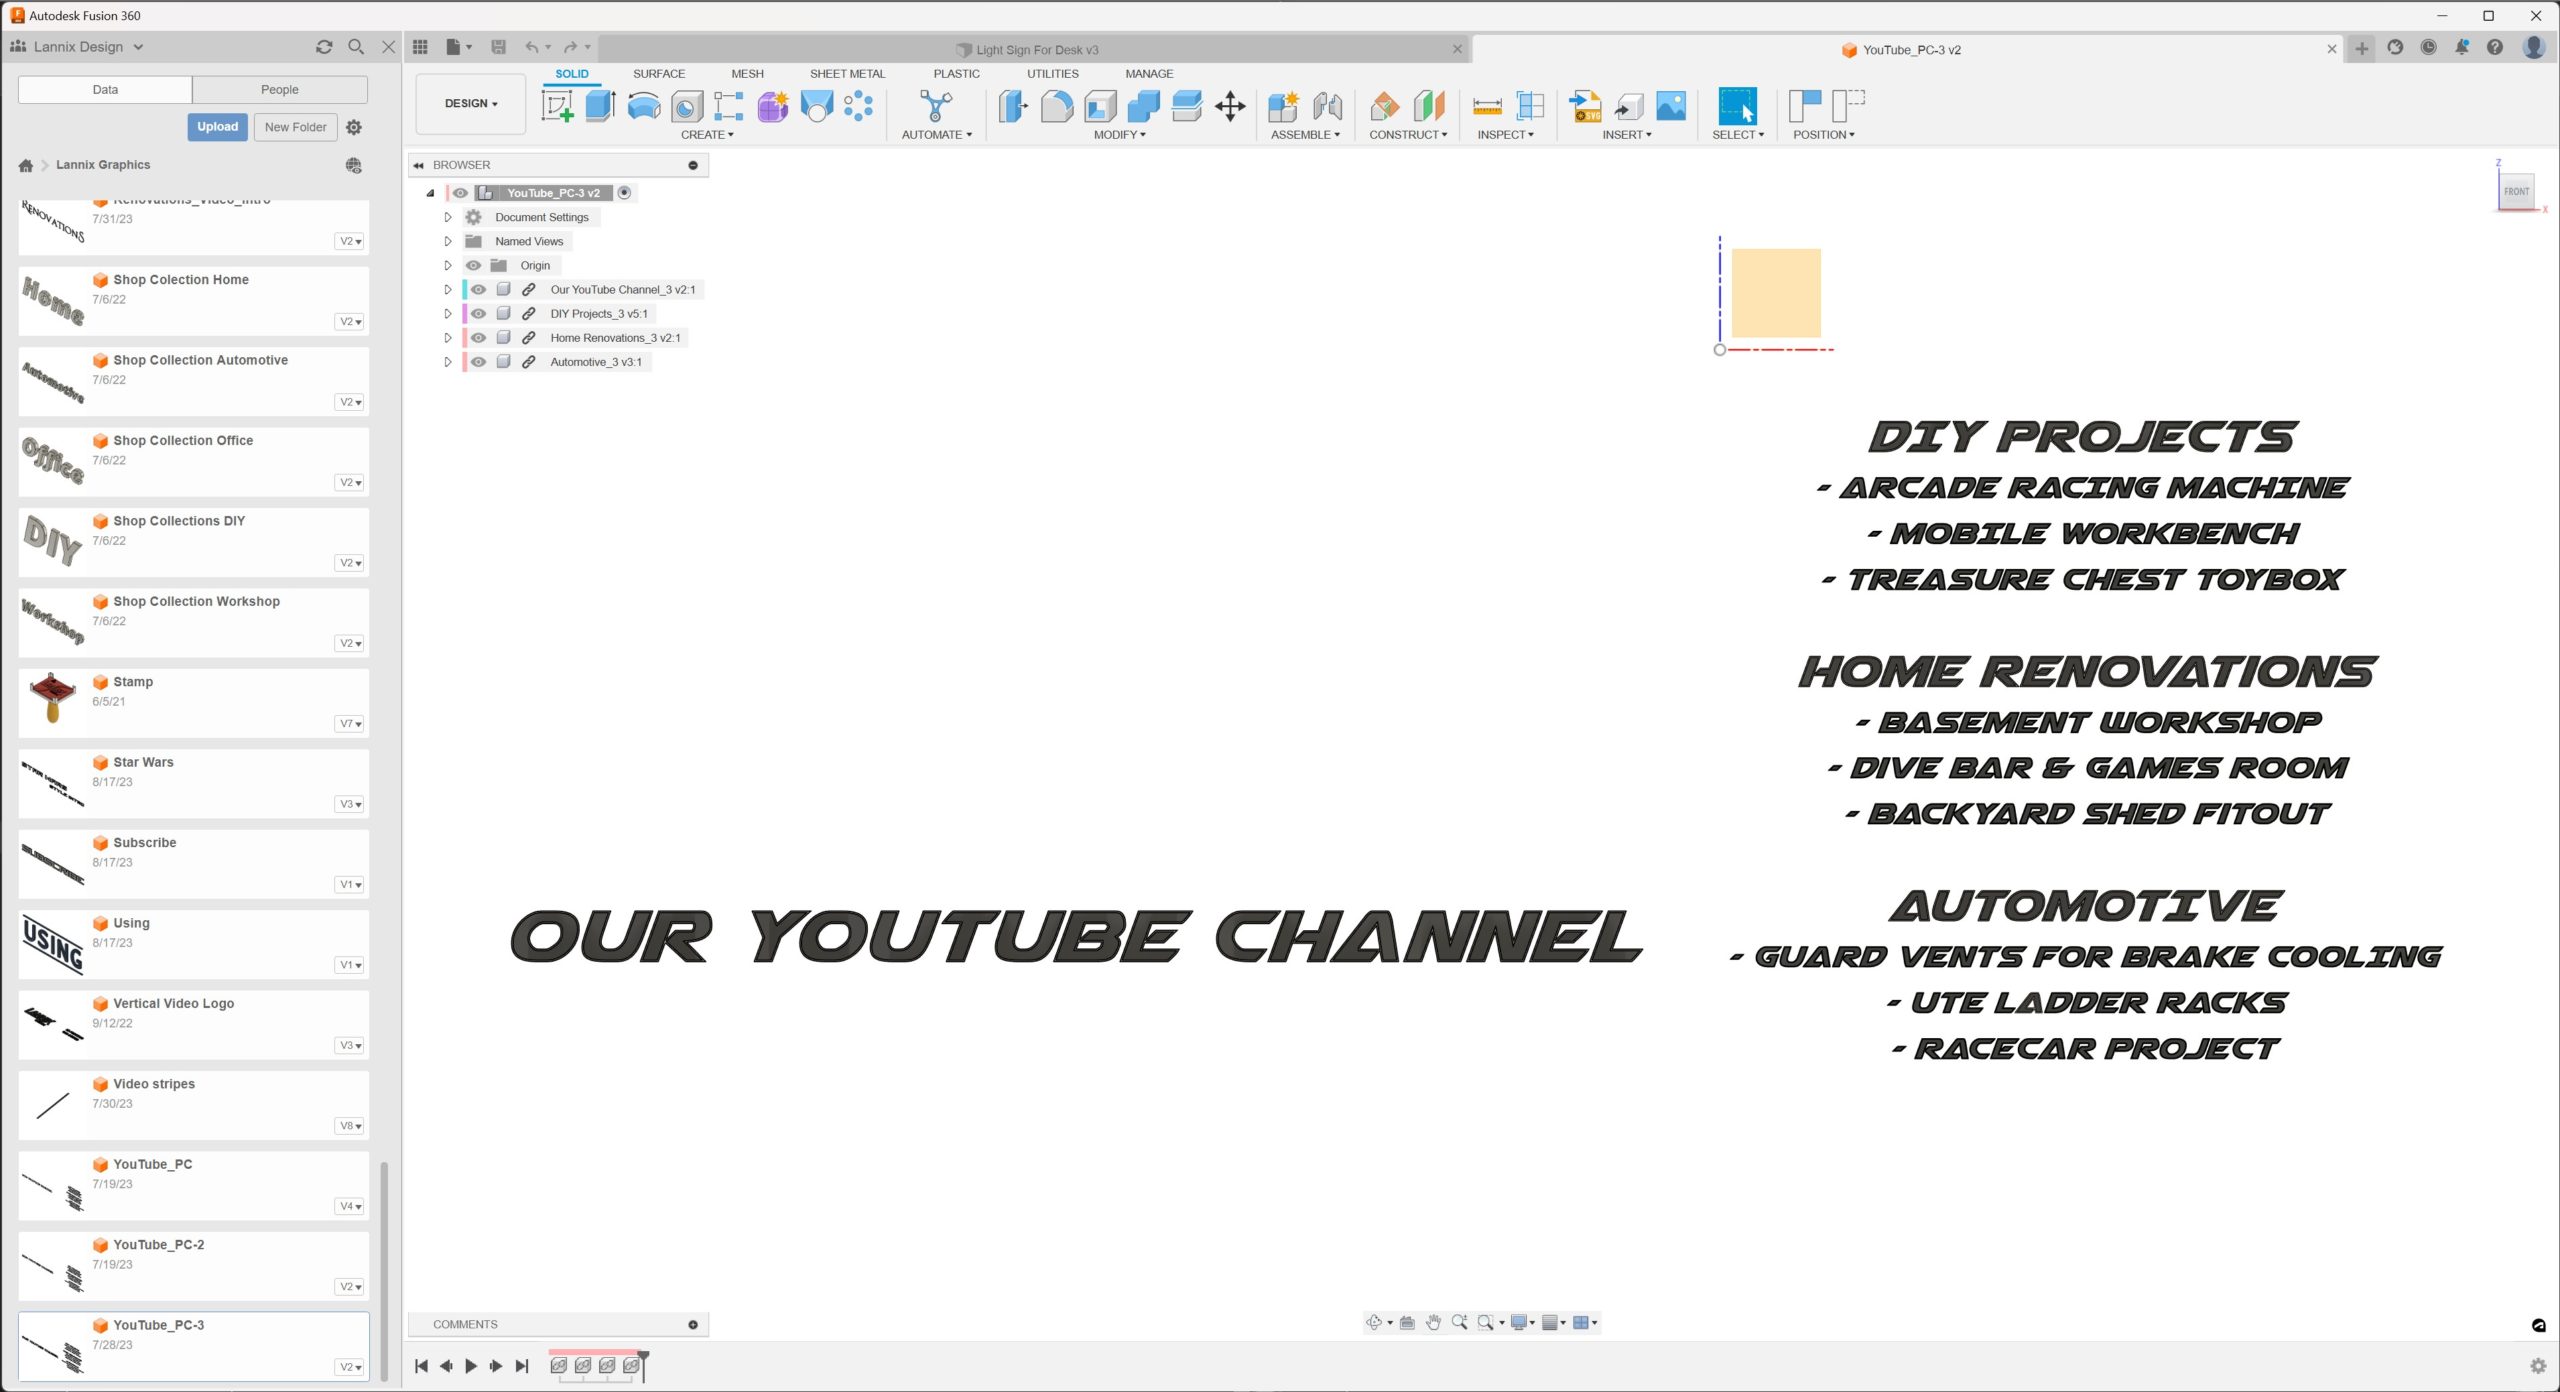
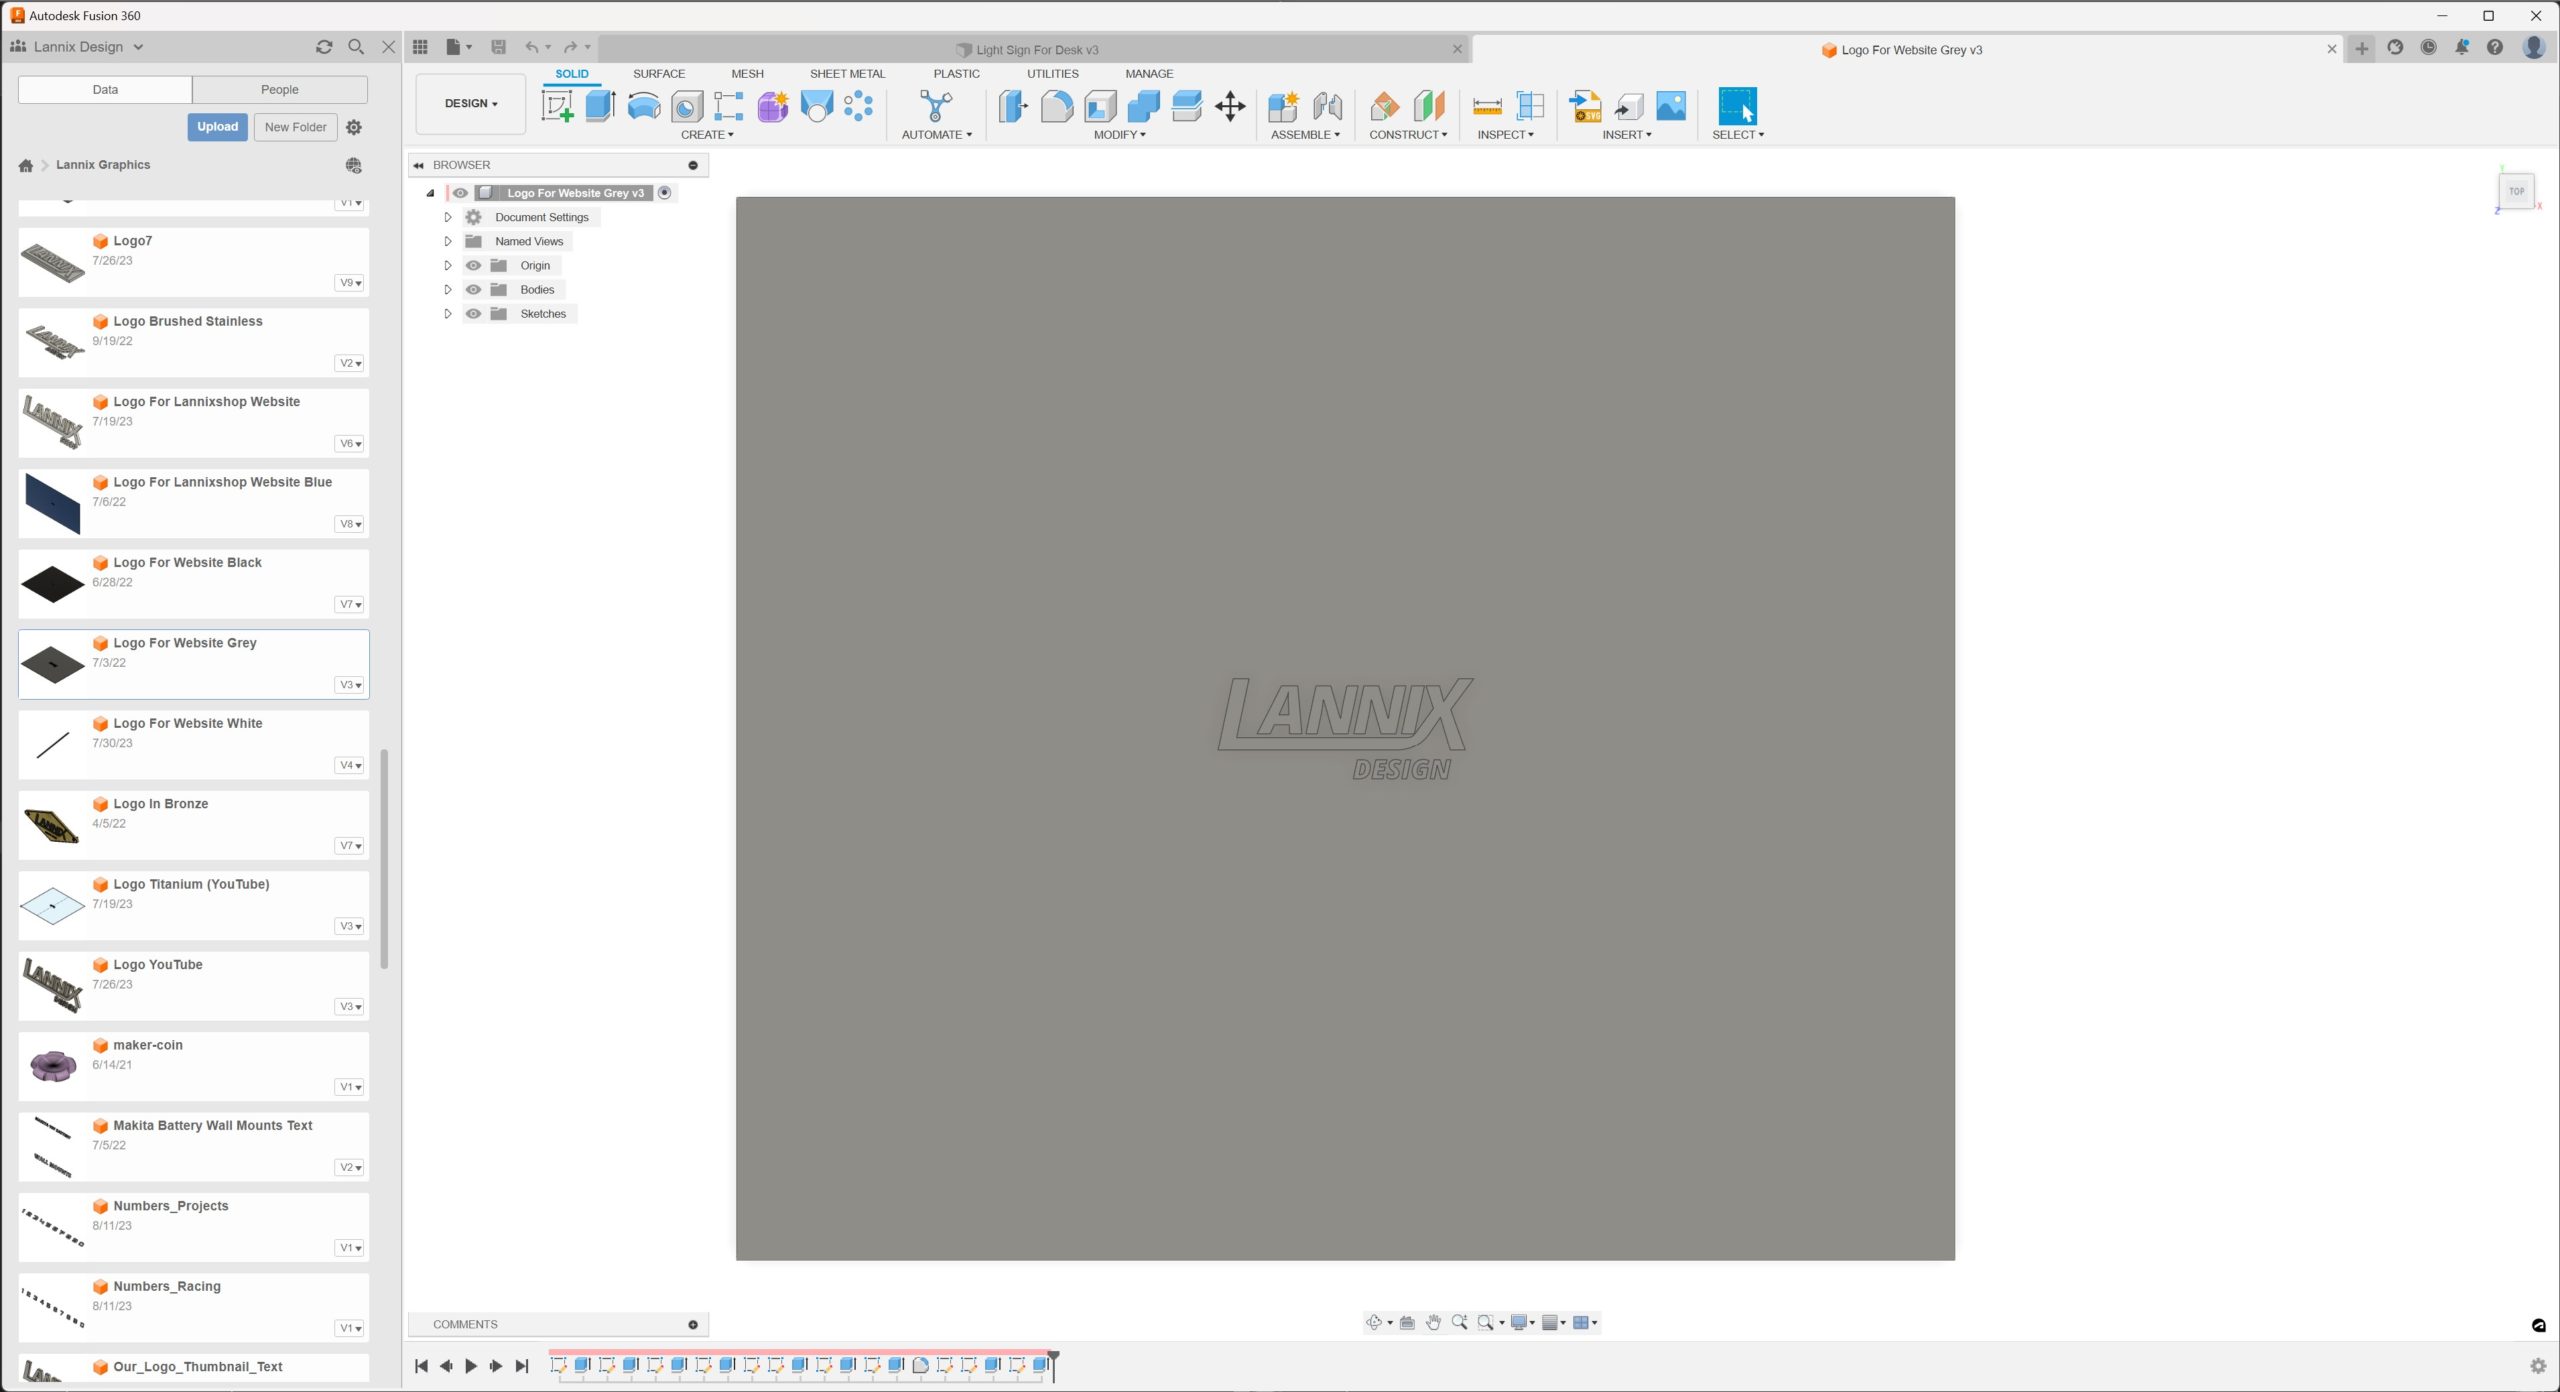
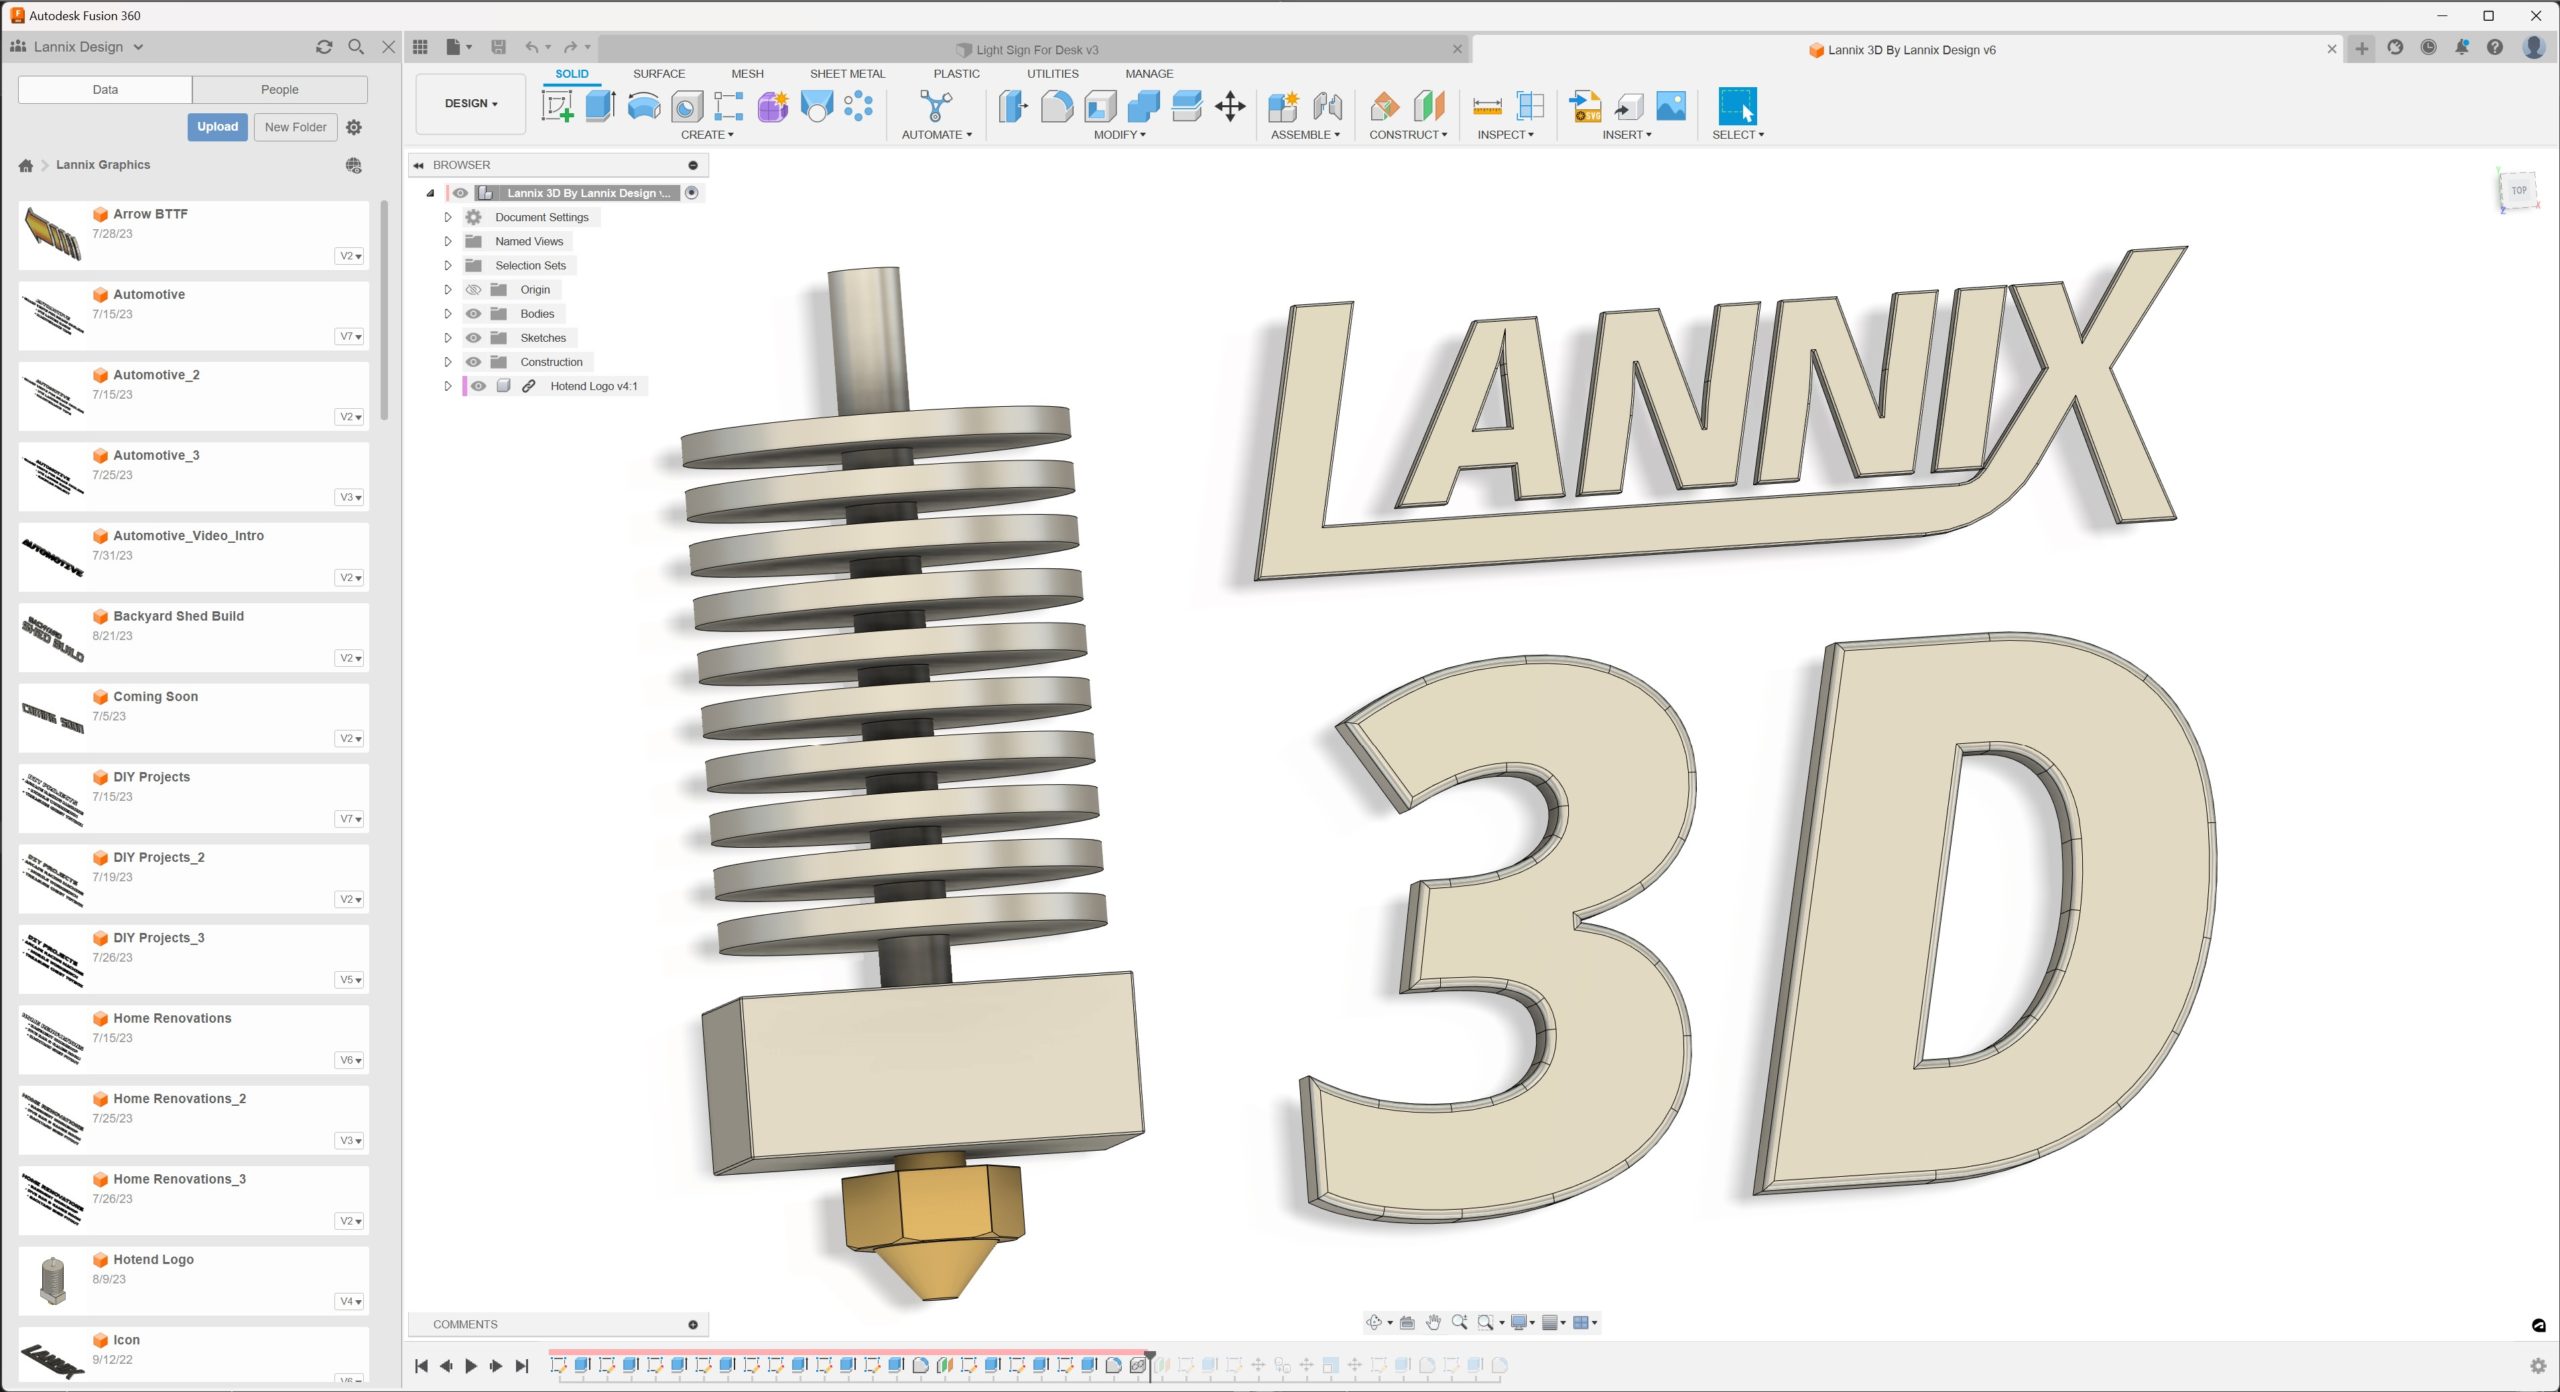
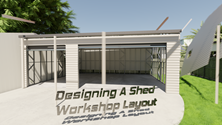
I’ve also included some screenshots of the Fusion 360 models I’ve used to create other graphics on our website. Hopefully some of you might find them interesting.
If you’re interested in learning Fusion 360’s modelling with text or rendering features, check out the video below. It’s a simple tutorial for beginners and we’ll go through the steps used to create the Lannix Design logo.
See how the Lannix Design logo was made on our YouTube channel
For those interested in learning animation in Blender, check out this video to learn the basics in a tutorial aimed at beginners.